Last Updated on February 25, 2024 by Mathew Diekhake
The following tutorial demonstrates how to run troubleshooters when using a version of the Windows 11 operating system.
Method One: How to Run Troubleshooters in Windows 11 from Settings
You can run troubleshooters to see if Windows can help solves the computer trouble that you’re having directly from the Settings app in Windows 11. Here is how to do that:
1. Open the Settings app. See this tutorial for all the different ways in which you can open the Settings app when using a version of the Windows 11 oeprating system: How to Open Settings in Windows 11 [Tutorial].
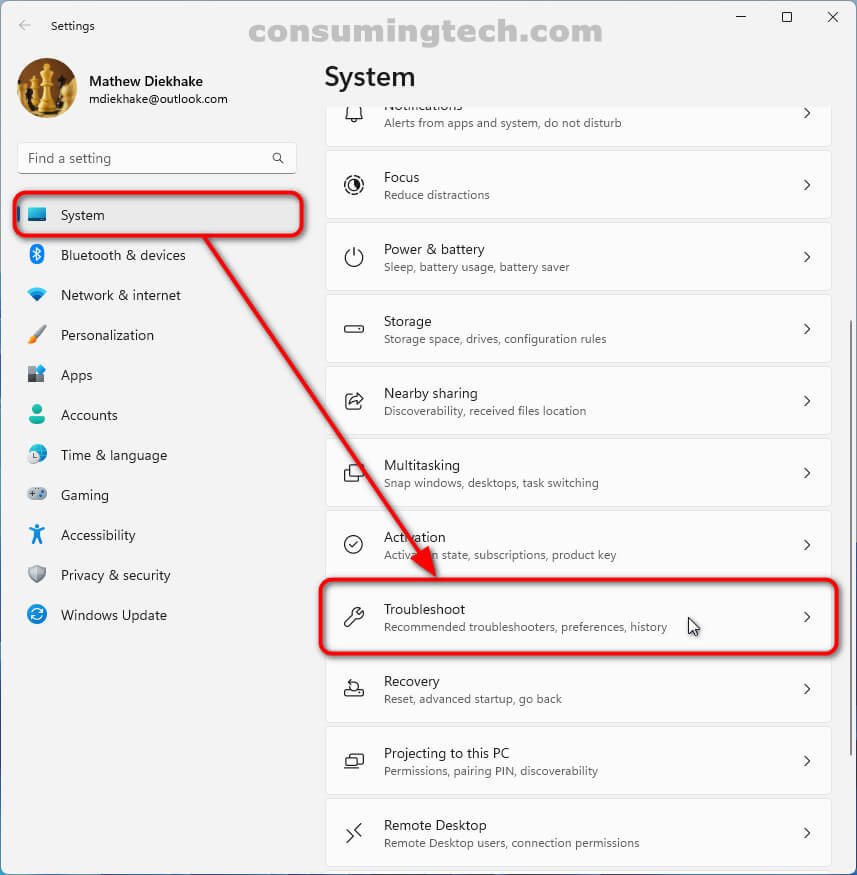
2. Click on the System link in the left Settings Menu and then click on Troubleshoot from the right side of the same window.
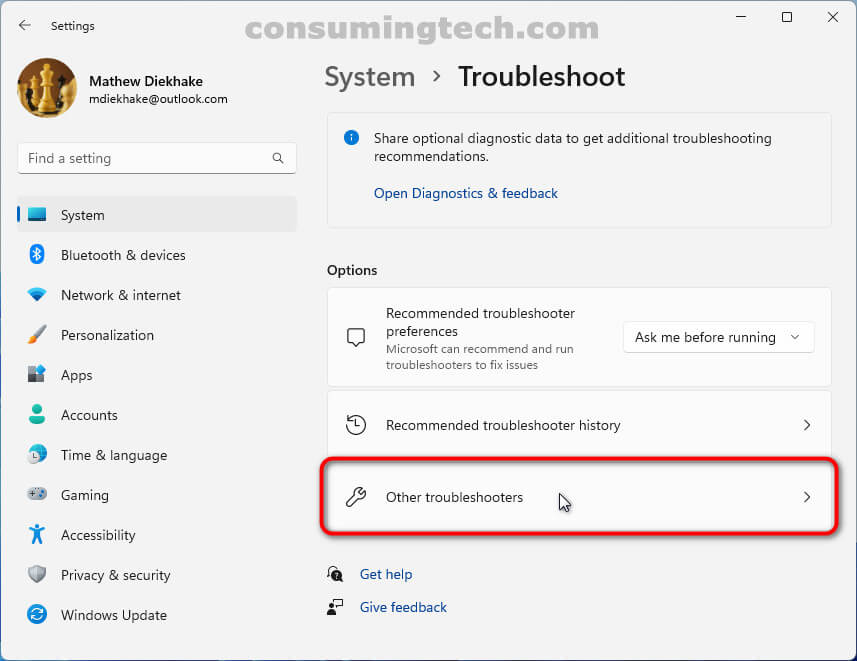
3. Click on Other troubleshooters under the Options heading.
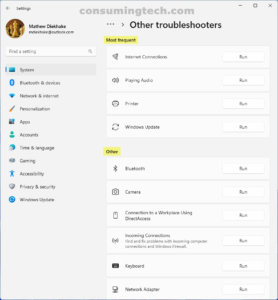
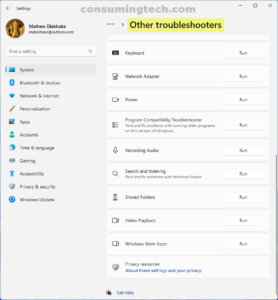
4. Click on the Run button next to the name of the troubleshooter that you want to run. For example, if you want to run a troubleshooter for audio recording, click on the Recording Audio troubleshooter button.
Method Two: How to Run Troubleshooters in Windows 11 from Control Panel
You can run troubleshooters to see if Windows can help solves the computer trouble that you’re having from the Control Panel in Windows 11. Here is how to do that:
1. Open the Control Panel app. See this tutorial for all the different ways in which you can open the Control Panel when using a version of the Windows 11 operating system:
2. Select Small icons in the View by: menu in the top right corner and then click on Troubleshooting.
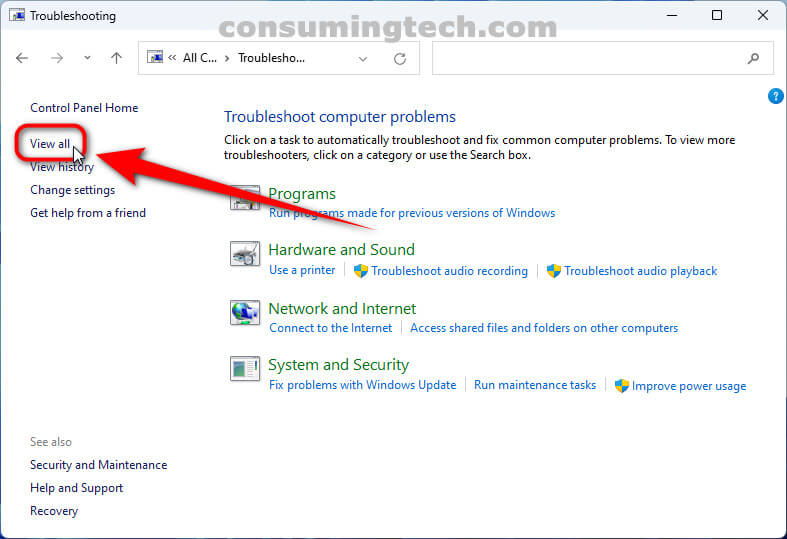
3. Under the Control Panel Home link in the left side, click on View all.
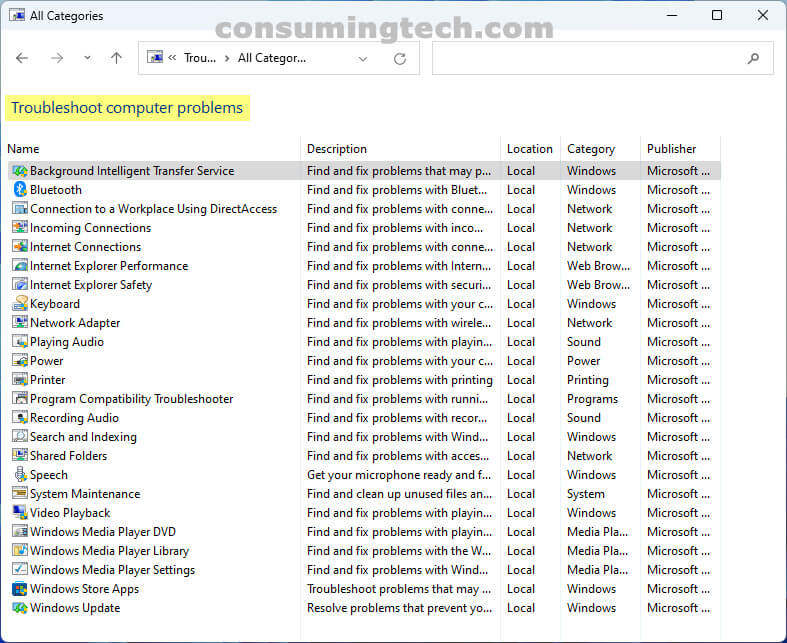
4. Under the Troubleshoot computer problems heading, click on the troubleshooter name and description that is best related to your problem.
Method Three: How to Run Troubleshooters in Windows 11 from Command Prompt
You can also use the command line to run troubleshooters. Here is how to do that:
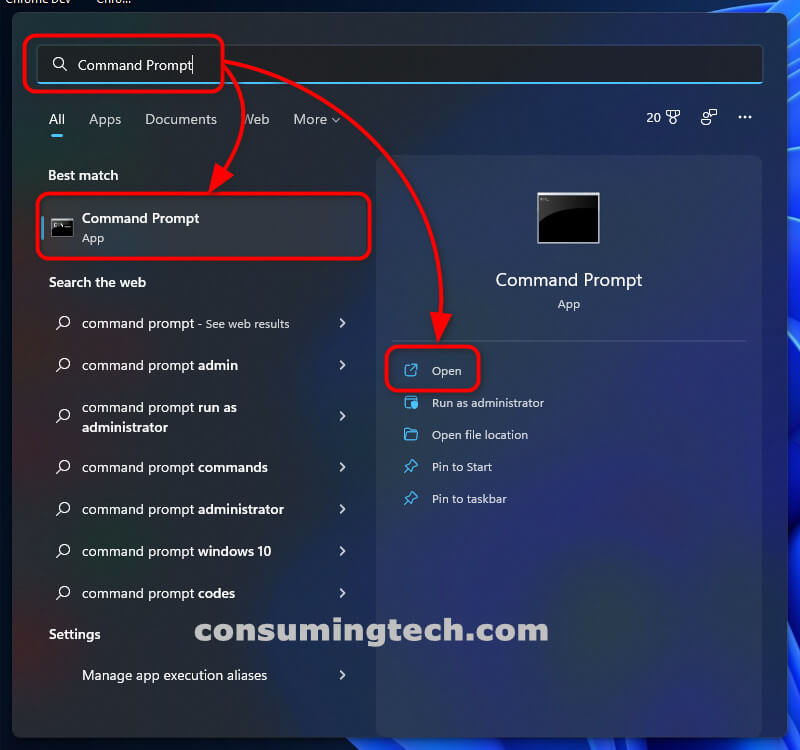
1. Open the Command Prompt app.
2. Type one of the following commands into the command line that best suits the problems you’re having and then press the Enter key to execute it:
- Connection to a Workplace Using DirectAccess:
msdt.exe -id NetworkDiagnosticsDA - Devices and Printers:
msdt.exe -id DeviceCenterDiagnostic - Hardware and Devices:
msdt.exe -id DeviceDiagnostic - Incoming Connections:
msdt.exe -id NetworkDiagnosticsInbound - Internet Connections:
msdt.exe -id NetworkDiagnosticsWeb - Internet Explorer Performance:
msdt.exe -id IEBrowseWebDiagnostic - Internet Explorer Safety:
msdt.exe -id IESecurityDiagnostic - Network Adapter:
msdt.exe -id NetworkDiagnosticsNetworkAdapter - Playing Audio:
msdt.exe -id AudioPlaybackDiagnostic - Power:
msdt.exe -id PowerDiagnostic - Printer:
msdt.exe -id PrinterDiagnostic - Program Compatibility Troubleshooter:
msdt.exe -id PCWDiagnostic - Recording Audio:
msdt.exe -id AudioRecordingDiagnostic - Search and Indexing:
msdt.exe -id SearchDiagnostic - Shared Folders:
msdt.exe -id NetworkDiagnosticsFileShare - System Maintenance:
msdt.exe -id MaintenanceDiagnostic - Windows Media Player DVD:
msdt.exe -id WindowsMediaPlayerDVDDiagnostic - Windows Media Player Library:
msdt.exe -id WindowsMediaPlayerLibraryDiagnostic - Windows Media Player Settings:
msdt.exe -id WindowsMediaPlayerConfigurationDiagnostic - Windows Update:
msdt.exe -id WindowsUpdateDiagnostic
In conclusion, that’s how to run troubleshooters in Windows 11 in order to try to get the WIndows operating system to try as best it can to automatically solve your computer problems for you.

