Last Updated on July 18, 2022 by Mathew Diekhake
The Titanium backup application is without a doubt the premier app to back up your device if you are choosing to back up with applications and not something else like the NANDroid option that is available directly from a custom recovery. With the Titanium backup application, we are able to back up and restore the data we have backed up when switching between new ROMs.
If you have ever thought deeply about how a backup might work when you start installing aftermarket firmware on your device, the Titanium Backup application puts any uneasy thoughts you might have had to rest. It handles everything you need and does it fast and easy with little fuss to the end-user. Definitely check out the Titanium Backup application from the Google Play Store as soon as you finish rooting the Samsung Galaxy Note 10.1 tablet.

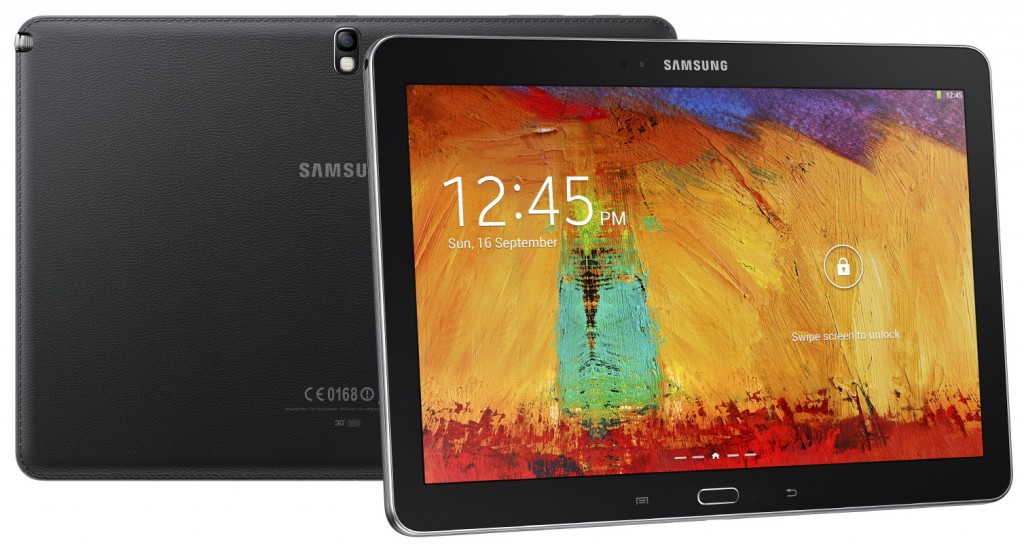
Here is everything you need to root the Samsung Galaxy Note 10.1 from 2014 running on the Android 5.1.1 Lollipop updates. You do not need to be running on any particular firmware build ID to follow this guide. The rooting guide will work for all versions of Android 5.1.1 Lollipop so long as you are rooting using the SM-P600 model number.
This is what you need to root the Samsung Galaxy Note 10.1 2014 SM-P600 tablet when it’s running on the Android 5.1.1 (Lollipop) software update.
Files You Need
- Download the new CF-Auto-Root file for the 2014 editions of the Note 10.1 on Android 5.1.1 from here.
- The following guide is only made for the SM-P600 model numbered version of the Samsung Galaxy Note 101. 2014 edition. Flashing the rooting exploit found in this guide on any other model number or device will probably brick that device, according to the developer.
Rooting the Samsung Galaxy Note 10.1 2014 SM-P600 model number running on Android 5.1.1 Lollipop updates
- Enable the USB Debugging Mode on the Note 10.1 so you can connect to the computer and use the flashing tool.
- Extract the CF-Auto-Root package on the desktop of the computer to find the rooting file and the Odin flashing application inside.
- Right-click on the Odin executable that is now on the desktop and choose to run it as an administrator.
- Do not make any alterations to the default settings you can see available from the Odin application on the computer.
- Long-press the Power button on your Note 10.1 2014 edition and wait until it turns off completely.
- Reboot the Samsung Galaxy Note 10.1 device in download mode and connect it to the computer with the USB cable.
- Wait for roughly ten seconds and then look for a blue or yellow light coming from the ID: COM port from the Odin application on the computer. That port is letting you know that your device is connected. If there is no light, we suggest you install the universal Windows ADB driver and start again. It may require a complete shutdown of the computer and re-opening of the Odin application, but it will eventually work once you install the universal ADB driver.
- Click the AP button and browse the desktop for the Note 10.1’s rooting file that is ending in the tar.md5 file extension.
- Click the Start button when you are ready for the rooting of the device.
- Wait until you can see a green box appear from the Odin application on the computer and it gives you a pass message within that same box.
- Look over at the Galaxy Note 10.1 2014 and check for when it says it is installing the SuperSU, cleaning up the cache partition and then restoring the stock recovery.
In conclusion, that’s all you need to root the Samsung Galaxy Note 10.1 2014 edition running on the Android 5.1.1 Lollipop software update using the CF-Auto-Root tool application that installed and enabled SuperSU on your device. Any device that did not get into recovery mode after flashing the three files at the end will need to be booted into recovery mode manually instead for the rooting to have worked. You can head over to the Google Play Store and install the root checker application to check what it says about your root status.
Moreover, anyone who is finding the drivers are working, has gotten into the recovery mode, but still does not have the Samsung Galaxy Note 10.1 rooted may want to try installing a different version of the Odin flashing tool. The Odin flashing application comes in many versions and sometimes it takes a couple of different goes to get one to work.
