Last Updated on September 19, 2024 by Mathew Diekhake
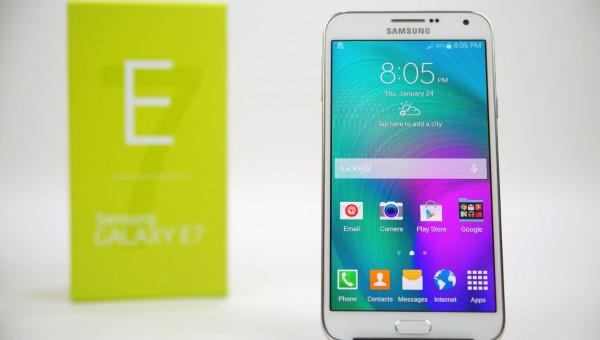
One of the main reasons why people want to root a Samsung device is for being able to easily remove the system apps. Samsung makes great devices, hence why they are the second largest OEM in the world, but they also have a tendency to overdo the default applications. There are a few different ways Samsung Galaxy E7 owners can go about removing the system applications once rooted.
One way people can remove the system apps on the Samsung Galaxy E7 smartphone is by installing the ‘System App Remover’ application — a free app that makes short work of all apps you would consider to be bloatware on your Android operating system.

Files You Need
- Download CF-Auto-Root for the Samsung Galaxy E7 SM-E700H smartphone running on Android 5.1.1 Lollipop. (Snapdragon 410 MSM8916 system chip model).
- There are actually two models of the SM-E700H and the difference is the system chip. The system chip for the rooting file in this guide is for the Snapdragon 410 MSM8916 board. The Snapdragon 410 MSM8916 is running Android 4.4.4 KitKat whereas the other version is running Android 5.1.1 Lollipop.
- Hacker812c (Senior XDA member) says the same root file that is used for the E700H also works on the E700M (with an exclamation mark).
Rooting the Samsung Galaxy E7 SM-E700H running Android 5.1.1 Lollipop
- Enable the USB Debugging Mode from the E7’s settings so the device can connect to the computer with the USB cable and then use the flashing tool.
- Extract the CF-Auto-Root tool for the E7 smartphone to the desktop of the computer.
- Right-click on the Odin executable file that’s on the desktop and choose to run it as an administrator.
- Do not make any changes to the default settings you get from the Odin application.
- Reboot the Samsung Galaxy E7 smartphone to download mode.
- Connect your Galaxy E7 to the computer with the USB cable.
- Give it a few seconds for the drivers to kick into gear and then look for the ID: COM port to turn a yellow or a blue color. No color means no drivers and you will need to update them. Do that now by installing the universal Windows ADB driver on your computer and then open the Odin application again.
- Click the AP button and then browse the desktop location for your E7’s rooting file ending in the tar.md5 file extension.
- Click the Start button.
- Wait until you get a pass message inside a green box from the Odin application on the computer, and then look over at your phone.
- Wait until you see the words telling you the E7 is restoring the stock recovery, cleaning up and then going to reboot in 10 seconds.
- The Samsung Galaxy E7 smartphone will now reboot directly to recovery mode. It’s planned this way from the CF-Auto-Root tool. Just wait until it’s done and it will install and enable SuperSU on your device. Then just reboot it back in normal mode and it’s ready to start installing root apps or a custom recovery.
In conclusion, that’s all you have to do to root the Samsung Galaxy E7 SM-E700H smartphone running on the Android 4.4.4 KitKat software update. Remember that this guide is for the Snapdragon 410 MSM8916 system chip and not the other model that is currently running Android 5.1.1 Lollipop. If your Samsung Galaxy E7 smartphone did not get into recovery mode during the last step of the guide, you can reboot to recovery mode manually during the first time boot after the flashing finishes. The flashing is finished when you see the green pass box from the Odin application.
Anyone still not finding the guide working can try installing a different version of the Odin flashing tool and then try again. There have been instances where people try rooting with Odin 3.10, it doesn’t work and then it does work with Odin 3.07 or the Odin 3.09, for example.
