Last Updated on July 22, 2022 by Mat Diekhake
You’d already know that the Moto G is one of my favorite devices if you are a regular reader of this site. So what makes this device so special? It’s not because it blows other flagships out of the water with amazing specifications. We all understand that the Galaxy S5, iPhone 6, HTC One M8 and the Moto X are considerably better. However, the Moto G is outstanding value for money and it’s cheap. That means no guilt when it comes to tinkering with the operating system.
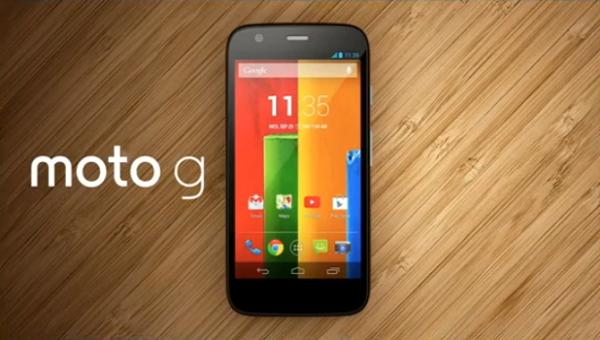
The budget smartphone from the “Hello Moto” company comes with a high-resolution display, Quad-core processor, fast 4G mobile data support and a high pixel density display.
We are running through some of the essentials before showing you the video so you can better prepare yourselves. The essentials show you what you need before you start, what the risks are involved with proceeding form here and more.
Those of you with the model number XT1063 can check out our full guide on unlocking the internal hardware from the restrictions for the latest Android 5.0 Lollipop software update. See here: Root Moto G XT1063 On Android 5.0 Lollipop
Details of Note
- You must have the unlocked bootloader before starting the guide. Usually, but not always, the bootloader plays an important role in allowing us to open up the system internals away from the default factory restrictions. That’s the case here today with the Moto G.
- You must backup the OS data before starting. Use the built-in feature by Motorola to help you store data such as phone contacts, SMS texts, videos, pictures and anything else you don’t want to risk losing. Rooting a phone doesn’t usually result in data loss. However, if something does go wrong and you must apply a factory reset you will lose the data. that’s why it’s best not to take any chances with the data.
- Those of you preferring to back up data with apps can find plenty available from the Google Play store. Choose from some of the best out there including Helium, G Cloud backup, Easy backup and more.
- Rooting always voids the remaining warranty on the device. The only way to make the warranty work again is to unroot the same handset. There are guides out there for most smartphones and tablets under the Android name to help. Otherwise you should know that flashing official stock firmware files manually usually results in taking away the root access. There is also a number of applications available from Google Play which will help you. However, they come at premium prices. The root checker and unroot pro app is my pick.
- After you have root access on your device you should change your backing up habits to Titanium backup or by taking a Nandroid backup.
- Visit the Settings > Developer Options and allow permissions for the USB Debugging mode. Now you can connect the phone with the computer. Likewise, you must have the latest USB drivers by Motorola on your computer so the phone connects without any worries.
- Make sure you have a minimum of 60% battery power on your Moto G. Normally the cheaper the device the less the battery lasts. Therefore, what is 60 percent on a flagship will only be roughly 50 percent on a mid-range or cheaper device.
- The USB charging feature will look after the battery power for most of the time you are plugged into the computer. Nevertheless, you don’t want to risk the phone shutting down during the flashing process. It can result in soft-bricking.
- You will flash ClockworkMod recovery during the guide. You must have a custom recovery along with root access before you can start installing any custom ROMs.
- You must have Android ADB setup on your Windows computer before starting the guide. Learn more on that here. How To Install Android SDK And ADB On Windows With Three Different Methods. Note: you can install ADB and fastboot on other operating systems if you don’t have Windows. However, our guide is only for Windows PC.
- Only apply the following if you are an advanced Android users.
- Important: The video is created during December of 2013. That tells me this is for the first generation Moto G and not the 2014 edition.
The video tutorial does not belong to us. We are only sharing the content that is originally posted on “Root Junky.”
You may be interested in downloading the root checker application from the Google Play store now that you are finished with the steps. The apps will show you if you followed the tutorial successfully. From there you are ready to start flashing custom ROMs and tinkering around with the OS by using extra apps.
Those of you looking to take things one step further and add the Bootstrap recovery might be interested in adding the Reboot Moto application too. The app lets users reboot the stock recovery, reboot the ClockworkMod recovery and reboot the bootloader. Worth a look since you already have the CWM recovery from the guide.