Last Updated on July 19, 2022 by Mat Diekhake
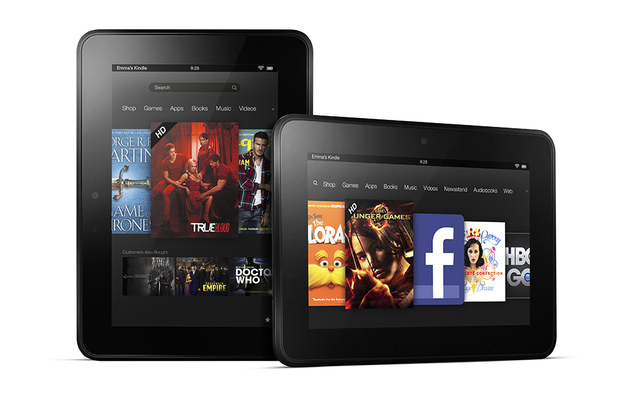
The Amazon Kindle Fire HD7 tablet offers great value for money, but it does come with a few flaws. For example, the inability to run the Google Play Store when you open it out of the box puts a damper on things. many people are electing to still buy the tablet since they do not plan on doing anything that would require any apps, like browsing the web. More experienced Android users are choosing to buy the Kindle devices and then check out how-to guides on how to install the Google Play Store on the Amazon Kindle Fire HD7 tablet.
Once you do get the Google Play Store up and running, you can start installing the abundance of root apps. Most of these root requiring applications are coming directly from the Google play Store. With that being said, it’s not the only source for rooted apps. For example, the ROM Toolbox is available from the Google Play Store but it’s also available from the J. Rummy’s apps website where it can be downloaded from the website directly. There are plenty of other examples of root apps where the developers have put up their own websites with the links for you to download free or purchase the Pro versions of these root apps.

Files You Need
- Download the SuperSU from here.
- Download the custom recovery from here.
- Download the TWRP Recovery from here.
- Install adb on your Windows computer. You can also install adb on your Mac or your Linux computer, but the steps will vary with the commands.
The following file is an alternate method which you can use if you don’t like the idea of following the more traditional method of installing a custom recovery and then SuperSU through the recovery.
- Download the rooting exploit for the fifth-generation HD7 device from here.
Rooting the Amazon Fire HD7 5th generation 2015 running on the Android FireOS 5.0.1
- Set up the adb and fastboot on your computer.
- Download the SuperSU zip file directly to the computer and open the default downloads folder after it completes downloading.
- Connect the Fire HD7 device to the computer with the USB cable.
- Copy the SuperSU zip over to the root of the HD7’s internal storage SD card.
- Download your choice of custom recovery to the computer and copy it over to the desktop.
- Right-click on the file and choose the option to “extract it here” from the menu.
- Copy the custom recovery over to the same folder as your adb awaits so they are both in the same folder together.
- Change the name of your recovery file to recovery.img before starting.
- From within that same folder mentioned in the step above, hold the Shift key and right-click the mouse to bring up a new menu.
- Choose to open a new command window here from the menu.
- Type “adb reboot bootloader” to get your device into the bootloader mode.
- Type “fastboot flash recovery recovery.img” to flash the custom recovery.
- Type “fastboot reboot” and then press the hardware button combination to boot the device in recovery mode.
- Tap on the Install option from the recovery menu and follow the instructions to upload your SuperSU zip file from the SD card.
- Reboot the system once your SuperSU is flashed and your Amazon Kindle Fire HD7 device running on the Android 5.0.1 FireOS is rooted.
In conclusion, that’s how to root the Amazon Kindle Fire HD7 device running the current FireOS operating systems. You should find the SuperSU is now available from your app drawer. Do not allow access to anything asking for permission that you do not recognize — that includes any apps that you cannot see the name of on your display.
