Last Updated on July 23, 2022 by Mathew Diekhake
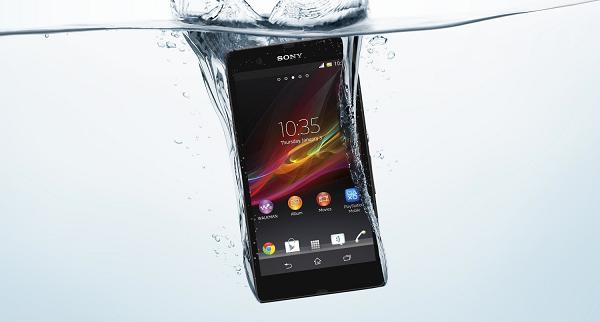
The original Xperia Z series saw a software update within the last few weeks to build number 10.5.1.A.0.292. Today we’ll show you how to get root access with a locked bootloader. It follows the same steps as we created for the .283 build, but we flash the different firmware toward the end. Anyhow, you don’t need to worry about that since we have it all covered during the steps below. You should read through the list of essentials before starting the steps so you know how to prepare and what you need. It also fills you in on all the risks involved.
Ensuring the root access and unlocking is the same thing. The device manufacturers who choose to run Android for the operating system always patch the internal system with default factory restrictions. Opening it up away from the restrictions is what we call rooting. It does come with risks you ought to be aware of such as voiding the remaining warranty. In this instance, that’s not a huge deal since the smartphone is aging quickly and most warranties are gone. It makes sense to tinker with the operating system on a secondary phone and not the daily. However, since we are just unlocking the system internal and not installing a custom ROM such as M12 from CyanogenMod, you need not worry about the system stability. That said, research the custom ROM you are installing before downloading because there are loads of different version and some are not last builds. Only the final builds offer the utmost stability that you would want on your work phone.

Details of Note
- The following is for experienced Android users only. Ideally you have experience with the Sony flash tool and know your way around the tool without any hassles. It’s always difficult catering for the advanced and the rookies all in one as the advanced don’t want to read information all day that they already know and the rookies must understand what’s happening. If you are a regular at finding root access you can skip ahead to the steps.
- The most important part on the list of essentials is backing up. You must backup the data if you need a full factory reset. Common occasions what that occurs is if you are stuck in a boot loop and entering recovery mode doesn’t fix the problem. There are many options available from Google Play to help you backup to the internal memory or the external SD card. You can choose either SD card since the internal memory is not wiped; only the ROM itself is wiped when applying factory resets. Try apps such as Helium, SMS backup+, G Cloud, Titanium for those already with the internal unchained or Google services such as Google Drive. Google Drive is great since Android are owned by Google and they offer a free amount of space up to a certain amount of GB’s.
- On the other hand, we know the first lot of Z phones come with USB charging as a default stock feature. That means it charges the battery all by itself once plugged into a computer. Speaking of computers you need a computer to follow this guide. Moreover, you must a Windows PC with 32-bit or 64-bit architecture. The Flash Tool only works for Windows. You can download the two separate versions depending on what type of OS you have.
- You want to install the up-to-date USB drivers if you haven’t got them already Most of you already do. You can verify if you are one of those people by plugging the handset into the computer and trying to get access to the phone data from the drive. If you are accessing things such as photos from the phone you know it’s working and your drivers are already up-to-date.
- Correspondingly, you ought to enable the USB Debugging mode from the Xperia or else the drivers are useless. Stopover at menu > Settings > Developer options and enable the USB Debugging mode from there. It’s hidden in past versions of Android such as 4.2, but we know you aren’t running that now wince these steps are only for KitKat.
- Furthermore, only follow the steps if you are running the aforementioned firmware build number. We know a great deal of you are since you found the guide that way so there’s no problems there.
- Do not install the files using the Xperia ZL, ZR, Z2, Z1, Z3 or any other Xperia device that isn’t the Xperia Z.
How to root the 10.5.1.A.0.292 firmware on Sony Xperia Z
- Flash the 10.5.A.0.230 firmware using the Flash Tool. kernel link here.
- Boot the Xperia up without taking notice of WiFi since it’s not working.
Tip: those with no credit or plan ought to put this on hold until they do! - Next, you can root the device using any number of options including the Easy Root, rooting from the Flash tool and Towelroot (enable mobile data first).
- Turn the Xperia device off completely.
- Boot it up again and flash the XperiaZ_10.5.1.A.0.292_kernel_only.ftf file here.
– use the same Flash Tool once more. - Boot the device up once again and install SuperSU here.
- Update the binaries from SuperSu if it prompts the same.
If your smartphone is stuck in a boot loop you must enter recovery mode; from there pick the “wipe data factory reset” option followed by “wipe cache partition.” Go back to where you came from at the main recovery screen and select “reboot system now.” Additionally, you ought to install the root checker app from the Google Play store and verify it’s working.
