Last Updated on January 11, 2019 by Mathew Diekhake
Even when you print a black and white document on your Mac, your Mac sends signals to the printer that the document to be printed is a color one. The reason it does so is that you have not specifically asked your Mac to print the document in black and white. It is just doing its job, and it is not wrong at all.
In fact, nobody is wrong. The result you get is also the same as you saw in print preview on your Mac and you do not bother doing anything else. However, what happens here that your printer uses the ink from your color cartridge and not the black and white cartridge even though the document is just a black and white document.
If you continue to do that, your color cartridge will soon get empty although most of the documents you printed were black and white. Before that happens, you need to tell your Mac to use black and white printing method when the document to be printed a black and white one.
One of the ways to do that is to change a setting in the print dialog box. That way, your Mac will consider the document as a black and white one, and it will print it accordingly.
Here’s how you can go about doing that on your Mac:
How to print in black and white on Mac
To do the task, you are going to use the built-in Preview app on your Mac. The app supports dozens of file formats for viewing and printing, and that’s the reason I prefer to use it over any other apps.
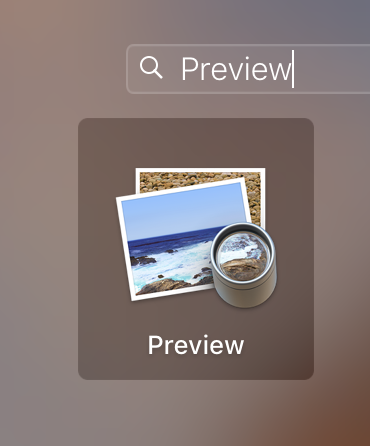
First of all, launch the Preview app on your Mac. You can do that by clicking on Launchpad in the Dock and then searching for and clicking on “Preview.” That will open the app for you. Another way to do that is to manually open the “Applications” folder using Finder and then find and double-click on “Preview” to open the app.
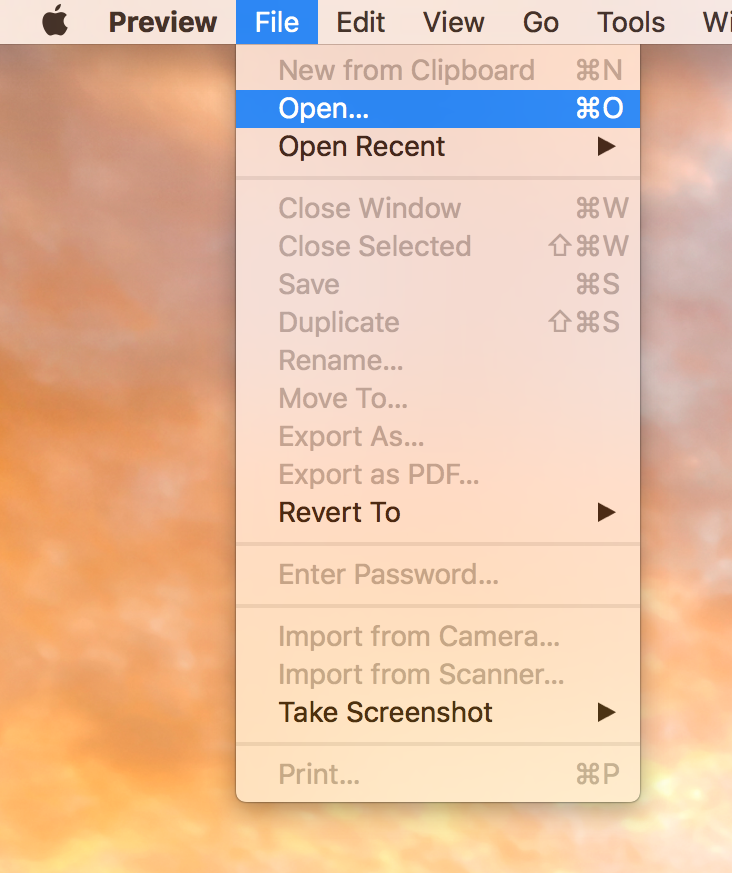
When Preview opens, you will need to open the document you want to print in black and white. To do that, click on the “File” menu of the Preview app given at the top and then select the option that says “Open.” It will let you open a document on your Mac.
If you have recently opened the document in the app, then you can click on “Open Recent” in the “File” menu, and it will let you see a list of all the documents you have recently opened using Preview. You can click on any, and it will open again in the app for you.
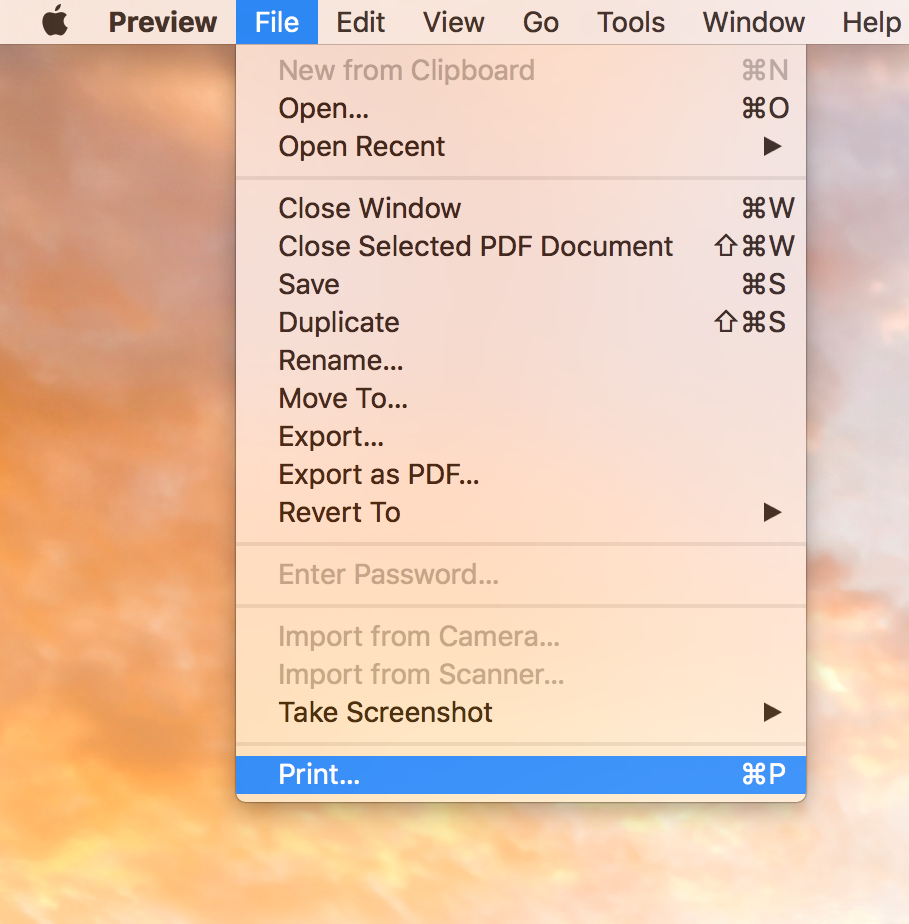
After opening the document you want to print in the Preview app, you will need to click on the print option. For that, click on the “File” menu at the top and then select the option that says “Print.” Alternatively, you can press the “Command + P” key combo on your keyboard, and that will open up the print dialog box for you.
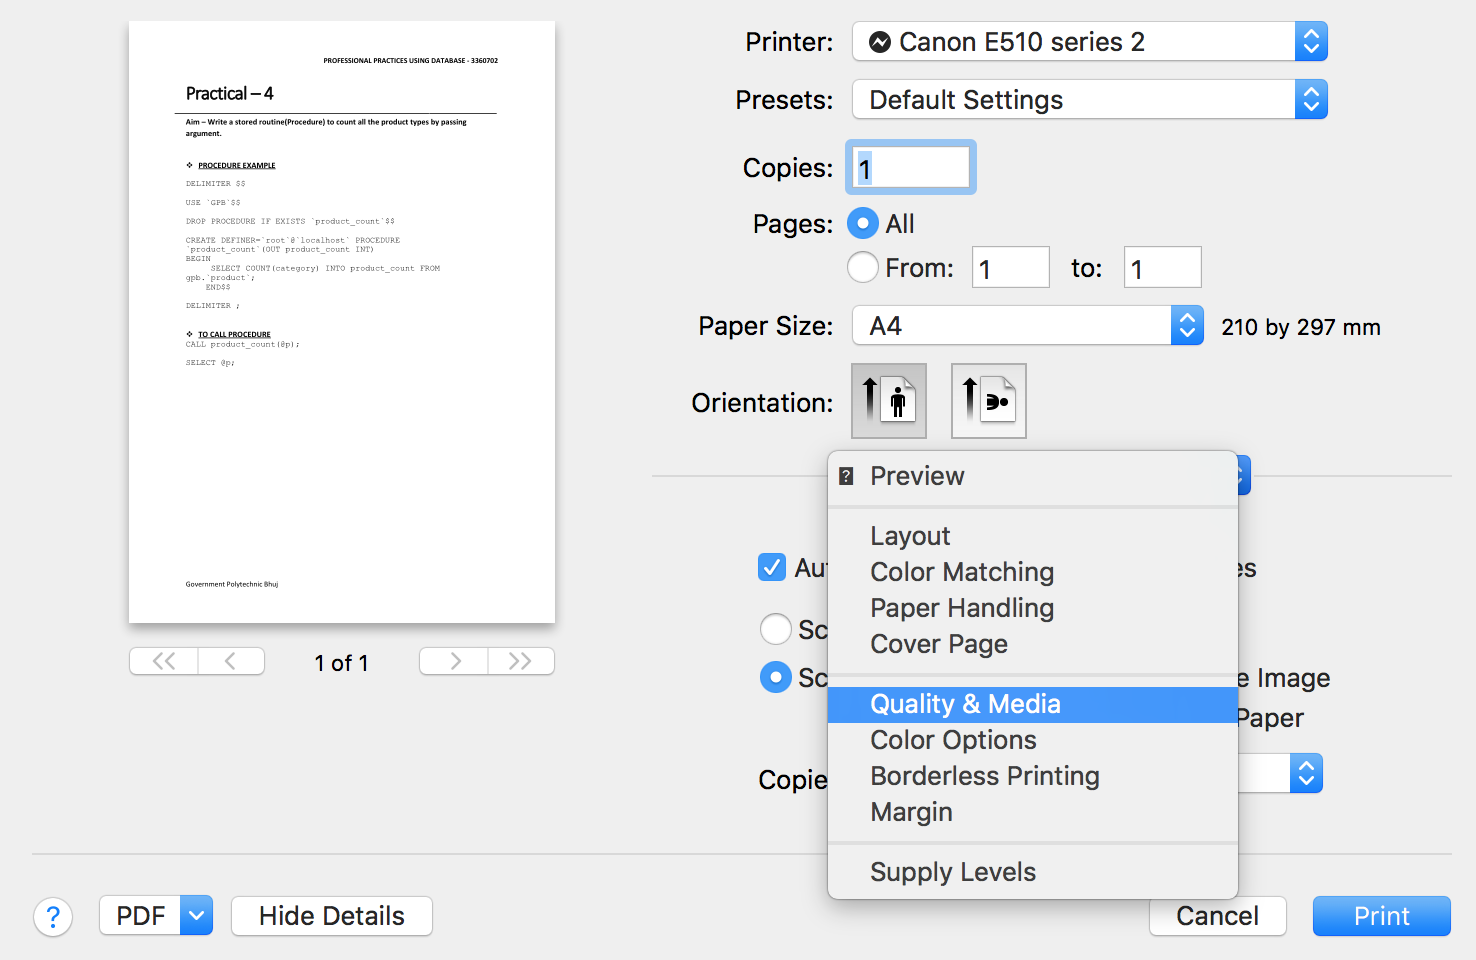
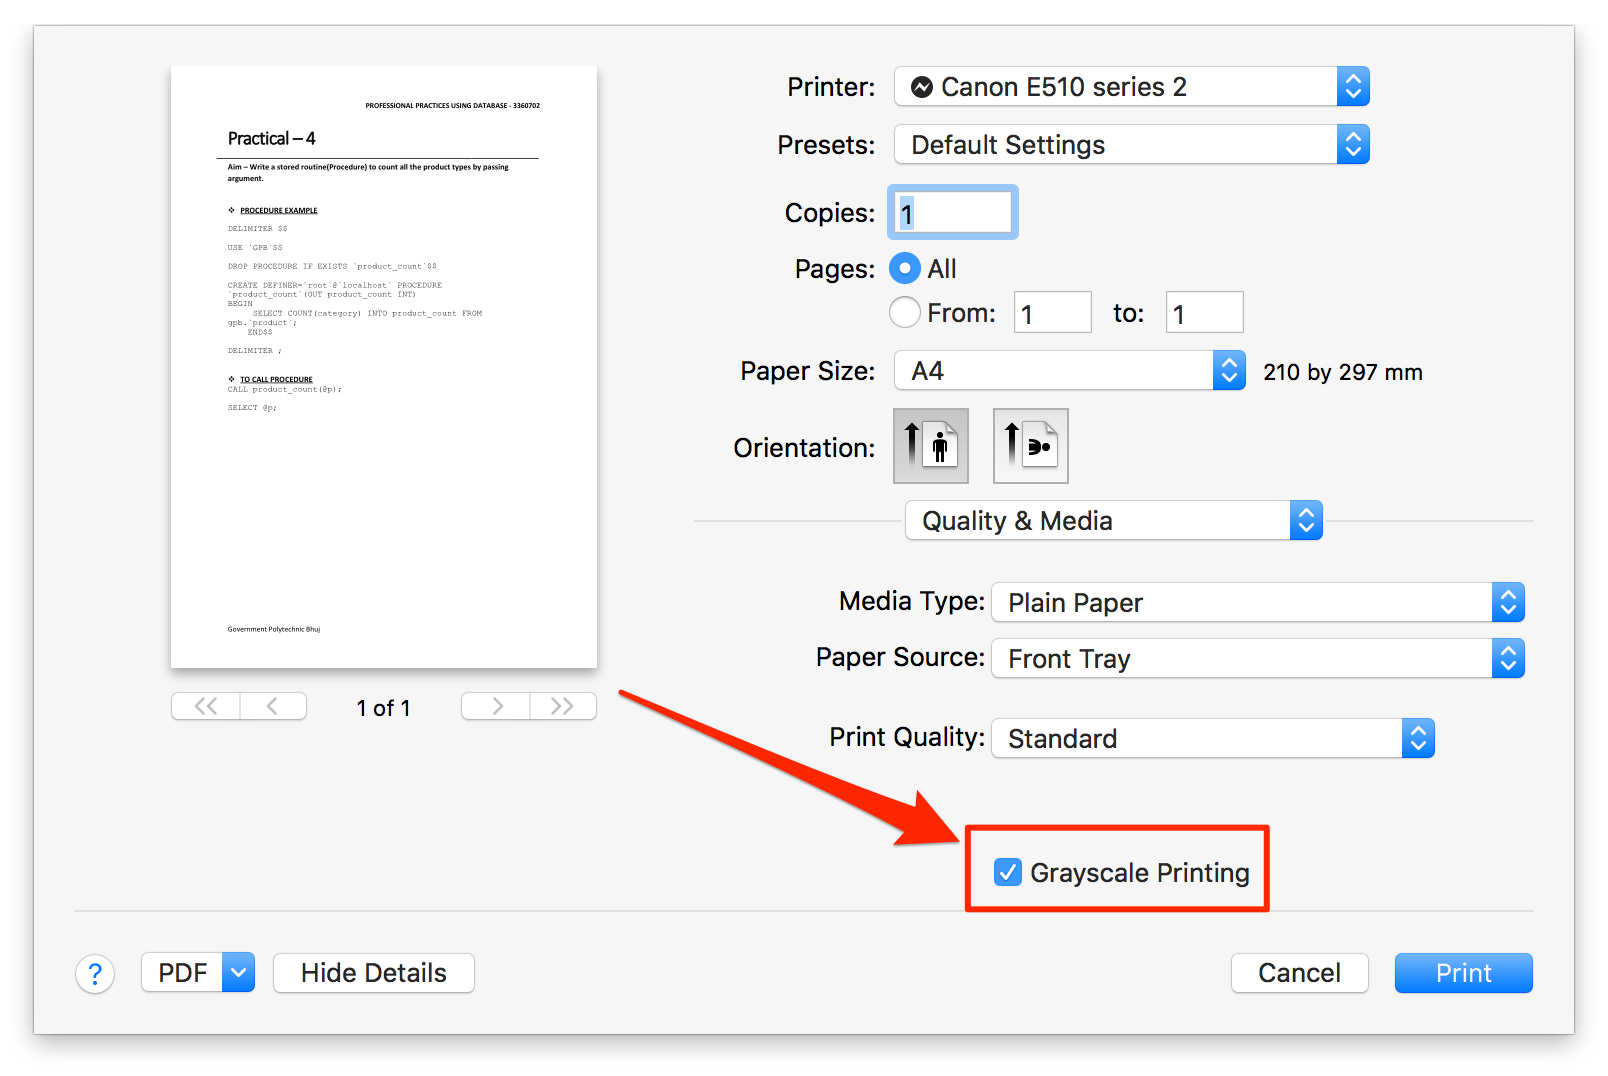
When the print dialog box opens, you will see some settings that you can adjust for the document you are going to print. On this screen, find the drop-down menu in which “Preview” is selected and then click on it and select “Quality & Media” from it.
You will now see new printing options on your screen. There will be an option saying “Grayscale Printing” with a checkbox on this screen. What you need to do is tick mark the box to enable the grayscale printing feature. The grayscale printing feature means printing documents in black and white. It will make sure your printer uses the black and white cartridge to print the documents.
After tick marking the box, you can click on the “Print” button to begin printing your document.
So, that was how you could print documents in black and white on your Mac.


