Last Updated on May 30, 2021 by Mat Diekhake
Samsung has introduced a new feature in its S7 and S7 Edge that allows you to keep the display of your device always on without draining much battery. It can do so by only lighting up the required pixels on the screen while keeping others off.
If you do not have those Samsung phones to enjoy the feature but you would like to have it on your device, then, fortunately, there is an app that can do that for you.
There is an app that allows you to get that S7-like feature on your non-Samsung Android device. With the app installed on your device, the display of your device will always be on without causing much battery drain.
Here’s how to download and use it on your device:
Keeping the Display Always On without Draining Battery on Android Devices
To do the task, you are going to use an app called “Always On AMOLED.” It is available for free to download and use on the official Google Play Store.
There is a thing you should know about the app. The app is supposed to be only used on the phones that have an AMOLED screen. If yours is an LCD display, the app does not work at its great because LCD screens have limitations that you cannot light up specific pixels on the screen. On the other hand, AMOLED screens have the advantage that you can lit up whatever pixels you want on the screen while keeping the others inactive. This does not mean that the app does not work on the phones with LCD screens. It will work, but your battery quickly drains out.
If you are not sure whether your phone has an LCD or an AMOLED screen, you can head over to a site like GSMArena that shows all the specifications of your device. In the screen section, you should be able to see what kind of screen your phone has — whether LCD or AMOLED.
Once you have found out that yours is an AMOLED screen, here’s how you can download and use the app on your device.
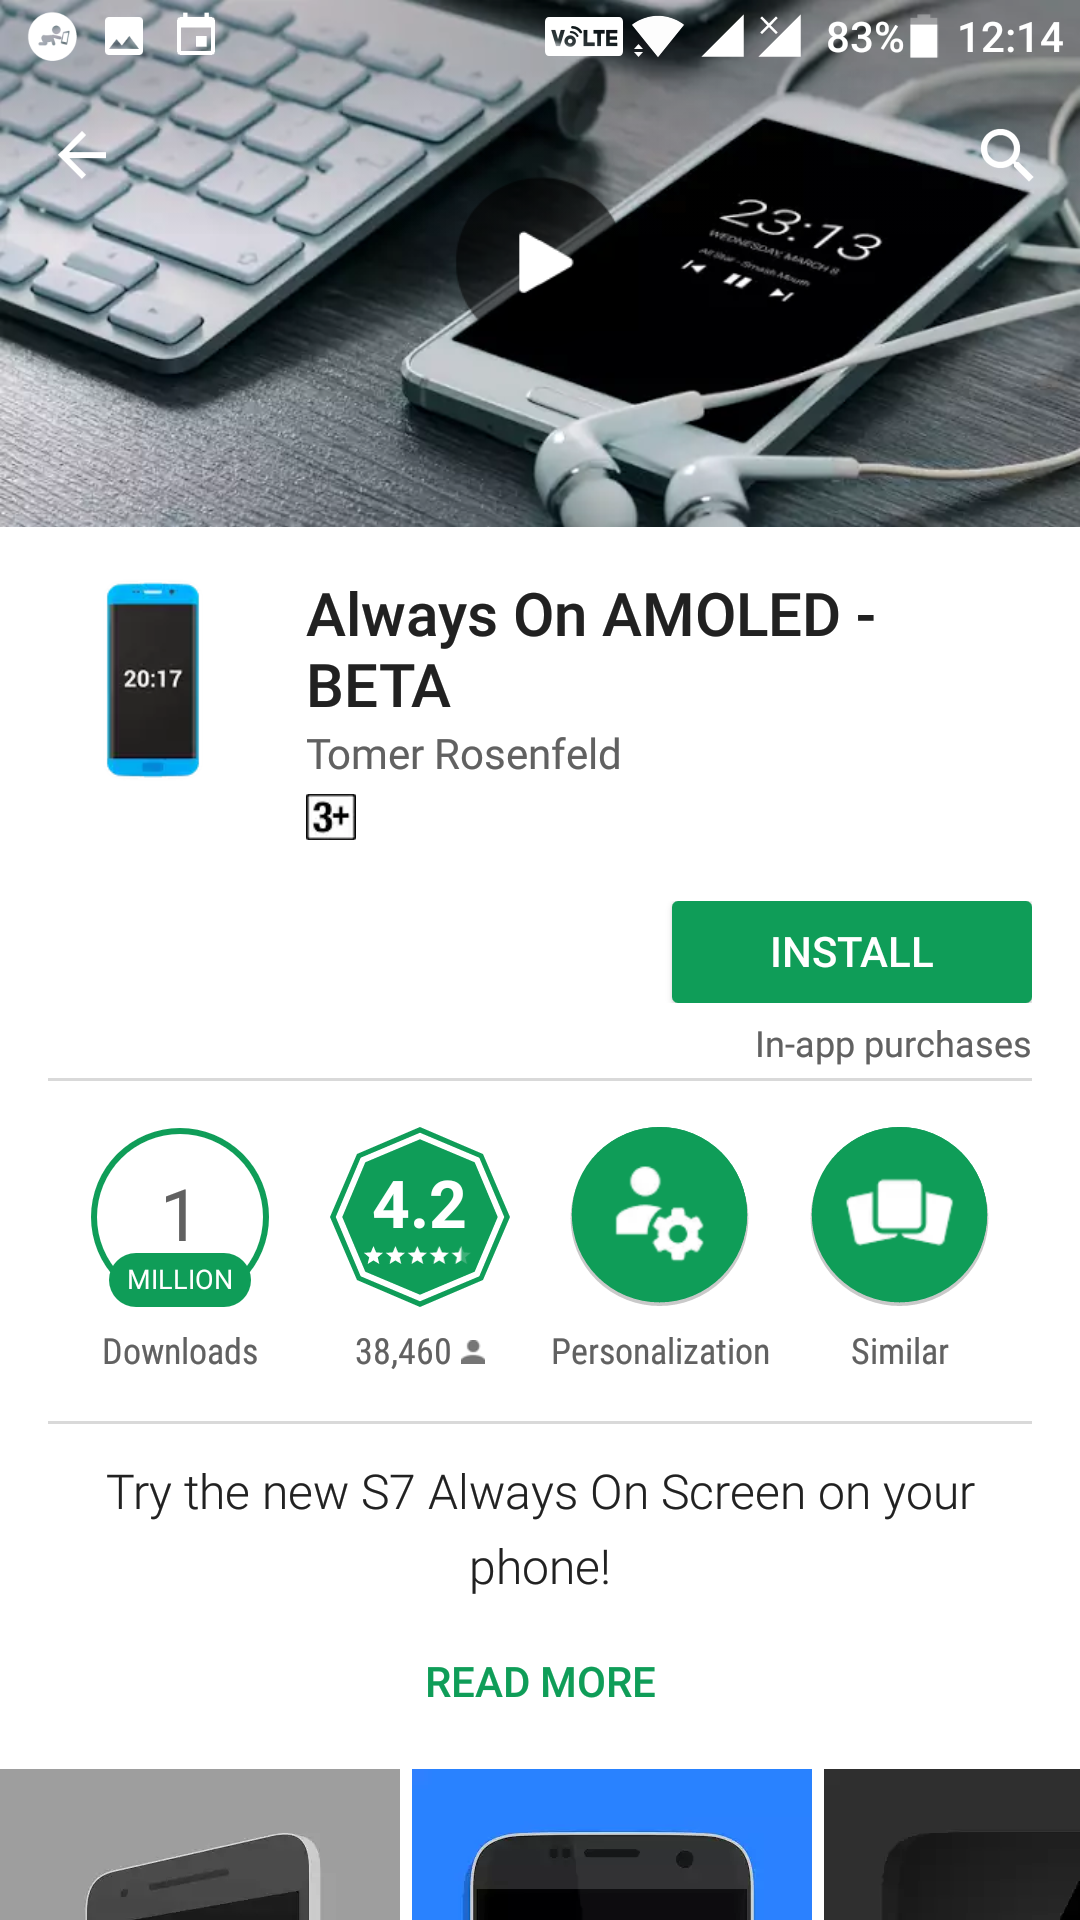
Open the App Drawer on your Android device and tap on “Play Store” to launch the Google Play Store on your device. Then, search for and tap on “Always On AMOLED.” When the app page shows up, tap on the button that says “Install” to install the app on your device.
When the app is downloaded and installed on your device, open the App Drawer and tap on “Always On AMOLED” to launch the newly installed app on your device.
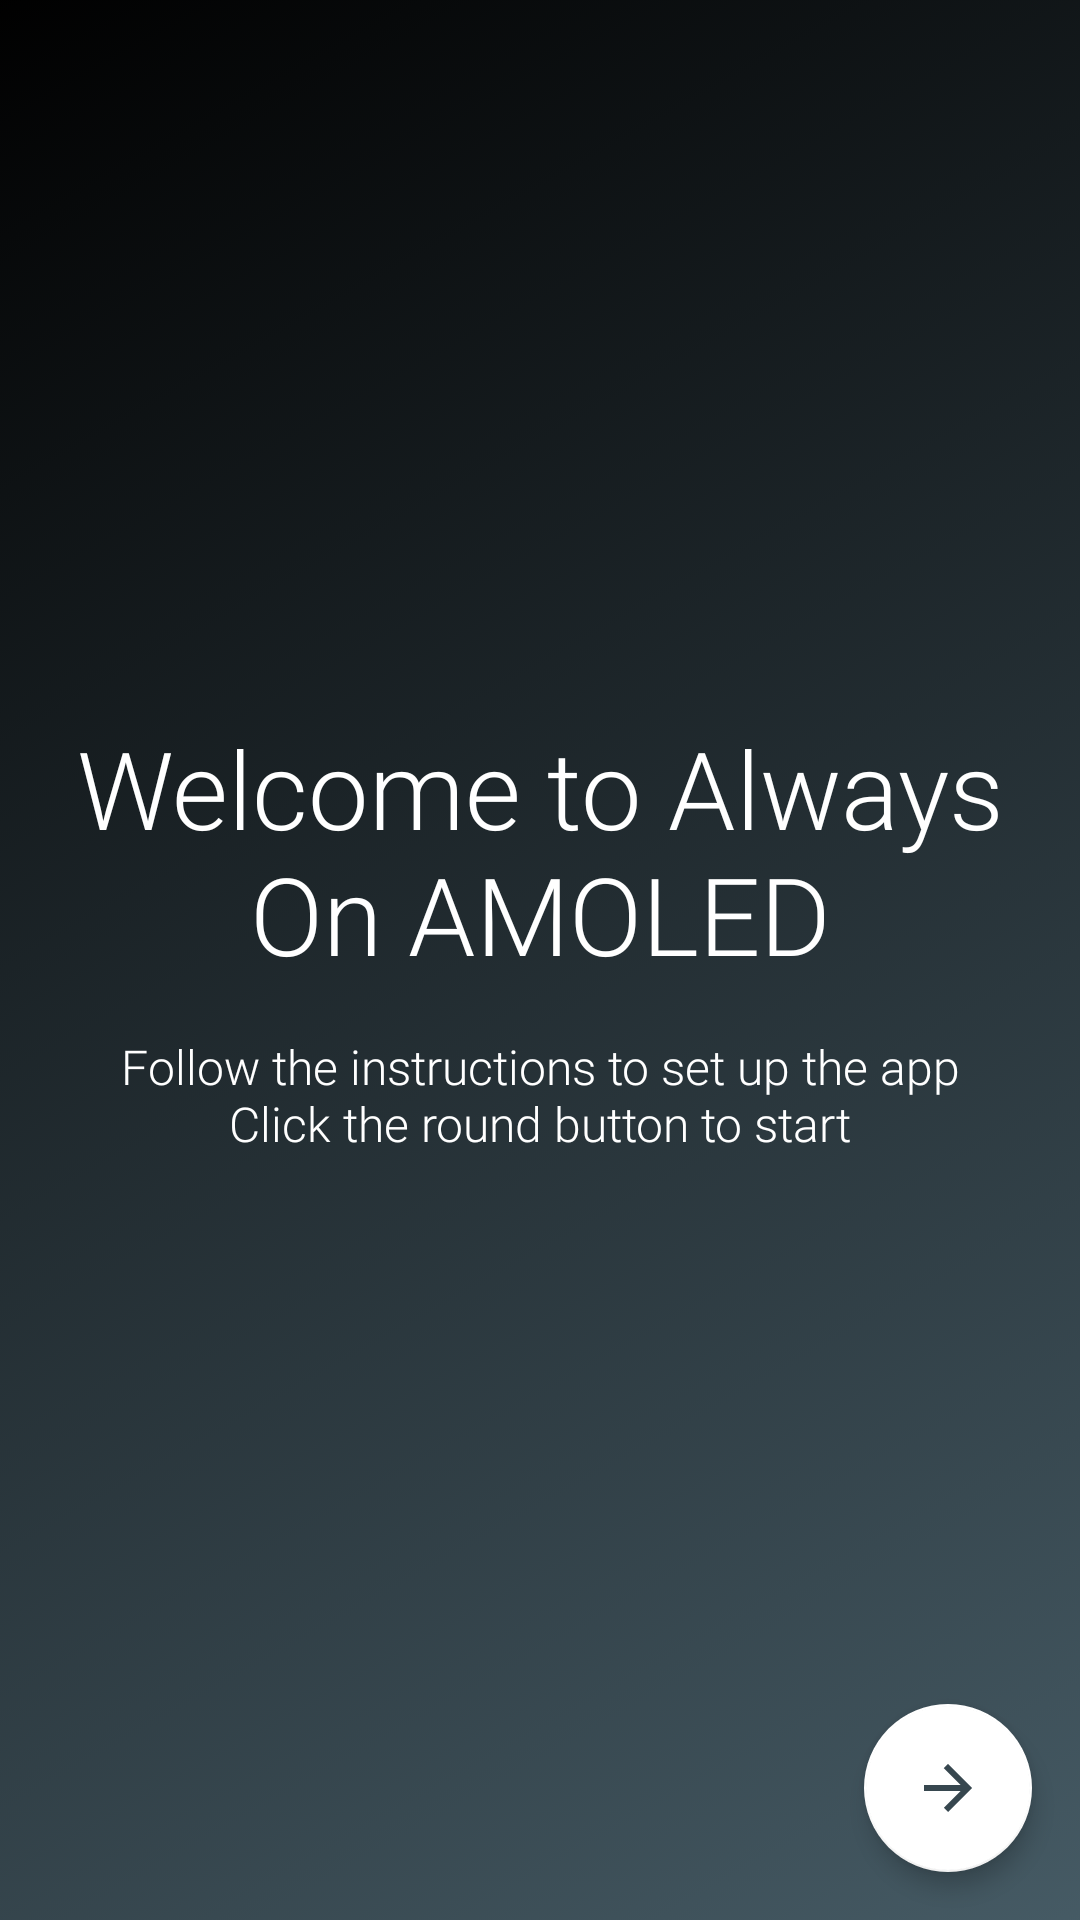
When the app launches for the first time, you are always walked through introductory screens where you can set up the app to work on your device. On the first screen, tap on the forward arrow to move forward.
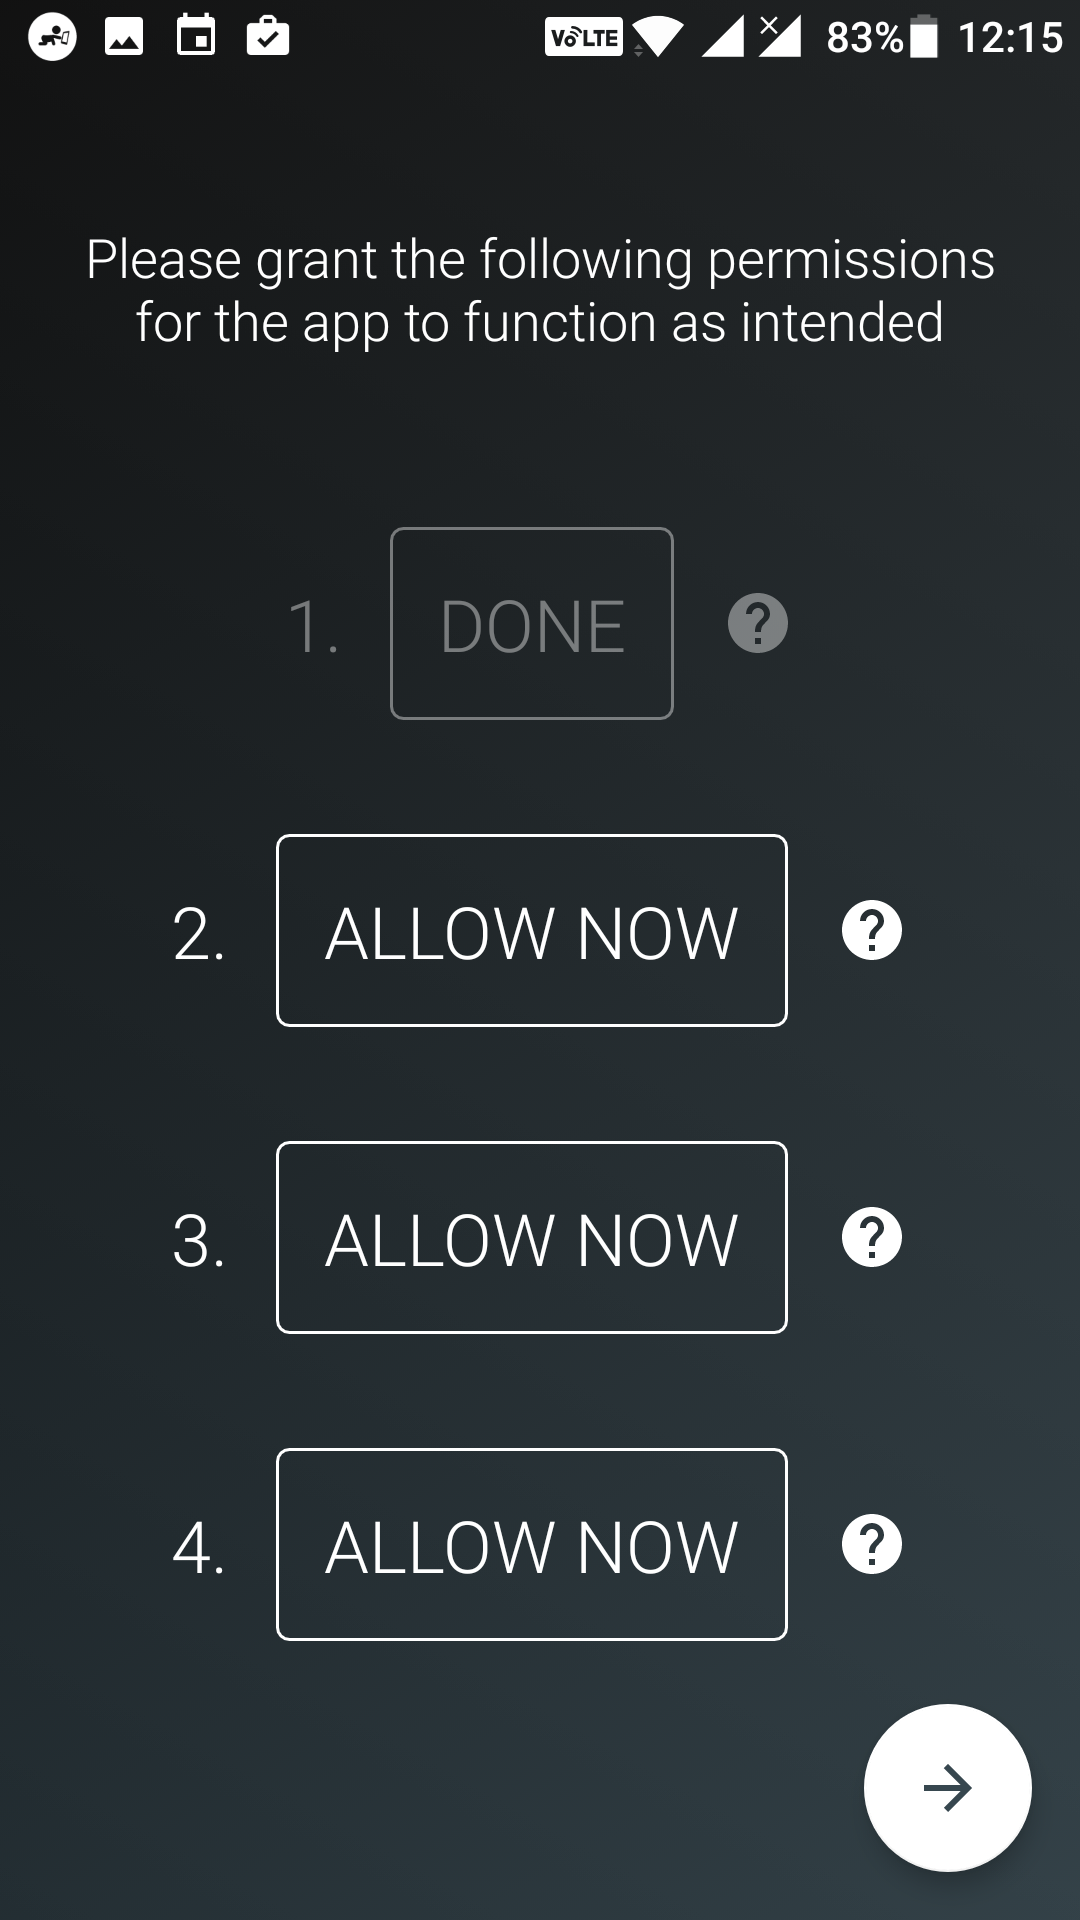
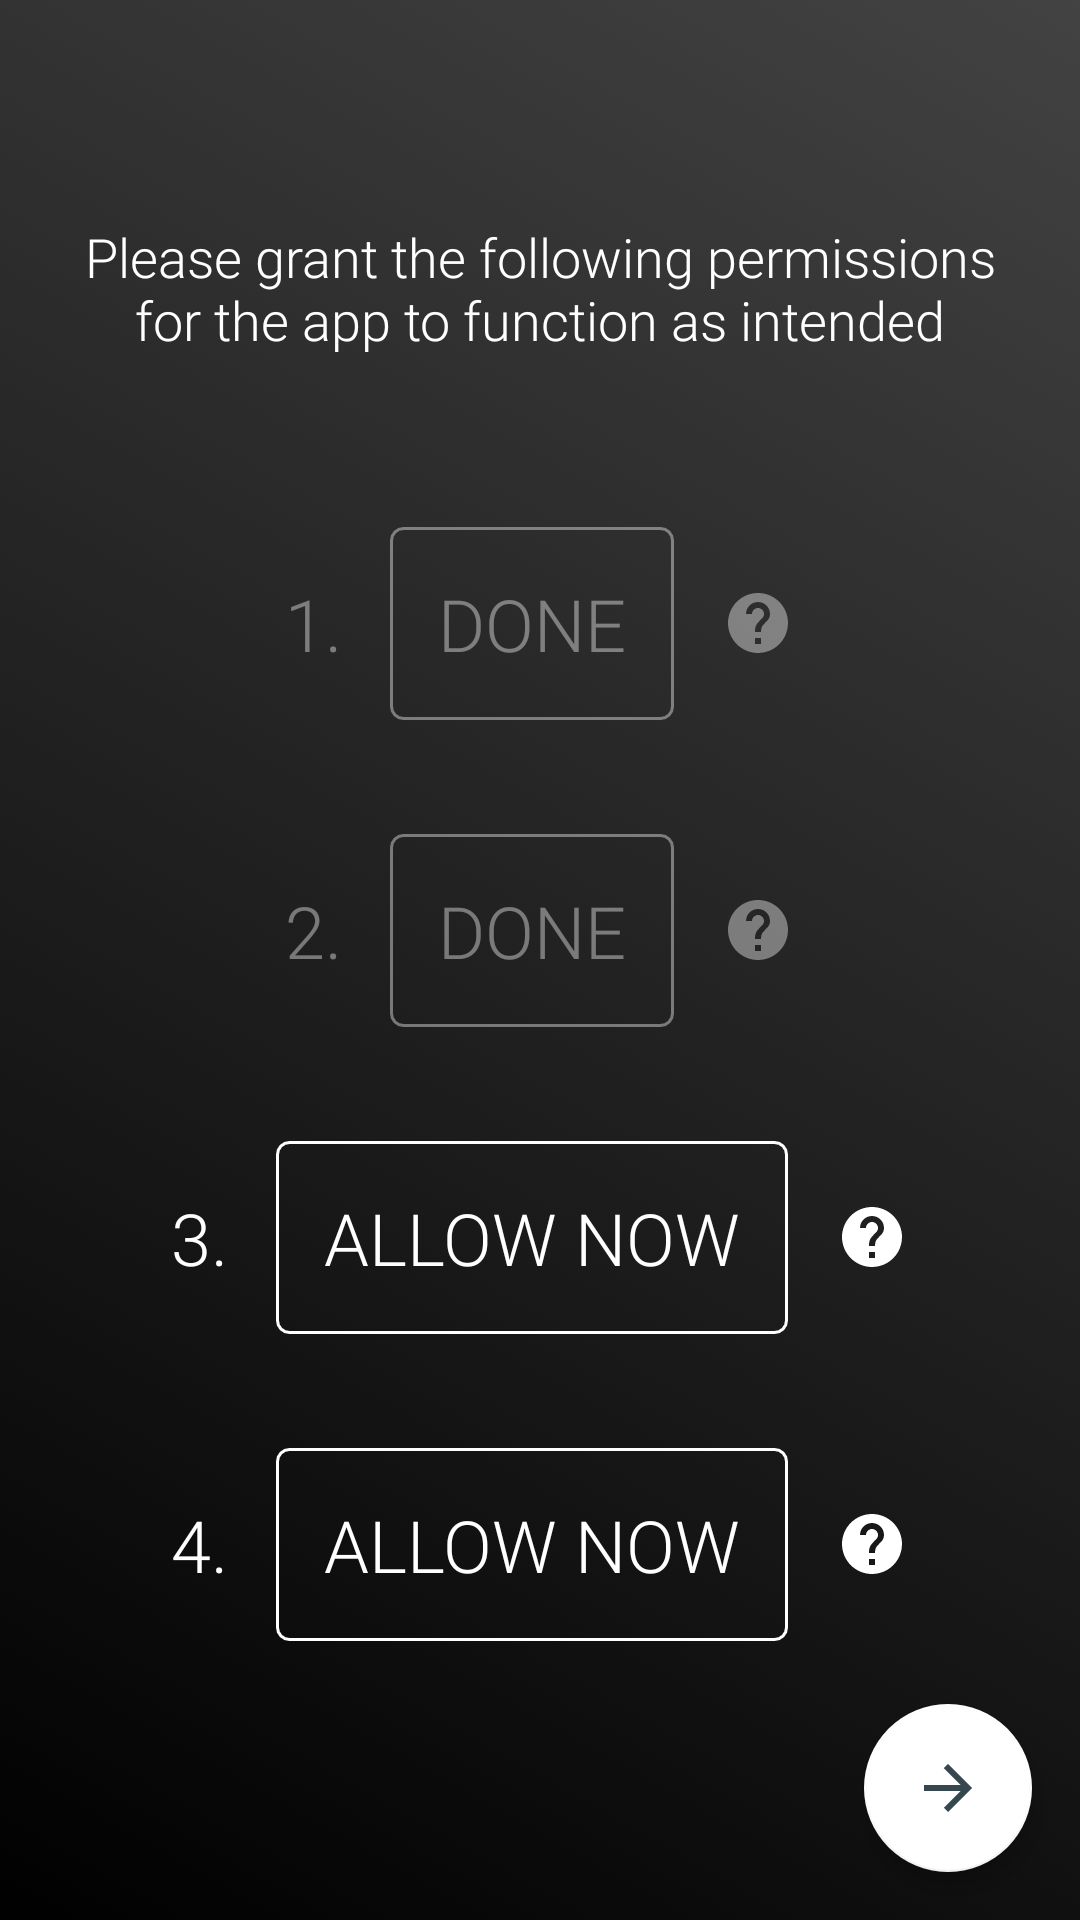
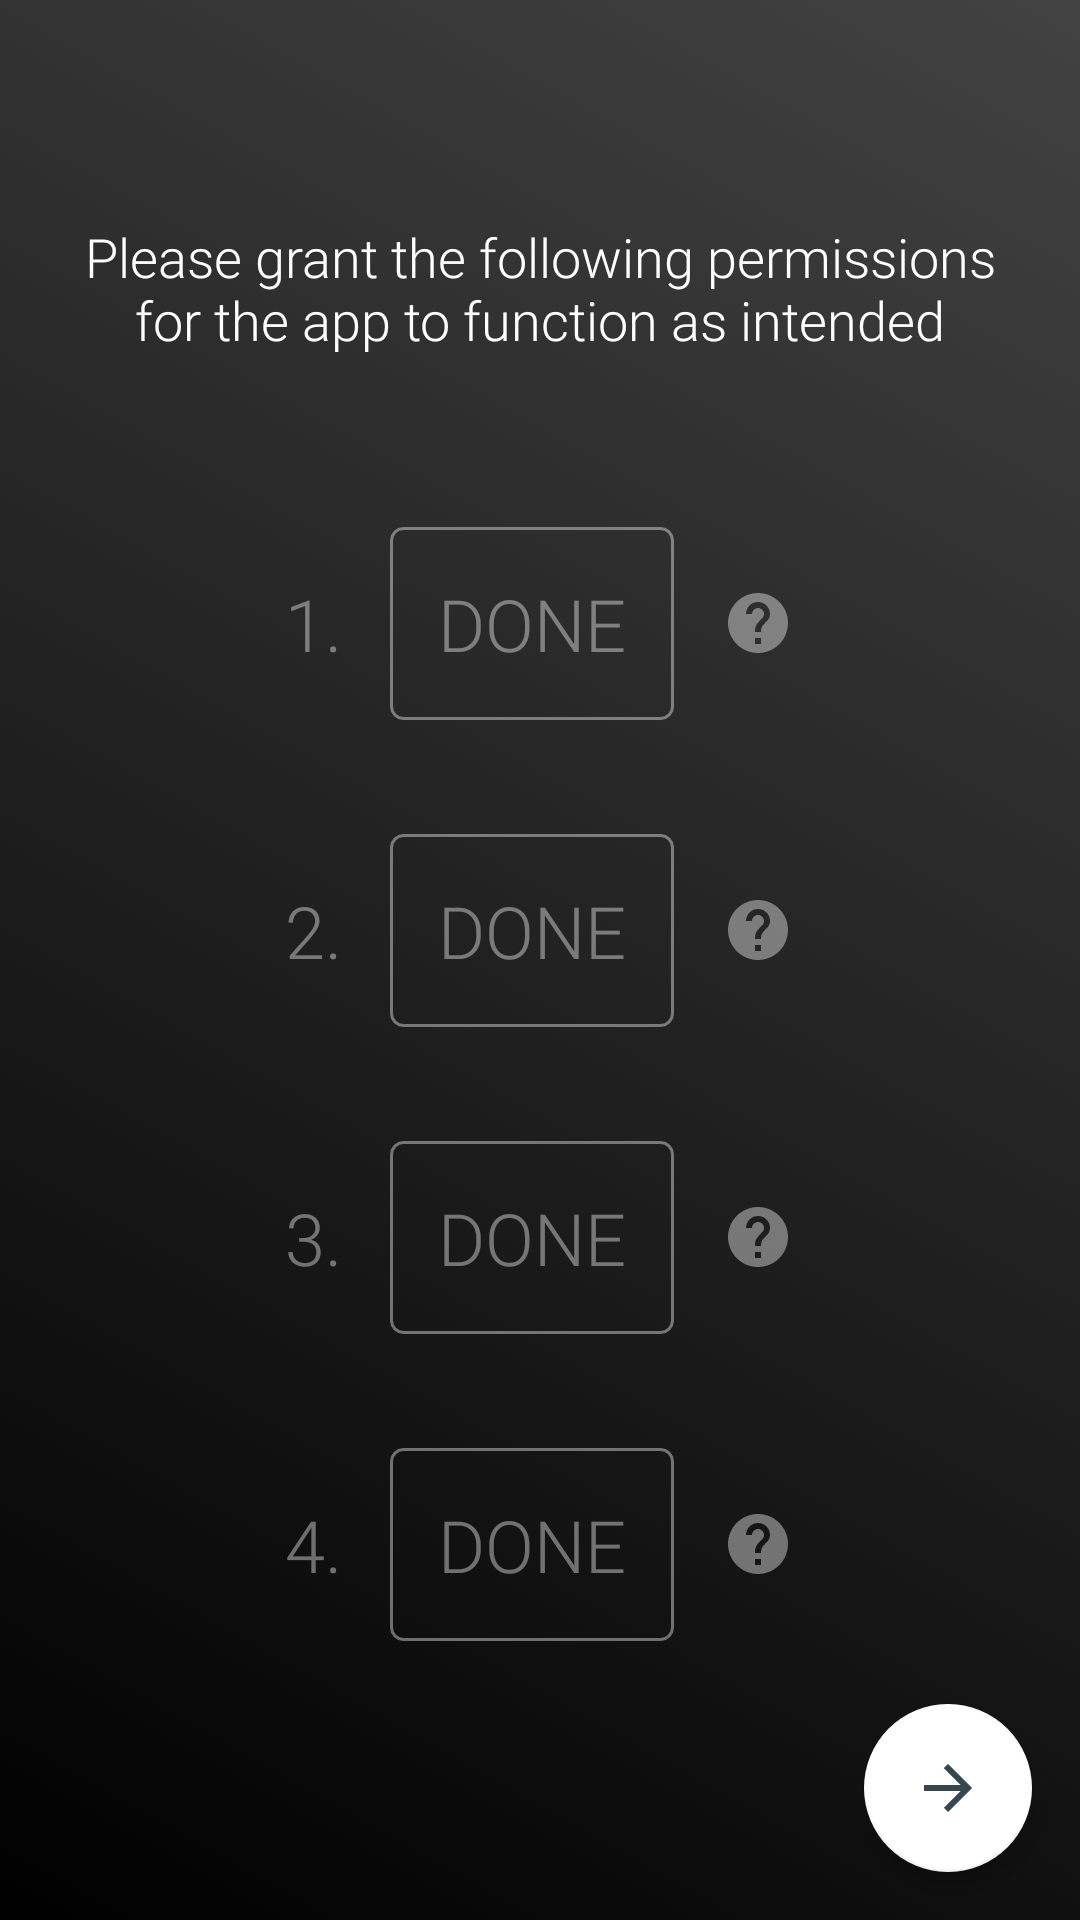
On the next screen, the app asks for some of the permissions it needs to work on your device properly. Tap on the “Allow Now” button for the required permission.
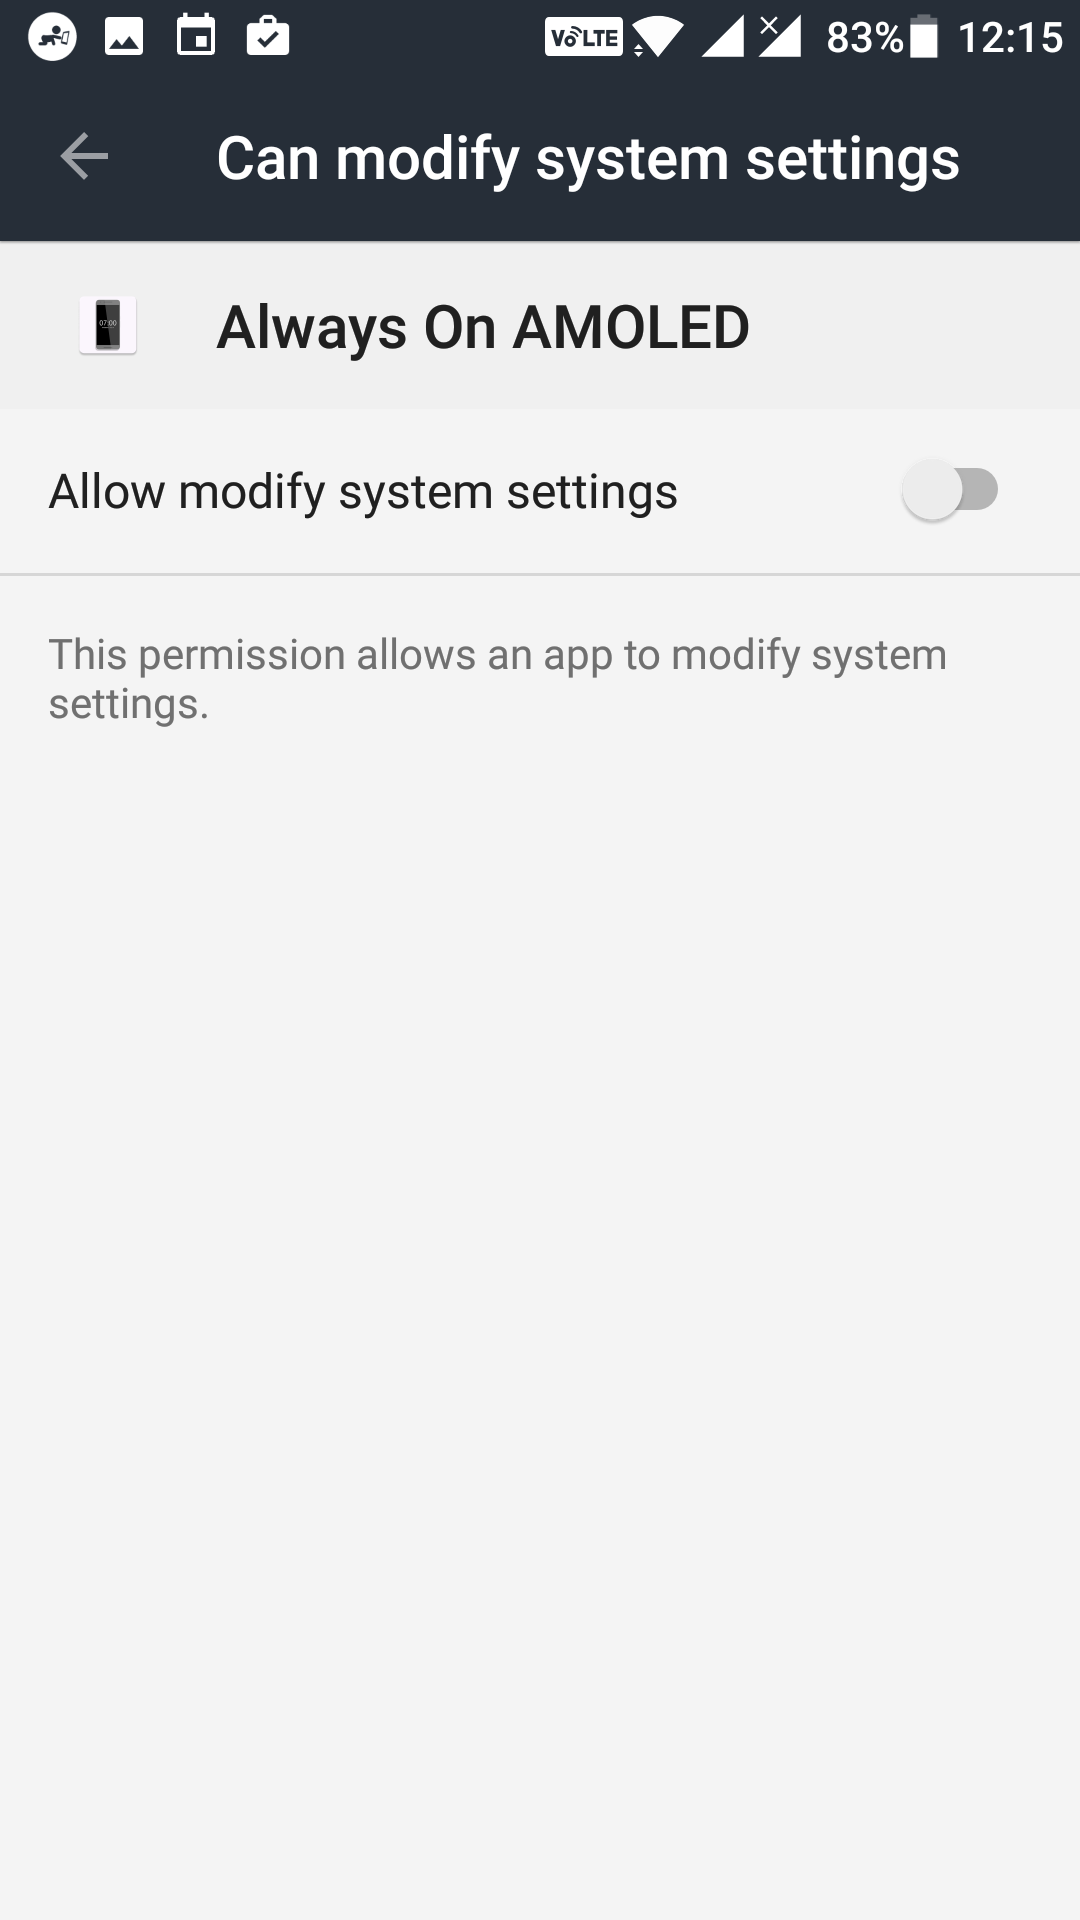
You are taken to the system settings panel. On this screen, you will see a toggle that you need to turn to the On position. Once that is done, hit back to go back to the app.
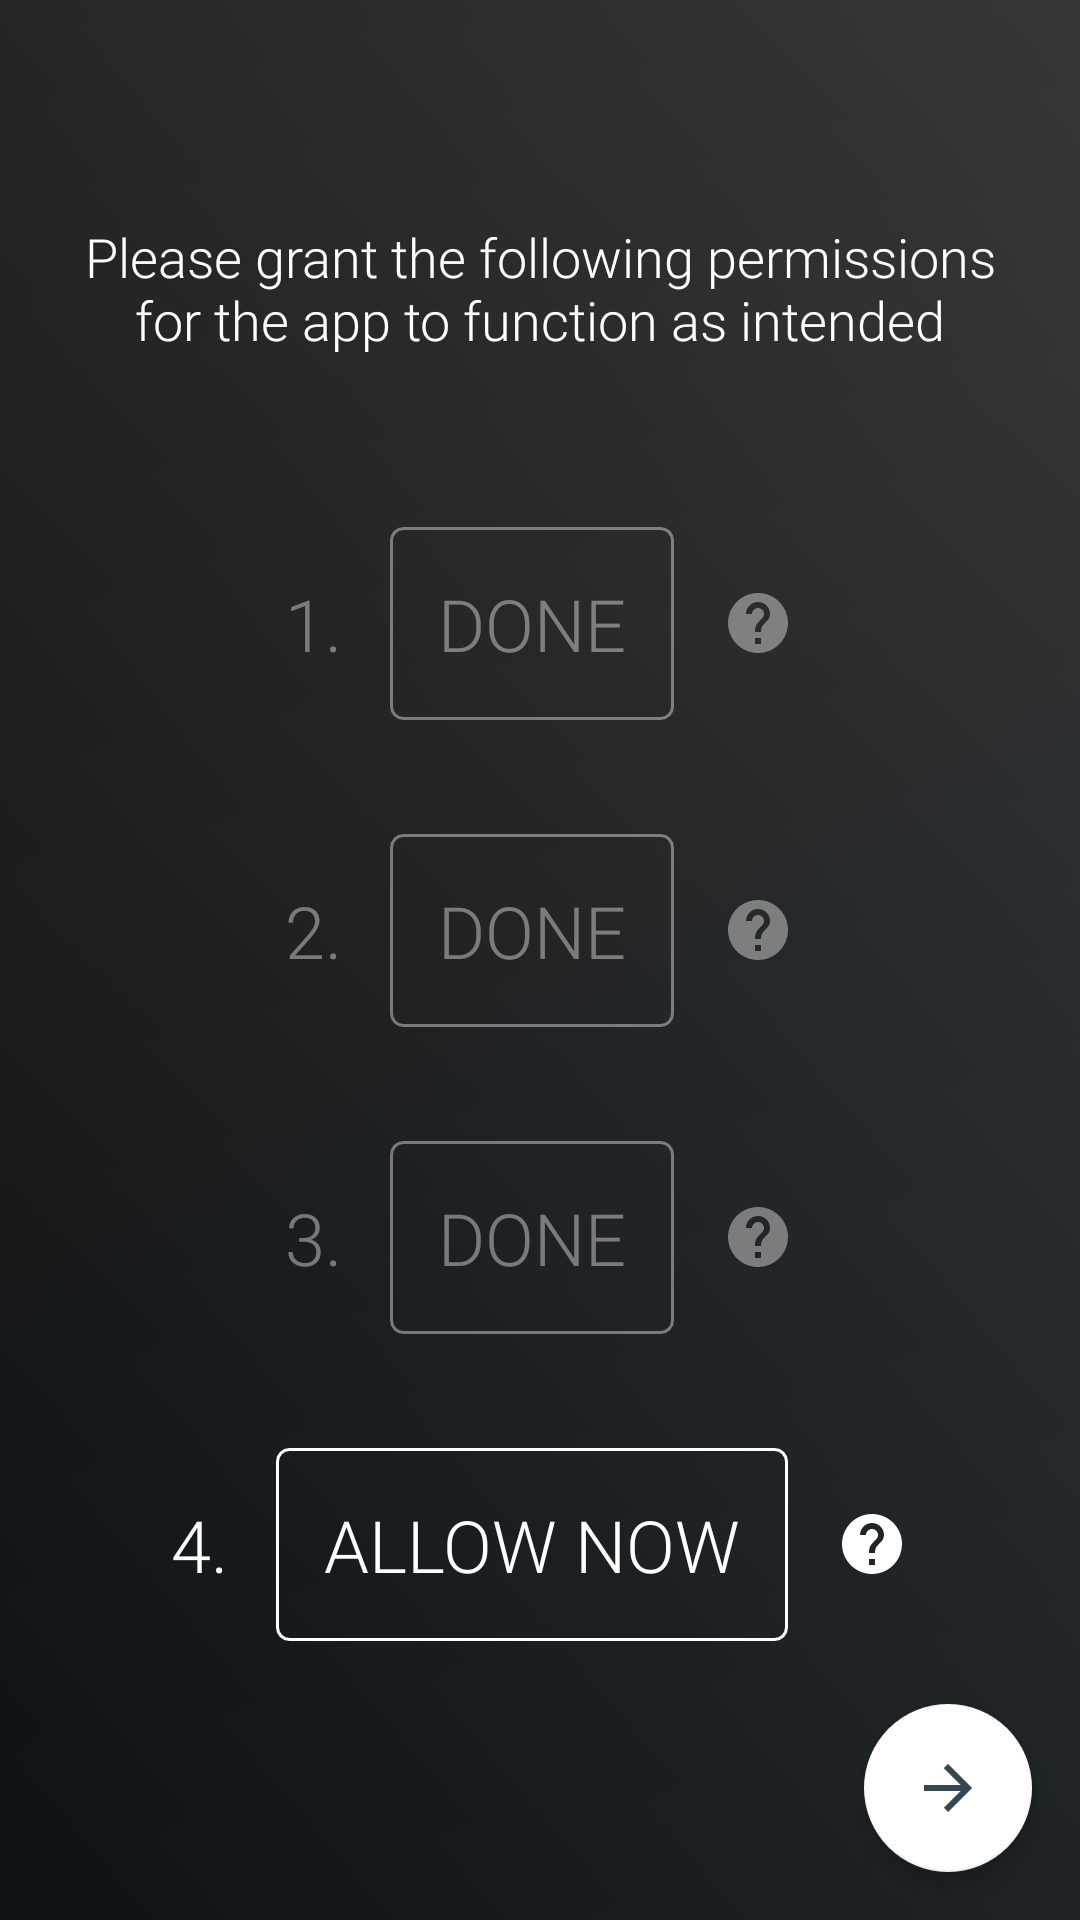
Then, tap on the next “Allow Now” button to allow a new permission to the app.
It asks that it needs phone permissions. Tap on the button that says “Allow” to grant it the permission.
Finally, tap on the last “Allow Now” button to grant the last permission the app needs.
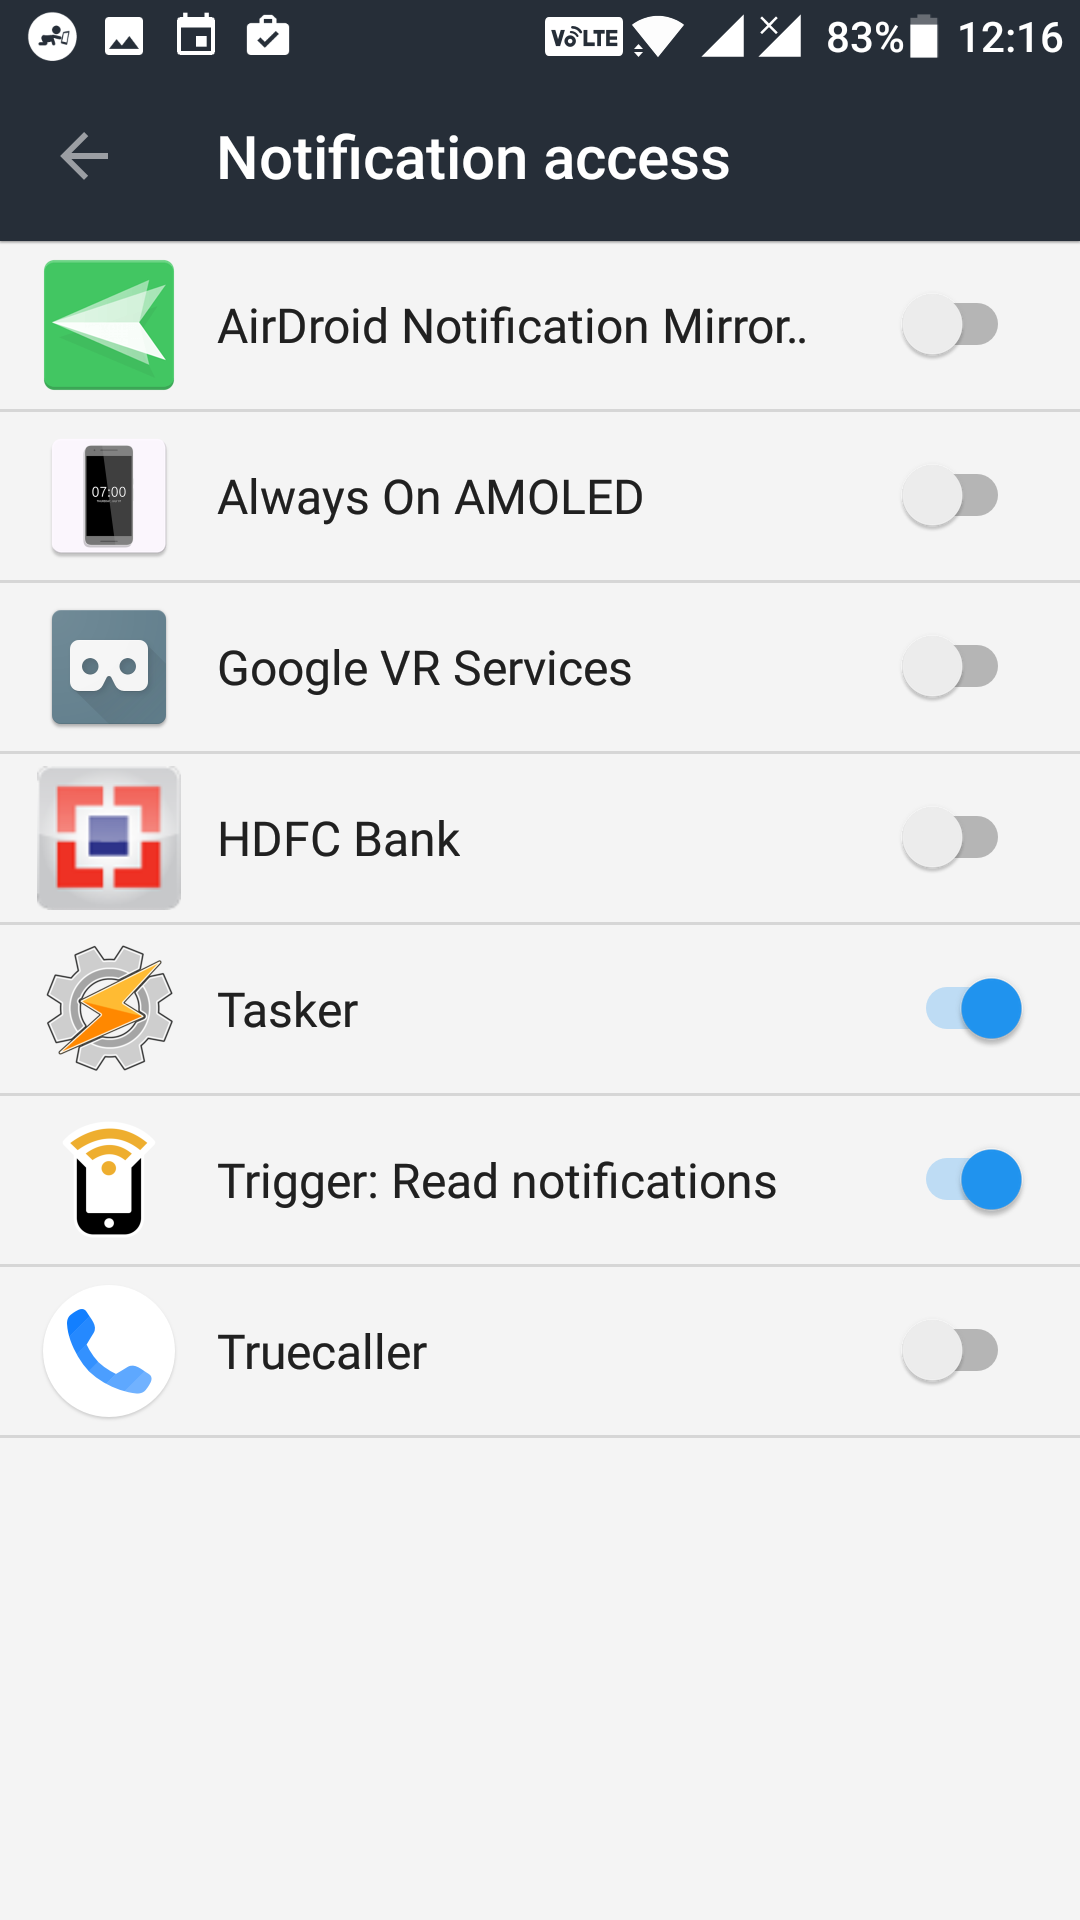
You are taken to the notification access panel. On this panel, find the app that says “Always On AMOLED” and turn the toggle for it to the On position.
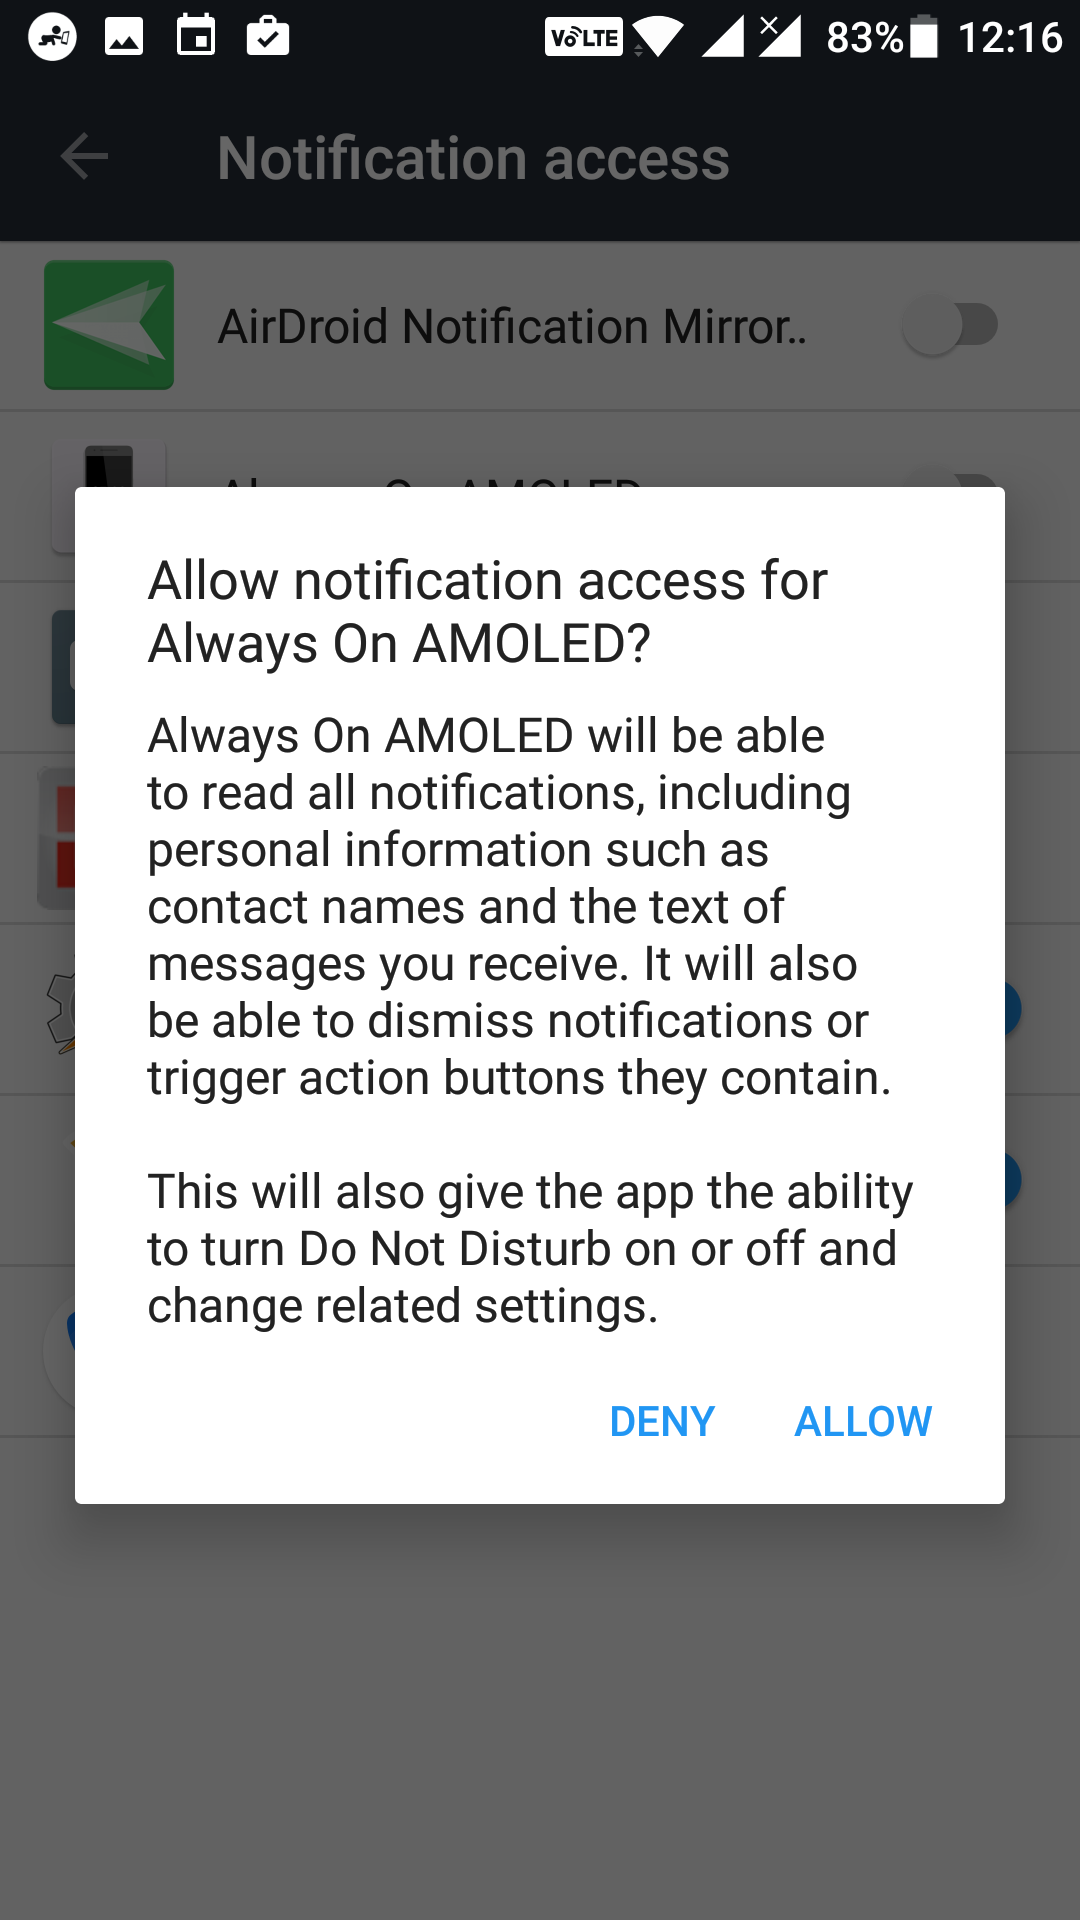
When you turn the toggle to the On position, you will see a prompt on your screen that looks like the following. Tap on the “Allow” option in the prompt to move forward.
Hit the back button to go back to the app. Once back in the app, tap on the forward arrow icon to move forward.
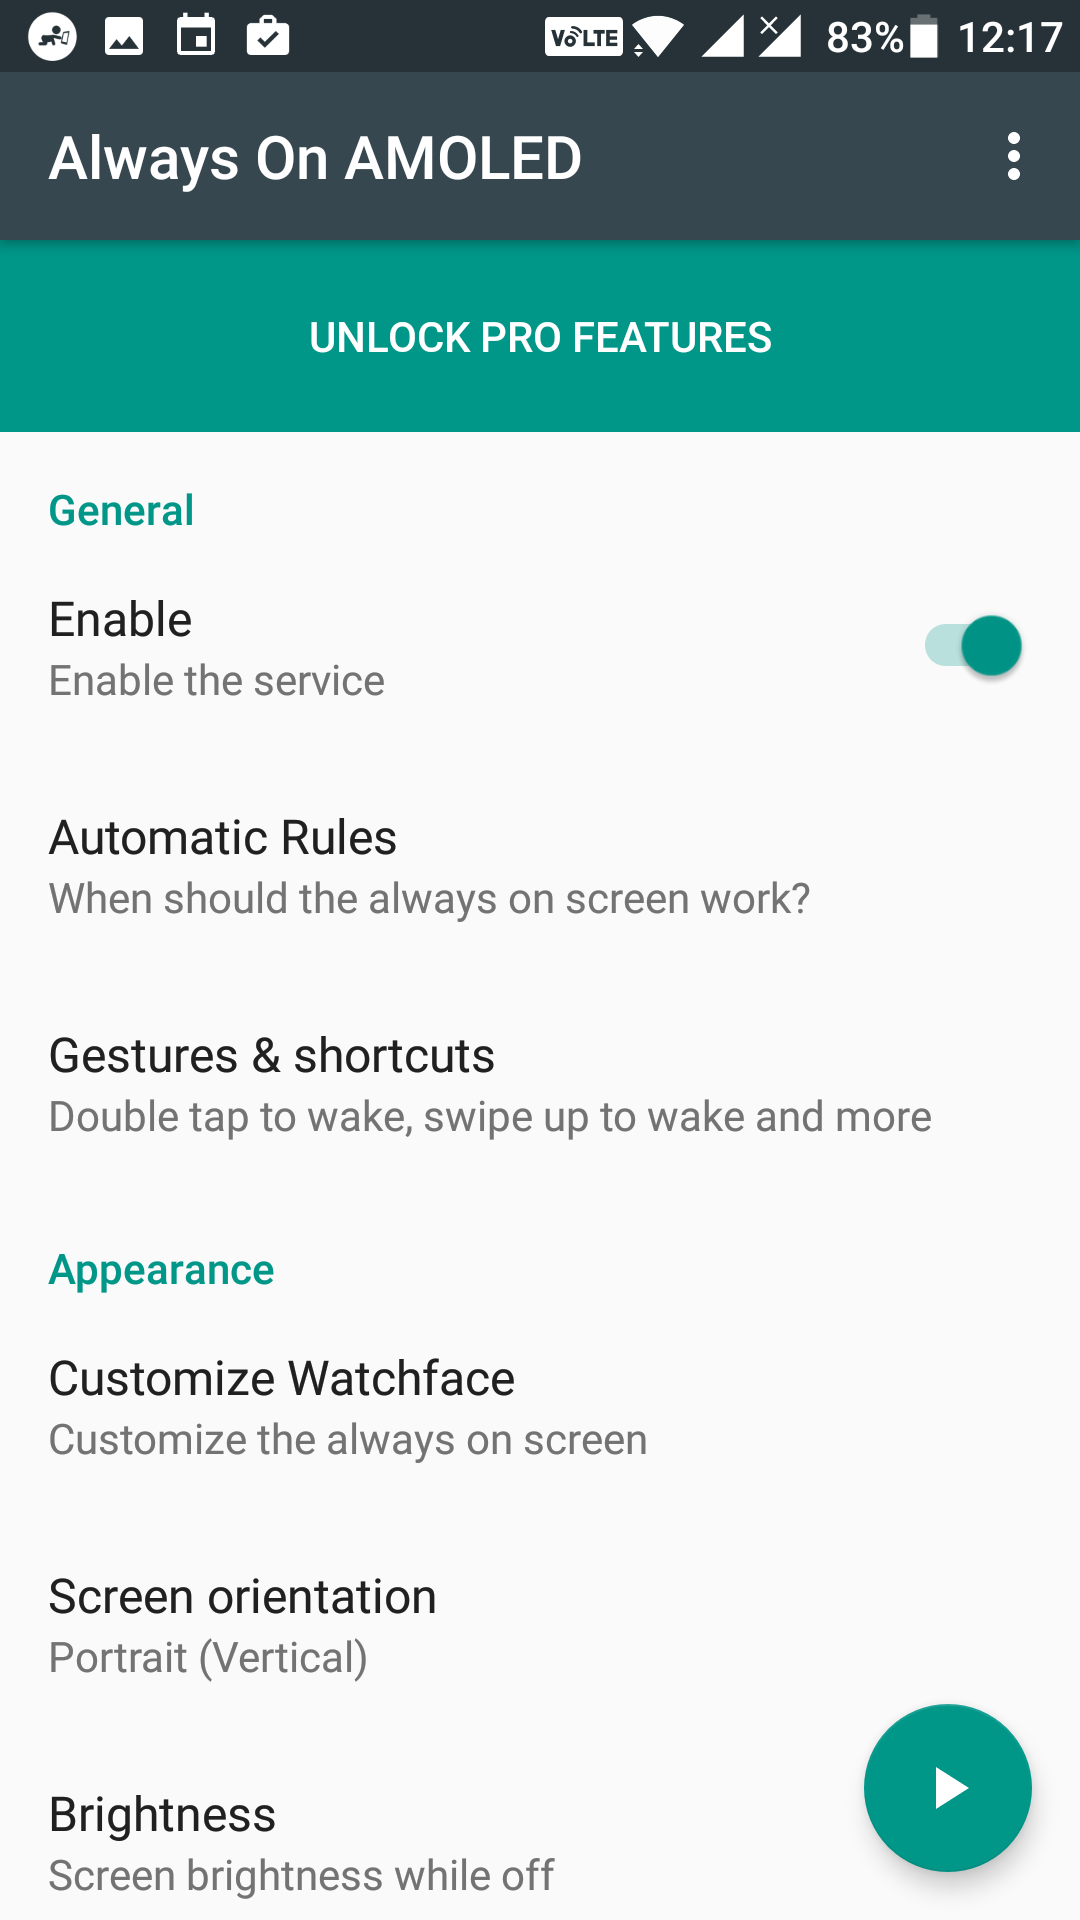
You should now be on the main interface of the app. Here, make sure that the “Enable” toggle is in On position which means the app is active and working on your device. Besides, there are some other options that you can configure should you wish. Otherwise, you can just leave them as they are.
You can now turn off on your screen, and in a few seconds, a clock appears on the screen which keeps the display always on for you.
So, that was how you could keep the display always on without draining much battery on Android devices.
You might also be interested in:
- How to Prevent Page Jumps in Chrome for Android
- How to Stop Notifications for Work Emails During Leisure Time on Android
You can subscribe to our RSS, follow us on Twitter or like our Facebook page to keep on consuming more tech.


