Last Updated on April 10, 2017 by Mat Diekhake
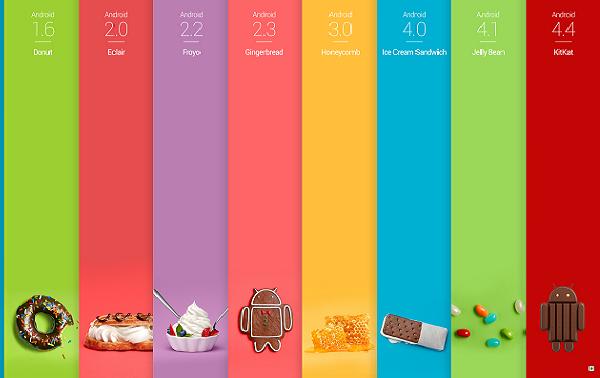
The Tab 3 10.1 announced back in June 3 of this year comes with Android 4.2 Jelly Bean out of the box. That’s a nice OS for its time, but we are well and truly past those days now. KitKat is thriving on most modern smartphones and tablets and that’s soon to chance since the Android 5.0 Lollipop is on its way during November and December to numerous devices. With the all-new material design, notifications and battery saving modes, it’s sure to be a huge hit. Nevertheless, 4.4.2 KitKat still offers a great deal to get excited about. The final two stages of the chocolate software namely 4.4.3 and 4.4.4 didn’t offer many features apart from a revamped phone dialer and a few other minor tweaks to the UI. 4.4.2 comes with the most features including wireless printing, new emoji, full screen album art from the lock screen, immersive mode and more. Furthermore, the overall ROM feels much faster and smoother compared to that of the Jelly Bean experience.
First and foremost, backup the settings and data stored on the OS since buying the tablet and taking it out of the box. That includes making copies of the phone contacts, SMS texts, MMS messages, video footage, music files, other audio files, pictures from your galleries and more. You ought to know that updating stock firmware does not result in data loss unless something goes wrong. Nonetheless, it’s a great idea to play it safe instead of taking unnecessary risks. There’s a bevy of amazing apps available from the Google Play store to help backing up just about everything we previously mentioned. Try out Helium for Android, SMS backup +, Holo and G Cloud backup just to name a few.
Stop the security programs from running on the Android tablet and the Windows computer. You should stop antivirus, malware and spyware protection until we finish the steps. It’s not critical to do this, but they can result in interfering with the tool.
Make sure you stopover at the Developer Options from the tablets settings menu and enable the USB Debugging mode. That allows for us to connect successfully to the computer using the USB wire. Moreover, you must have the updated USB drivers either manually or from Kies.
Stop the Samsung Kies application from running before starting the steps. Some people like to use Kies to download and install the up-to-date USB Drivers instead of manually. That’s fine, however, you must remember to disable the program again before continuing.
You ought to understand that this is official firmware released by the Samsung and Android teams. It will revoke the root access and custom ROMs you may be running. If that is an issue for you the great news is that you can likely unlock the internal system once again after completing this update. The warranty that was void previously through customizing the OS is now in perfect working order again as long as there is time left on the contract.
The GT-P5210 comes with a range of connectivity features including USB 2.0, Bluetooth 4.0, tethering, computer sync, OTA sync, is a Mass Storage Device and has USB charging. The latter features is important to use since we are connecting to the computer for the duration of the guide. That means the battery will have no problems charging as long as it is plugged in. On the rare occasion that the USB charging feature is not working, you want to store at least 50% battery charge since the tablet will turn off briefly before the completion of the guide. We cannot afford to have the tablet turning off before the process completes.
We are using the official Odin application made by the real Samsung Developers. It only works for Microsoft Windows-based operating system and it will not work for Mac or Linux. Do not try this out on OS X Mavericks, Yosemite or any other version from a Mac machine because it does not work. Additionally, it can cause damage. You can use Windows XP through to Windows 8. If you are reading this after Windows 10 is out it will also be compatible.
How to install Android 4.4.2 KitKat on the Samsung Galaxy Tab 3 10.1
- Download the Odin 3.09 package here.
– extract the content and run the program so it’s open on the monitor. - Download the official XXUBNH1 4.4.2 firmware file here.
- Fetch the USB cable from the phone charger.
- Boot the Tab 10.1 in Download Mode by pressing volume Down + Power + Home keys at the same time.
- Connect the tablet to the computer with the USB wire.
- Watch as the ID: COM port in Odin changes to blue or yellow.
- It should say “added” on the screen. Try downloading the USB Drivers again if you did not see the message.
- Click the AP button and upload the firmware file.
- Verify that the re-partition box is not checked.
- leave all of the default settings as they are shown in Odin.
- Click the start button when you are ready to start the flashing.
- Wait until the flashing finishes.
- It says “pass” and the ID: COM port will alternate colors once again.
- Disconnect the table from the PC properly by stopping over at the system tray and stopping the USB Mass Storage device.
There are several negatives with this tablet such as the camera lacks flash, the camera lacks autofocus, it comes with a low pixel density screen and the battery is not user replaceable. So, if you want to open the OS and explore a fun world that includes additional custom apps you can’t find from the Google Play Store, custom ROM for tweaking the design of the UI with themes, you should try rooting your device.