Last Updated on July 19, 2022 by Mathew Diekhake
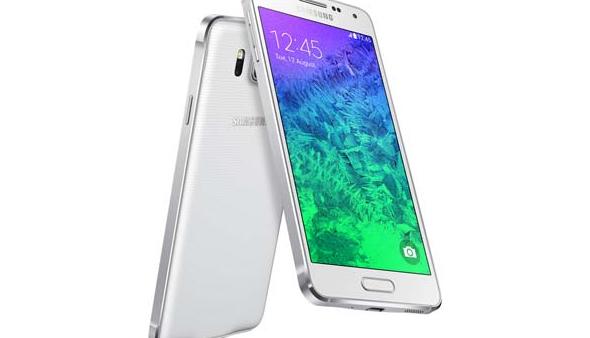
These are the steps to unroot the Samsung Galaxy Alpha for AT&T subscribers. If you have soft-bricked the Galaxy Alpha, or would just like to get rid of the root access and return to a stock Android ROM, this is the guide for you. Before going ahead with the guide, understand that unrooting the Alpha doesn’t mean your warranty will work again. Samsung devices have additional Knox security and when you trip Knox it often is always detectable. With that being said, you hear about mixed results when sending devices away. Some people report back saying they have tripped Knox and still the Samsung people looked at the device. Others will tell you that it’s impossible.
Once you unroot the device, it will be just like it was out of the box. Any feelings toward it not being like that probably just happen in your head. We are flashing the official stock ROM on your device, which is the same ROM it comes with out of the box. There should be no difference regardless of what problems you faced during your time with having root access on the Alpha.

The Files You Need
- Download the stock ROM for the AT&T version of the Galaxy Alpha from this page.
- Download one of the later version of the Odin flashing tool for Windows from this page.
- Download the Samsung USB Drivers to the computer.
- The following guide is only for the AT&T variant of the Alpha. Do not flash this firmware file on a different version of the same smartphone. It must be for AT&T subscribers only.
Unrooting the Samsung Galaxy Alpha (AT&T)
- Unzip the official firmware file on the desktop of the Windows PC.
- Drag and drop the firmware file over to the desktop and out of its current folder.
- Unzip the Odin flashing tool.
- Leave it in the folder, but double-click over it with the mouse so it runs on the computer.
- You should now have the firmware file on the desktop and Odin running on the computer.
- Long-press the Power button on the Samsung Galaxy Alpha. Wait until the device switched off completely.
- Reboot the Alpha pressing the Volume Down + Power + Home buttons and keep pressing all three buttons without letting go. You’ll eventually see a warning screen after some seconds.
- Now release the Volume Down + Power + Home buttons so you are not touching any keys.
- Press the Volume Up button just once and your device will get past the warning screen.
- Find the USB cable you usually use for charging and plug it into the computer and Alpha smartphone.
- Since you’ve made the connection, the ID: COM port should now light up a color. Those without any change in the ID: COM port should install the USB Drivers. If you have already installed the USB drivers, try rebooting the computer. Drivers can get stuck and need a reboot occasionally.
- Click the AP button if you are using a newer version of the Odin tool. Those running an older version will see the PDA button.
- Browse the desktop for the firmware file you dropped earlier.
- Once you can see the firmware loaded in the PDA/AP position, click the Start button.
- The flashing will now start and pretty soon, your device will be unrooted.
You might also be interested in:
- How to Install KingRoot Android 7.0 Nougat APK for Android Mobile
- How to Install KingRoot Android 7.1 Nougat APK App for Android Mobile
- How to Install KingRoot Android 6.0.1 Marshmallow APK App for Android Mobile
- How to Install KingRoot Android 6.0 Marshmallow APK App for Android Mobile
Have something to say? You can contribute to this tech article by leaving a comment below.

October 29, 2016 @ 16:41
How to Root ?