Last Updated on July 19, 2022 by Mathew Diekhake
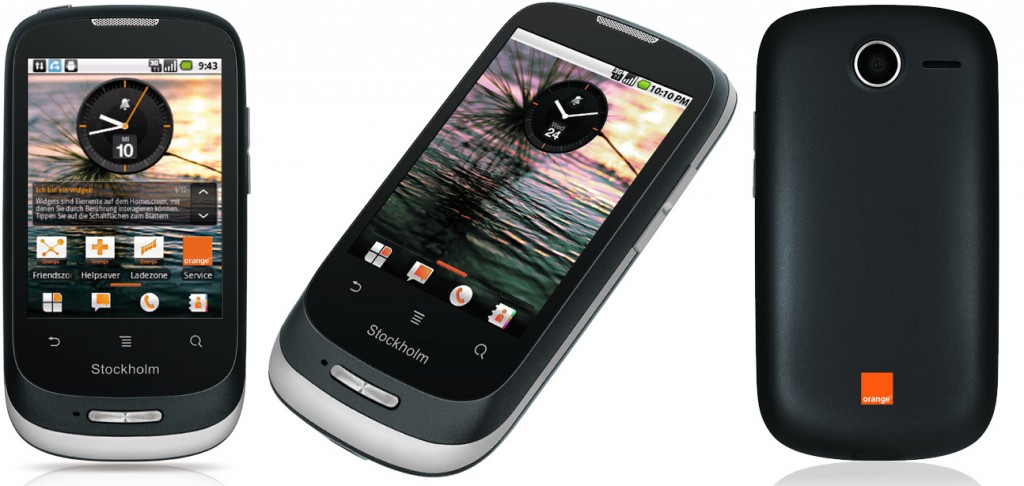
If you rooted your Huawei U8180 and wish you hadn’t, you can easily unroot it again and return the device back the way it was before you had the root access.
Once you are done, the device will be just like it was when you first opened it out of the box. There are a few advantages to this: you get the warranty working, you get the best security for your device, you are running a stock ROM again and any bugs you had from a bad ROM will be wiped.

The Files You Need
- Download the SuperOneClick unrooting tool from the link on this XDA Developers page.
- These are the steps to unroot the Huawei U8180. You should follow the steps using a Windows PC and not a Mac or Linux.
- Furthermore, you should double-check that USB Debugging Mode is on to avoid any potential problems. Point the device to Settings > Apps > Development > check the box for USB Debugging Mode so that it is not empty. The software will remember your settings when you leave the menu so you don’t need to confirm it.
Unrooting The Huawei U8180
- Download the SuperOneClic file to the desktop.
- Right-click over the file and select the ‘extract here’ option and the folder will empty out on the desktop, revealing the files you can use.
- Connect the Huawei U8180 smartphone to the computer with its USB cable.
- Click over the SuperOneclick program so it starts running on the computer.
- Click the Unroot option from the SuperOneClick menu on the computers display.
- Wait until the tool successfully unrooted your device before unplugging from the PC.
- That’s all you need to do to have the handset unrooted. You can check that it all went well by installing the root checker app from the Google Play Store. Normally people use this app to verify they do have root access; however, it can be used for the opposite and check it doesn’t have the internal system unlocked too.
