Last Updated on July 22, 2022 by Mat Diekhake
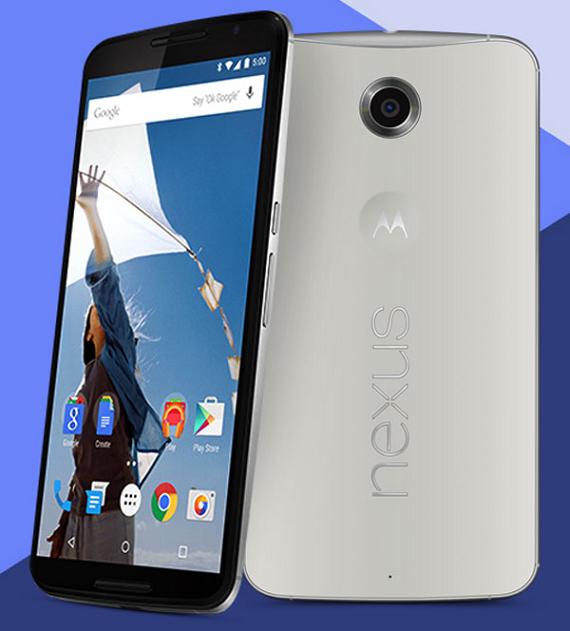
The Nexus 6 owned by Google and made by Motorola. That’s a great combination of you are looking for a new smartphone with up to the minute specs. The Google Nexus range are one of the most highly customizable smartphones on the markets thanks to an abundance of third-party developers creating custom ROMS and all sorts. Sadly, nothing good comes with changing the operating system without its risks. In this instance, the second we unlock the bootlaoder and open up the device away from the default factory restrictions with root access, we are voiding the warranty. That means whatever problems you face from here are on up to you to fix them.
People installing custom ROMs, custom firmware for new versions of Android Lollipop and extra apps from Google Play think they’ll just return back to stock Android if they find trouble. That way they’ll make the warranty work again. While it is true that reverting the device back to the way it was before starting does make the warranty work once more, sometimes it’s impossible to go back without solving some problems first. If you get stuck in a boot loop or soft-brick the device, you cannot simply flash firmware files over the top and refresh the OS. Instead of you are now your own to learn how to un-brick the handset.
Details of Note
- Luckily for most people there are also third-party developers who create these guides for people to follow. And better yet, they create tools which make it possible to take away the bricking damage.
- You cannot brick your Nexus 6 unless you have root access. We are booting the device into recovery mode. That’s the custom recovery when you get to the step. Therefore, do not try applying this guide if you are running official Android software.
- Likewise, you are probably out of the realms of backing up the device at this time. That said, if you get the chance, why not take a Nandroid backup. You can also use other third-party applications from the Google Play Store such as Helium. A Nandroid will take a mirror copy of the ROM and store everything you need from saved game data to settings, passwords, applications and pictures.
- Even though the title suggests it’s for bricking purposes, you can use this file below for several problems. Apply the same for people suffering from severe lags, battery draining issues, screen freezes, boot loops and other issues which have you hating the current operating system.
- You must have a Windows computer for installing the file. A great deal of official and unofficial operations which involve a computer generally work with Windows only. Therefore, if you are shopping around in future for a new one, we recommend you shop for Windows. because it’s the most popular operating system to run on laptop, notebook and PC, that’s the OS the third-party developers choose to create solutions for.
- With all that being said, as time goes on and Android grows more popular it’s plausible to think that more computer operating systems will be available to use for tutorials. the choice is yours.
How to Unbrick the Motorola Google Nexus 6
-
- Turn off the phone so it’s completely shut down.
– hold down the power key for several seconds and don’t release straight away.
- Turn off the phone so it’s completely shut down.
- Boot the nexus 6 up in recovery mode.
– you can do that by installing the Quick Boot app, the Reboot manager app, or by using the hard keys on the phone. - Select “wipe data factory reset.”
– that means you are about to wipe the current ROM clean.
– make sure you take a Nandroid backup before selecting this option or risk losing all data including the phone contacts. - Wipe the cache options from inside recovery after the reset is applied.
- Look for the ‘wipe cache partition” from the main menu
- Tap the advanced tab and select the “wipe dalvik cache” option.
- reverse out of there again and reboot the device in normal mode from the main recovery screen.
That’s all.