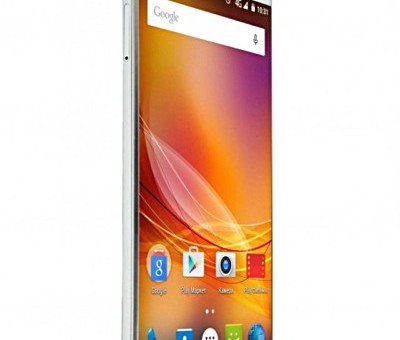
Last Updated on March 31, 2017 by Mathew Diekhake
Taking screenshots on the ZTE X9 smartphone is an official operation brought to you by Android, Google and the manufacturer. You have this luxury because your ZTE X9 device is so new and comes with one of the latest versions of Android operating system out of the box. The hardware button combination for taking a screenshot has been available ever since Android 4.0 Ice Cream Sandwich arrived. Those of you running software before Android 4.0 will sometimes have it built-in to the device also, but the key combination is different. If you are running Android Froyo, Gingerbread or Honeycomb on a device, you should check out what your OEM has to say about your device.
Those of you reading this with the ZTE X9 device need not worry, as your device comes with a software version later than Android 4. 0 and therefore you can follow the same button combination we are presenting to you during this guide.

Taking screenshots on the ZTE X9 smartphone
- Turn on the X9 device and have the image on your devices display that you want to capture as a screenshot.
- Hold the Volume Down and Power buttons until you hear the shutter sound — it usually sounds off in less than a second.
- During the shutter sound, you should see the devices display flick off and on again if you are watching.
- Once you see the flicker and hear the shutter sound of the camera, your screenshot has been saved.
- Navigate out of that picture and back to your Photo Gallery app.
- Tap the new Screenshots folder created by Android and your picture is inside.
- Now each time you press the two button combination to take screenshots, your picture will end up in this folder.
Some of you won’t like using the buttons every time and will prefer installing apps. Remember that the apps also come with added features like the ability to record the screen instead of snap a picture. One of the better screenshots apps for Android is the Easy Screenshot (capture/memo) app.
