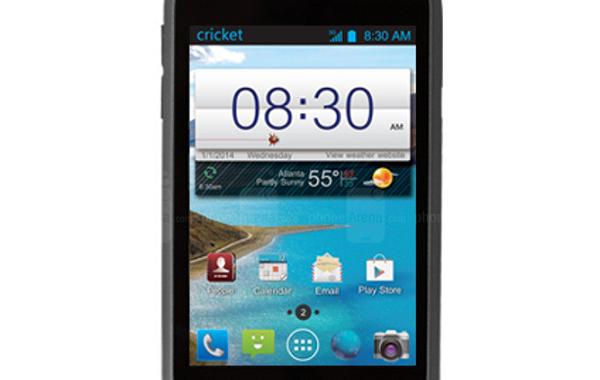
Last Updated on July 22, 2022 by Mathew Diekhake
Sooner or later, you’re going to get bored with the stock firmware on your ZTE Prelude. The main reason behind this is that the stock ROM doesn’t let you do everything that you really wish to do with your device, overclocking your CPU, for example. Luckily, there’s a way using which you can replace your firmware with a custom one and enjoy everything that the new ROM brings to the table for you.
A few of these things are the ability to install root-requiring apps, overclocking your CPU, and doing many more things that you learn from sites like XDA Forums. So, here’s how you can go about rooting your ZTE Prelude:

Files You Need
1. Download ClockworkMod Recovery for your ZTE Prelude and rename it to recovery.img. It’s for the sake of making commands easier to type and execute.
2. Download SuperSU ZIP by Chainfire and don’t extract it. Just copy it over to the SD card storage on your device.
3. You’re going to be issuing a few commands to your device. So you’ll need to have ADB installed on your computer, or you can download Minimal ADB and extract it to your desktop.
Rooting the ZTE Prelude
1. The first thing is to get your device into the bootloader mode so you can issue the required commands. To do that, either you can use the physical buttons on your phone or you can use the ADB command. We’ll use the latter one. Right-click on your desktop while holding down Shift and select Open command window here. Issue the following command using the Command Prompt Window:
adb reboot-bootloader
2. It gets your device into the bootloader mode that is used to make your device interact with your computer. The next thing you need to do is flash the ClockworkMod Recovery you downloaded earlier. To do that, issue the following command:
fastboot flash recovery recovery.img
3. The above command should flash the well-known ClockworkMod Recovery on your device so you can then use it to gain root-access on your device.
4. When that is done, issue the following command and your device will get into the recovery mode:
fastboot boot recovery.img
5. Once in CWM Recovery, select install zip from sdcard and choose the SuperSU ZIP to be installed on your device. As soon as you select it, the recovery should begin flashing it on your device.
6. It should take a few seconds to flash the file. When it’s done, you need to reboot your device. Select reboot system now from the recovery menu and your device should reboot.
7. When the phone boots-up, open app drawer and look for the Superuser or SuperSU app. If it’s there, you’re rooted.
And there you go.
Your ZTE Prelude has been flashed with a custom recovery and you now have root-access to enjoy many of the root-requiring apps available in the Google Play store. Enjoy!
