Last Updated on July 19, 2022 by Mathew Diekhake
Have you ever wanted to restore just one element of your NANDroid backup you took earlier? Taking a NANDroid Backup on your device is something that is done from a custom recovery – – and usually only one of the most popular custom recoveries out there like TWRP recovery, CWM recovery or PhilZ touch recovery. A NANDroid backup is great for storing all of your data at once. We normally don’t have that luxury in life and we need to install multiple apps to get close to storing all of our data.
The downside to the NANDroid backup is that you restore all that data at the one time too and that’s not necessarily what people want. That’s where the NANDroid Manager applications starts working in your favor and gives you the chance to just restore one specific part of the backup you took earlier. For example, you might want to just restore the Restore Browser Data from backup — you can do that with the manager app.

Files You Need
- Download the Cydia Impactor for your device.
- Download the universal ADB Drivers and install them on your computer.
- You are voiding the XOLO warranty by following this guide. All Android manufacturer’s do not cover rooting, installing a custom recovery or unlocking the bootloaders under warranty terms.
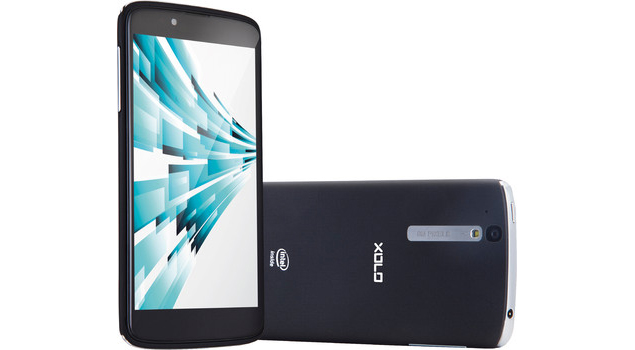
Rooting the XOLO X1000
- Download the Cydia Impactor from the link above and shift it over to the desktop of the computer.
- Right-click the mouse over the file and select the ‘extract here’ option.
- Make sure you have the USB Debugging Mode enabled on your device by navigating to the Menu > Settings > USB Debugging Mode.
- Connect the XOLO X1000 device to the computer using the USB cable.
- Double-click the executable Cydia Impactor file and the program will start running on your computer.
- Choose the
# drop SuperSU su to /system/xbin/sustring from the drop-down menu. - Hit the Start button and your XOLO device will soon be rooted!
- Wait until your device is rooted and then reboot it manually before heading to the Google Play Store.
- Now that you have rebooted the device, you can sign in to your Google Play Store account and start installing the amazing rooted apps like the NANDroid manager app we talked about earlier.
That’s all.
Some people prefer starting with the root checker app to make sure the device is rooted before going any further. That way you can easily eliminate the rooting from your future troubleshooting.
