Last Updated on September 7, 2024 by Mathew Diekhake
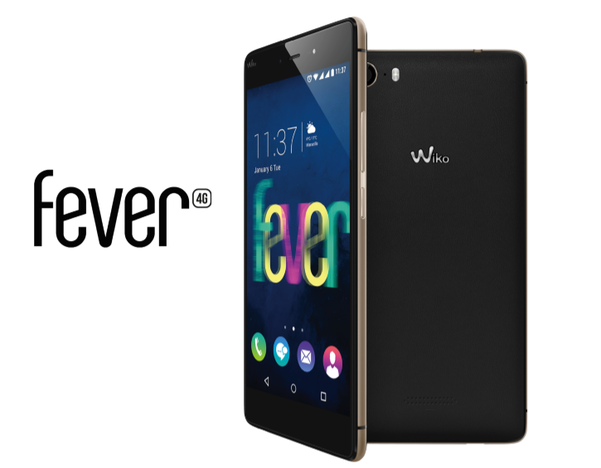
If you want to try using raw Android power without a locked operating system on your Wiko Fever device, you’ll need to grant access to that root file system that is locked up by Google developers before they send it out to the Wiko brand.
When Android was truly open source, it had everything in common with Linux, including the unlocked operating system that already comes with root access. Many apps require those same root file permissions to run and Google has stopped that from happening during their attempts to beef the Android security.

Those of you choosing to have access to the Wiko Fever root file system, can get it by following the guide after the jump.
Files You Need
- Download the CWM recovery Beta 3 file from this page.
- Otherwise, install the TWRP recovery if you prefer that custom recovery from this page.
- Update: get your custom recovery as part of the new bundle from here.
- Download the SuperSU file you need from this page. Download the root checker app if you want to check that your device does have root access after you complete the guide.
- You must have an unlocked bootloader before you can follow this guide. Make sure you back up the device before unlocking the bootloader or else you will not be able to restore any data. Unlocking the bootloader does wipe the ROM clean of all data.
Rooting the Wiko Fever
- Make sure you have turned on the OEM unlocking by pointing to the Menu > Settings > Developer Options > OEM Unlocking.
- Those Wiko fever owners who cannot see any Developer Options must unlock it by pointing to the Menu > Settings > About Device > Tap the build number 7 times until it is unlocked.
- Turn off your Wiko device and reboot it in bootloader mode.
- Connect the device to the computer and transfer the SuperSU exploit to the root of the internal storage SD card.
- Open the command prompt window and type the command:
fastboot oem unlock - Check the smartphone display and say ‘Yes’ by using the Volume Up button and the Power button to confirm.
- You should find your bootloader is now unlocked. Select the Reboot option from the menu and reboot after the unlocking is complete once again.
- Boot the Wiko fever back in bootloader mode.
- Open the command prompt window and type this code:
fastboot flash recovery recovery-custom-wiko-fever.img - Type the next command:
fastboot reboot - Boot your Wiko fever up in the custom recovery mode.
- Chose the ‘Install’ option from the recovery menu.
- Browse the SD card for the SuperSU file you transferred there earlier.
- Wait until the SuperSU is installed on your Fever smartphone and choose the Reboot System option from the main recovery menu.
That’s all.
The Wiko Fever will reboot back in normal mode and you are ready to start installing your root-requiring apps from the Google Play Store. Additionally, you can boot the device in the custom recovery mode and start installing some custom ROMs or take NANDroid Backups.
Those of you interested in taking the NANDroid Backup might also be interested in checking out the NANDroid Manager app for rooted users from the Google Play Store.
Furthermore, there are regular apps that can run on every Android-based smartphone and tablet and then there are root apps that can only run on the device that has root access(Like what you have just achieved) Root apps are usually labelled as such in the description of the app after you have clicked on it, but there is no particular area for the root apps. That means you need to do your research and find out what root apps are available out there for you to install land the search for the names you remember that you like. You can see the main ones that we have written down for you by checking out the 60 best root apps for Android list we have created to help get our reader on their way.
[Source: XDA]

August 30, 2016 @ 12:59
Just a warning, I just bricked my Wiko Fever by flashing the recovery img that you link to on this page (https://www.sendspace.com/file/zy9q6g).