Last Updated on July 20, 2022 by Mathew Diekhake
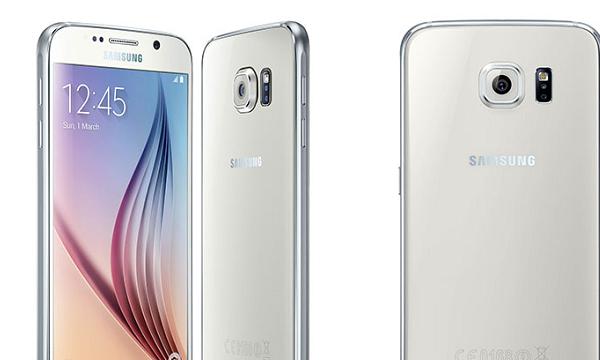
Samsung Galaxy S6 finally launched in India yesterday and it’s almost 50,000 rupees. But 50,000 rupees are worth because this phone is most powerful phone in Galaxy series. If you have one of them and want to take its performance to a new level then you should root your phone. Today I will tell you how to root your phone is an easy way. So grab your phone and be ready to free your device.
First let me tell you that rooting your Samsung galaxy s6 is not recommended by Samsung or Google because rooting process is very risky process and can brick your device if not done properly. After rooting your phone, the warranty of your phone will be gone (not forever), so the next time when you take your phone to care center you are charged for that. Also read and apply the process very carefully because one wrong step may result in bricked device.

Details of Note
- You have to do some preparation to root your device. You need a windows based PC for this process and make sure all the security related software like antivirus and anti malware will be disabled before this process because it can interfere between the process and may bricks your device. Also you need a USB cable to connect your phone to your PC. On your phone enable USB debugging option by going to settings > Developer Options > enable USB debugging option from there, if you can’t see Developer Option in settings, then enable it by going to settings > about phone > tap on build number 7 times.
- Backing up your phone’s data is a good step to take because rooting your phone is a risky process and if anything wrong happens to your phone then your important data will be saved. You can sync all of your contacts to Google account so you can restore them after the process. Also back up your phone’s data stored in internal memory of your phone to your PC or any other external drive. You can also back up your phone’s important apps using Titanium back up application available for free on Google play store (this app need root access). You should also back up media files like photos, music and videos stored on the phone.
- We are going to root your Galaxy S6 using Odin software. Odin software is made by Samsung to flash firmware files only to Samsung smart phones. Using this software for rooting your device is very simple, you just have to click some buttons on it and you’re done.
Now you are all set to root your Samsung Galaxy S6 but before that note all the points listed below:
- Make sure your phone should have at least 50% battery left on it, if your phone turned off by itself lacing battery then your phone will may get bricked.
- Make sure your Samsung Galaxy S6 has the model number SM-G920F or do not apply this process on other devices or it may also brick your device.
- Make sure your phone should have Android 5.0.2 lollipop on it before applying this root process.
Steps to Root Samsung Galaxy S6 SM-G920F
- Download and install Samsung Kies from here, this will automatically install drivers for your phone on your PC or you can simply download and install drivers from here.
- Download and extract the root zip package on your PC. Otherwise download the same Odin version from a different source here.
- Now reboot your S6 to download mode by turning your phone off completely and power it on by pressing power key, volume down key and home key together. After 5 to 8 seconds you will be presented with a screen saying Warning, don’t read it just press volume up key once and your phone will boot to download mode.
- On PC, launch Odin.exe file from the extracted folder (downloaded and extracted in step 2).
- Odin once launched, connect your phone to your PC using a USB cable, your phone should be detected by the Odin with a message “Added!!!”, if not then you should install drivers for your phone again.
- Now in Odin click on PDA button and select the CF-Auto-Root.tar file from the extracted folder.
- Finally click on Start and let the software root your device (do not click anywhere else on Odin).
- After a minute or two, Odin will show a PASS! message that means your phone has been successfully rooted.
- Now you can disconnect your device from PC check your phone for SuperSU app in app drawer, if you able this app then your phone should be successfully rooted.
Congratulations! your phone as been successfully rooted and now you can do amazing things with your phone. If not then you can try this process one more time. If you are having any trouble rooting your phone or any other query about your phone then you can post them in comment section below. You’ll know it’s working by downloading the root checker app from Google Play.
And also like and share this article with your friends so they can also root their phone.
