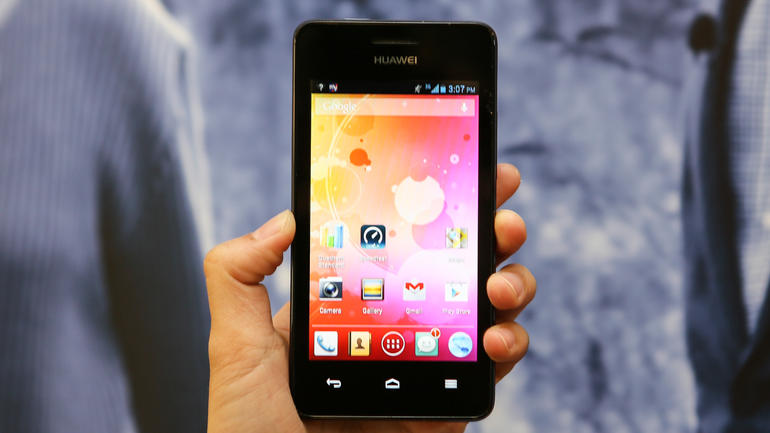
If you want to have better CPU control, you’ll need to root the Huawei Valiant. Once you have access to the root file system by completing the steps below, you can install the SetCPU application from the Google Play Store. With the SetCPU app, you can control the processor speed. The processor is the equivalent of your engine on a mobile phone. You can choose to distribute your power so that your device performs faster just like it would if you took your car to a mechanic for an engine upgrade. When you buy the device, it’s set for only about a medium in performance so that it works as an “all-rounder”. You are working your devices hardware more by upping the CPU power, but many people do this to devices and there’s no change in how long the device lasts.
What does faster CPU speeds mean? Everything you click a button or tap the display you require the processor to work for you. By increasing the speed, it will increase your browsing speed or everything apart from when your device is relying on internet speed. That doesn’t mean your device won’t browse the internet faster — it will. When you normally browse the internet, it takes a combination of your devices processor and the internet connection to load a page.

The Files You Need
- Download the custom recovery file you need from this Android forums page.
- Download the SuperSU you need from Chainfire here.
- Download the ADB you need from here.
Rooting the Huawei Valiant
- Start by turning off the smartphone completely.
- Reboot the Valiant by holding the Power + Volume Down keys.
- Wait until you see the Huawei logo on the phones display and then connect the phone to the computer with the USB cable.
- Transfer the SuperSU file to the root of the internal storage SD card. That means do not hide it in a sub folder. Instead keep it in the topmost folder.
- Extract the ADB folder on the desktop. Do that by moving the file to the desktop first. Now right-click over the ADB file and choose the ‘extract here’ option.
- Do the same thing but this time extract the custom recovery file so you can see the CWM recovery on the desktop.
- Have the ADB folder open. from within that same folder, hold the Shift key on the keyboard and right-click the mouse to reveal a new menu. Choose to open the command prompt window here from that new menu.
Type the command:fastboot flash recovery recoveryname.img - Type the second command:
fastboot reboot - Wait for the device to start rebooting, and when it does, hold the Volume Up key. You should now get that device to boot into the CWM recovery mode.
- Choose the install zip from SD card option from the recovery menu.
- Browse the SD card for that same SuperSU file you transferred earlier.
- Choose the reboot system now option from the main recovery menu after that SuperSU is installed.
- Now your device will reboot back into normal mode if you did choose the reboot system option.
- Install the root checker app from the Google Play Store and you’re done.
Now that you have the root checker app on your device, you can make sure you do have root access and the guide worked before attempting to install any of the root-requiring apps from the Google Play Store.