Last Updated on July 20, 2022 by Mathew Diekhake
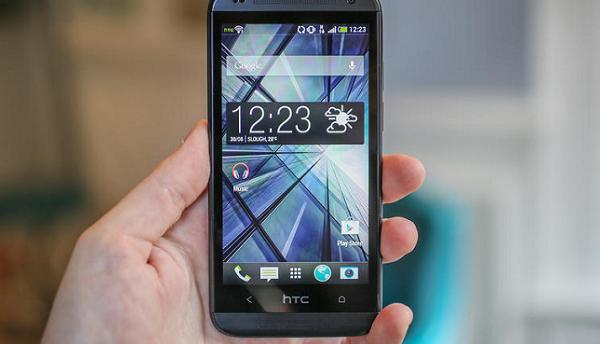
Rooting the HTC Desire 601 takes no more than a couple of minutes, provided your device already has a custom recovery up and running on it. Once you’ve rooted your device, you should be able to do a lot of things on it that you couldn’t do before due to no root-access.
So, here’s how you can go about achieving root-access on your HTC Desire 601:

Files You Need
1. You must have a custom recovery installed on your device. If you haven’t, follow our how to install a custom recovery on the HTC Desire 601 tutorial to flash one on your device.
2. Download SuperSU to your computer. It will be flashed on your device to achieve root-access.
3. Download Minimal ADB to your computer. It’ll be used to reboot your device into fastboot mode.
4. Make sure ADB drivers are already installed on your computer.
Rooting the HTC Desire 601
1. Extract files from Minimal ADB to your computer by right-clicking on it and selecting Extract here.
2. Turn on USB debugging on your phone from Menu->Settings->Developer options->USB debugging.
3. Plug in your phone to your computer using a USB cable.
4. Copy SuperSU from your computer over to the internal SD card storage on your phone.
5. Launch a Command Prompt Window where ADB files are located. Hold down Shift on your keyboard and right-click anywhere on your screen and select Open command window here.
6. Type in the following command into the Command Prompt Window:
adb reboot recovery
7. Your phone will reboot into recovery mode.
8. Once in recovery, select Install and select SuperSU .zip to be installed on your device.
9. Confirm the prompts and wait for it to install SuperSU on your device.
10. When it’s done installing, reboot your device.
11. You’re now rooted!
Your HTC Desire 601 is now rooted and you can confirm it using Root Checker on your device.
Feel free to customize your device the way you want as you now have all the privileges to modify system files on your device. Enjoy!
