Last Updated on July 19, 2022 by Mat Diekhake
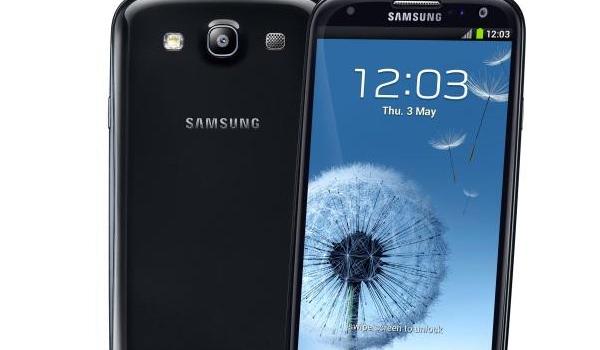
Once you get root access on the Samsung Galaxy S3 smartphone, you can install many more applications from Google Play. There are roughly fifty new apps you can install that you will want to have on your device for various reasons. The full list of extra apps you can install is much longer. One of those apps is Flashify which helps you with what would have been the tedious tasks.
The Flashify application acts as your one-stop shop for flashing everything from new custom ROMs, new custom recoveries, taking complete backups with the NANDroid backup feature and flashing any other zip files. Of course, flashing zip files doesn’t have to be done with this app — we know a custom recovery is the main way to flash a zip file. However, we recommend everyone check out the Flashify app as one of the top apps to install after rooting the Samsung Galaxy S3 device.
The Files You Need
- You must unlock the bootloader of the Samsung Galaxy S3 smartphone before you can get root access to it using any of Chainfire’s packages.
- Download the CF-Auto-Root package by Chainfire from here.
- Download the Samsung USB Drivers from the Samsung website here.
- Download the latest Odin version from this page.
- You must have a Windows operating system running to use this guide.
- These steps to root Samsung Galaxy S3 GT-I9300 smartphones do void the warranty. If your device has Knox security, you do not get that warranty working again when you unroot the device. The rest of your can unroot by flashing the stock ROM from the same Odin version you are downloading above. The stock ROM is usually available from Sam Mobile or Samsung Updates.
Rooting the Samsung Galaxy S3 GT-I9300 running Android 4.1.2 Jelly Bean
- Extract the Odin flashing tool and the CF-Auto-Root package to the desktop.
- Double-click over the executable Odin file after you have extracted it on the desktop.
- Run the USB Drivers so they are working on the computer.
- Reboot the Samsung Galaxy S3 smartphone to download mode.
- Connect the Samsung Galaxy S3 GT-I9300 to the computer with the USB cable you use for charging.
- If the Samsung drivers are working on the computer. you will see the ID: COM port in the Odin app change color. That’s the Odin app you have open on the computer.
- Click the AP or PDA button found in the Odin app on the computer.
- Browse the desktop for the CF-Auto-Root package you extracted earlier.
- Leave the default settings as they are — make sure the re-partition box is empty.
- Check the Auto Reboot box is on so the device reboots by itself after the flashing is complete.
- Click the Start button and wait until the Odin app gives you the pass message.
- Once your device reboots automatically you can take control of the Google account on your Galaxy S3 smartphone.
- Head to the Google Play Store and start downloading the apps you have been waiting to use.
- You might wish to start with installing the root checker app to show that your device is rooted properly.
That’s all.