Last Updated on July 20, 2022 by Mathew Diekhake
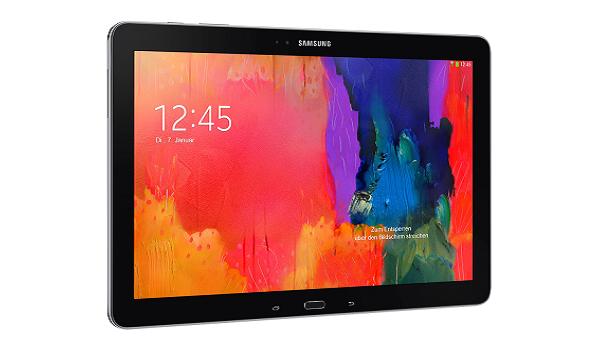
You might already know the digits “12.2” in the Galaxy range. The Note Pro and the Tab Pro both offer the 12.2 option and they are two separate devices. Make sure you know the guide below is only for the Note variant before starting. Kingroot is the method we are using today, which gives devices a “soft” root option. Furthermore, you can easily unroot the device using the Kingroot application by opening the app up later and clicking the button. Many people prefer Kingroot because it doesn’t come with the risk of bricking your handset. After installing the app and opening it from the app drawer, you can click the button to double-check your device is available for the rooting. It’s at this point where if the display says “no” you can turn around and go back. Doing so eliminates bricking.
If you are one of the many who like rooting Android to use the additional root-requiring apps from Google Play, we highly recommend using this Kingroot method. However, if you are wanting to install custom ROMs and change the UI, you’ll be better off finding a different tool.

Rooting your phone is an unofficial process which is not recommended by Samsung or Google. And if you root your tablet, then you will lose your phone’s warranty and now you will not be able to claim it in any service center. Make sure that you follow the guide carefully because rooting is a risky process as it exposes the system files of your Android device which may brick down your device if any system files got corrupt or damaged.
All you need for this rooting process is a PC with internet connection so you will be able to download the files we need in rooting process. A USB cable and your phone with USB debugging enabled on it, enable it by going to Settings > About Phone > tap on build number 7 times. Come back to the Settings > Developer Options > enable USB debugging by checking the USB debugging option in there.
Backup all of your important data stored on your phone’s internal memory because it might get damaged so better make of backup of it at a safe place. Backup all of your media files (these are very important) like photos, videos and music to your PC or any other external drive like SD card or flash drive. Sync all of your contacts to your Google account which will keep them safe from any damage and you can also export them to your SD card.
This root process is only for Samsung Galaxy Note Pro SM P901 do not try to root any other Android variant using these files.
Step to root Samsung Galaxy Note Pro SM P901
- First download the Kingroot APK from here and save it on your PC where we can find it later.
- Now connect your phone to your PC using a USB cable as mass storage and transfer that King Root APK file to your phone.
- After that, unplug your phone from the PC and install that APK file to your phone (read how to install APK files on any android).
- Now go to all apps ad look out for the King Root app and launch it.
- You will see a screen with a lock icon and your phone’s model number will get displayed below it.
- Now tap that big blue button at the bottom of the screen.
- Rooting will get started automatically and after some time your phone will get rooted and you will see a green tick instead of that lock icon.
- Now immediately exit the King Root app and reboot your phone once to take effect of the root access.
Your phone has been rooted and you will check it by installing any root checker app on your phone. All the queries should be done in the comment section below.
