As we head well into 2015, rooting a smartphone or tablet isn’t considered anywhere near as dangerous as it once was. That’s thanks to third-party developers creating better tools for unlocking the system internals away from the default factory restrictions. As you would know from reading our guides, a ton of our work comes from Chainfire. He’s the man behind the CF-Root and the Cf-Auto-root tools which give users a chance to unlock the internal hardware while still delivering an experience that’s close to stock Android. What’s more it’s easy to use and it doesn’t need you to be an advanced Android user.
If you follow Chainfire closely, you’d know that he makes more apps and tools away form the two stock ones I mentioned before. One of the other popular tools he developers is SuperSU. Thanks to some clever work, we are able to gain root access for some devices by simply installing SuperSU and nothing more. We have one of those guides for you today.

Even though we are using the SuperSU and nothing else, we still need to take the same precautions we normally would with backing up the data. You can use the same third-party applications available from the Google Play store or you can back up the large smartphone by using the built-in backup functionality. Using the built-in tool works well, but it doesn’t offer the chance to store all the data from the phone. Once you have unchained the system internals, you can use the Nandroid backup from inside the custom recovery image. Of course, that’s after you install a custom recovery such as TWRP recovery or ClockworkMod recovery.
Details of Note
- Now that you know where to take the back up, it’s time it learn what data you want to store. The most obvious data is the phone contacts which most people use daily. You also want to save the pictures from the albums, videos, music files, settings, passwords, applications and anything else you know. Since this is a Samsung device, we are able to use the Samsung Kies to sync the device.
- If you are serious about backing everything up that you need and enjoy doing things by the technology book, you can back up the Samsung EFS folder. The folder is unique to Sammy’s system and other who own the HTC One M8, Sony Xperia Z3 and the iPhone 6 don’t need to back up the folder because they don’t have one. That beings said, it’s an important part for Samsung owners since it’s where the IMEI number is stored. Thankfully, there’s a new application available from Google Play you can check out here.
- We must use a computer for transferring the file because that’s the safest way to go ahead. You can use any operating system this time, it doesn’t have to be Windows-based. The difference is we are only accessing the desktop of the computer and not relying on a program to run.
- Temporarily disable the security features such as the programs on the computer and the applications on the phone. Sometimes people use antivirus on the Android phone. If you are one of them you should disable it until you finish here. Don’t forget to turn it on again after you leave or you risk browsing the internet without protection.
- You should charge the battery on the phone so it doesn’t shut down before the flashing finishes. Do the same if you are using a laptop or notebook that isn’t plugged into the wall. If the laptop loses power and the phone runs out of battery, the phone will still shut down. Regardless of what you are using, we are not staying connected to the computer for long; therefore, you will rely on the battery power. USB charging won’t help for the guide.
- Only apply the following of you are on advanced Android user. Since this is an unofficial operation it does void any warranty you had before starting. Google and Samsung do not like us opening up the hardware; thus they refuse to help fix any problems due to rooting. You can gain the warranty back again by revoking the root access after. There are a couple of ways to make that happen. You can install a third-party application from the Google Play Store or you can flash official software update.
- We do not recommend flashing any official over the air update you find coming to the notifications panel after the guide. You should always flash the firmware file manually. In this instance, you can do that most of the time by using the Odin application or by checking if it’s available through Samsung Kies.
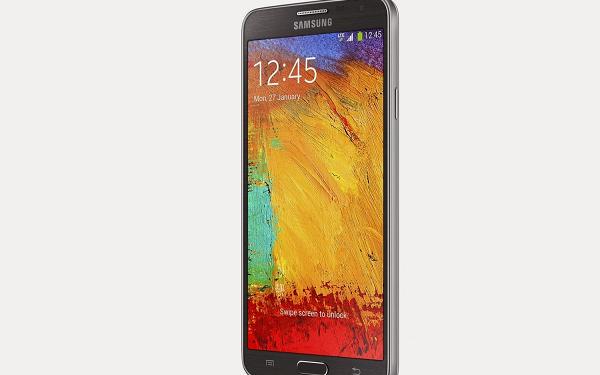
How to root the Samsung Galaxy Note 3 Neo N7502
- Download the SuperSU exploit from here.
- Do not unzipp or extract the file. leave it on the desktop.
- Now connect the Neo to the computer or laptop with the USB cable.
- Copy and paste the file over from the desktop to the phones internal SD card.
- Disconnect the Neo from the computer by unplugging the USB cable.
- Boot the device in recovery mode.
- Select “install zip from SD card.”
- Select “choose zip from SD card.”
- Upload the SuperSU file which we transferred earlier.
- Navigate back to the main menu in recovery.
- Select “reboot system now.”
- Wait for the device to reboot and it’s ready for customizing with a custom ROM.
Now that you’ve successfully opened up the ports, you may wish to install a custom recovery. We have the guide on how to install ClockworkMod recovery for you here.