Last Updated on October 9, 2022 by Mathew Diekhake
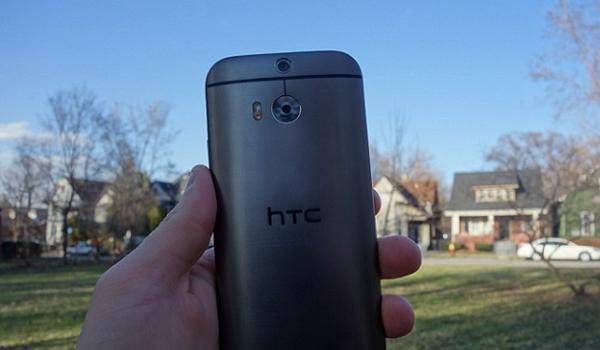
The 2014 flagship smartphone from HTC is the M8 and although it is not exclusive to AT&T by any means, they did do a fabulous job in promoting it before it came which we covered here in the “Amazing New” competition.
If you desire to go that one step farther and try the full S-off experience, a team of developers known as Firwater managed to achieve just that. Just be wary that it will not work for CDMA variants. It is made for GSM. If you fancy to examine it head over to Phandroid here.

The version we use here today uses Chainfire’s CF-Root and we like it for a couple of reasons. First and foremost, it is easy to use so you do not have to be an expert to figure it out. The other main reason we like it is because Chainfire keeps his roots as close to stock as possible while still giving out root access.
Details of Note
- By following this step by step rooting process, it will void the M8 warranty.
- This guide was made with consideration to the HTC One M8 only and no other device. With that in mind do not try and use this procedure for any other device because it will not work and it can damage it at the same time.
- You will need to have the HTC USB drivers up to date.
- Enable USB Debugging mode by visiting the developer options. If develop options is not unlocked go to Settings > About Phone > tap on the build number until it counts you down to zero remaining. Now it is unlocked.
- Backup all of your data and contacts to the internal storage SD card for sake keeping. Failing to do this before hand can potentially result in the loss of important data files if they become corrupted during the guide. We do not expect this to happen, however, we cannot guarantee that it wont.
- With the last step paragraph in mind, we will not be responsible for anything that goes wrong during the installation process that we provided. We do our best to provide accurate and correct information at all times, but that does not mean things cannot go wrong and if they do it is your own responsibility to fix them.
- When the HTC handset is plugged into the Windows-based computer it will automatically begin charging the battery thanks to the USB cable. There is no need to wait for your device to be charged before continuing.
- It requires an unlocked bootloader which can happen from HTC’s Developer website.
- Do not skip any steps we have listed in order to finish successfully.
This tutorial is best using TWRP recovery for the flashing of files. It will require a pre-installed TWRP before proceeding. Click the link I provided here to find out how to install it if you do not have it installed already.
How To Root The HTC One M8 From Phone Carrier AT&T
1. Download the CF-Root application here.
2. Connect the M8 to the computer with a USB cable.
3. Copy the file over to the SD card on the M8.
4. Turn the handset off.
5. Boot it back up into bootloader mode by pressing Volume Down + Power + Home at the same time.
6. Select your TWRP recovery mode by using the volume up and down keys.
7. Choose install zip from SD card and upload the SuperSu package.
8. Confirm this option to start rooting.
9. Navigate back to the main recovery screen and select reboot System Now.
10. When it reboots itself it will have root!
Do not forget to unplug your 2014 HTC One from the computer correctly by right clicking on the taskbar where the USB icon is in the bottom right corner and stop it properly. This will avoid corrupted data.
