Last Updated on November 15, 2019 by Mathew Diekhake
For those of you who don’t already know DFU actually stands for device firmware update mode. Firmware is what your device runs on. For example iOS 6.0.2 is firmware. Many people are searching and wondering how to put a iPod or iPod touch into DFU mode. If you are one of them then keep reading after the jump to find out how it’s done.
Disclaimer:
All tutorials are to be followed at your own risk. TechChomps will not be held responsible for damages that may have been caused as a result of following this guide.
How To Put iPod/iPod Touch In DFU Mode
Step 1. Connect your iPod/iPod touch to the computer with the USB cable that it came with and open up iTunes.
Step 2. Turn on your computers speaker system so you can hear it.
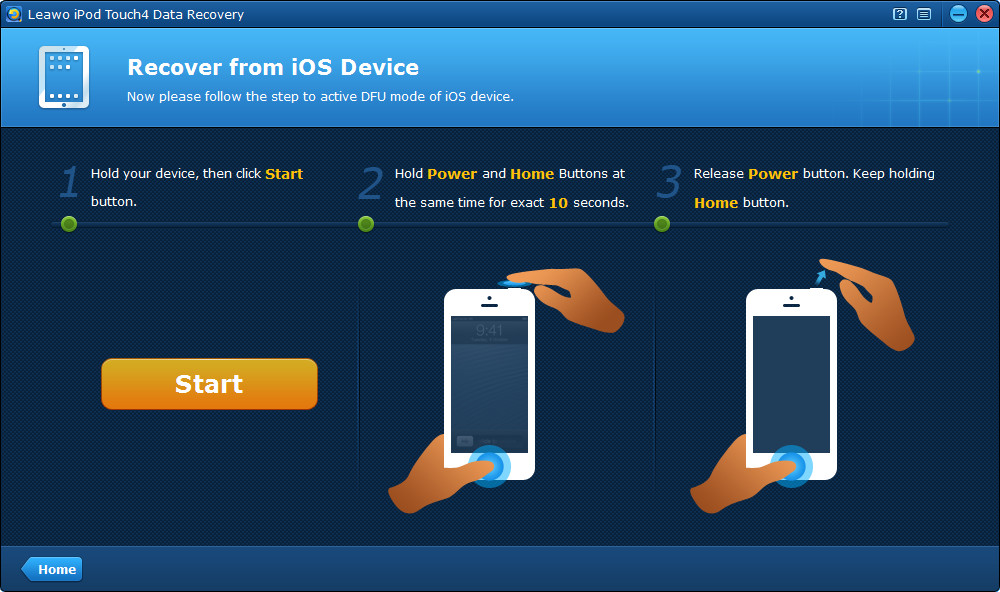
Step 3. Hold the Home button and Power buttons simultaneously. Doing so should make the screen turn black and then the iPod/iPod touch will power down.
Step 4. Carefully take your hand off of the Power button whilst continuing to hold the Home button down. The iPod/iPod touch should still appear to be off, however, after around 15-20 seconds you should hear a ding sound come through your speakers. This noise represents your device being recognized by the computer as new hardware. iTunes will now recognize the new device in it’s DFU state.
Step 5. Once it has been recognized by iTunes take your hand off the Home button. if you were to keep your hand on the Home button this would take you into recovery mode.
That’s all there is to it. Your iPod or iPod touch will now be in DFU mode. You will notice a blank screen with nothing on your iPod. This is how you know it has been successful.


