Last Updated on May 31, 2019 by Mathew Diekhake
TWRP recovery gives users many more features over a stock recovery. The main feature that people wan ta custom recovery installed for is the use of zip files. many Android devices need to install zip files to get the root access or install a custom ROM. Without being able to install a zip file, it’s difficult to get either of those working for many devices. With that being said, it’s not all that Team Win’s TWRP recovery is good for either. With TWRP recovery ,we can install, backup, restore, wipe, mount, reboot and access the settings and advanced area of the recovery. All up, that’s a great deal more options over a stock recovery that just lets you apply a reset and backup the data.

The Files You Need
- Download the TWRP custom recovery file from this page.
- Download the Odin flashing tool. You must have a Windows computer to run this flashing tool.
- Download the Samsung USB Drivers for your computer.
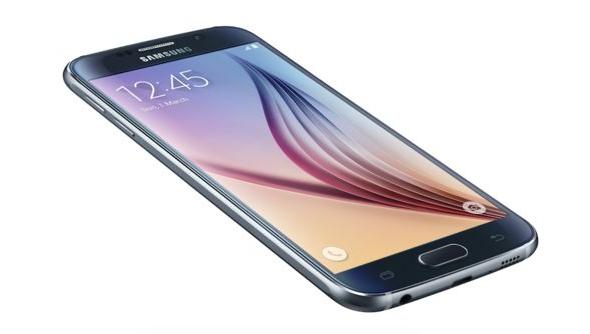
- These are the steps to install TWRP recovery on the Sprint Samsung Galaxy S6 smartphone with the model number G920P. All Sprint S6’s come with the same model number.
Installing TWRP recovery on the Sprint Samsung Galaxy S6 G920P
- Download the custom recovery and wait for it to finish downloading.
Click the right side of the file and choose the ‘show in folder’ option. - Drag that TWRP recovery over to the desktop.
- Those of you unable to do that should browse the ‘downloads’ folder and find the TWRP recovery there.
- Once you have the TWRP recovery on the desktop, right-click over the file and select the ‘extract here’ option.
- Copy the same steps for the Odin download so it’s extracted to the desktop.
- Run the Odin tool so it’s waiting and already open.
- Long-press the Power button on the Galaxy S6.
- Reboot it now holding the Volume Down + Power + Home together. Wait until you see a warning screen.
- Release the Home + Power + Volume Down.
- Press the Volume Up key and it will get you past that warning screen.
- Connect the Samsung Galaxy S6 to the computer.
- Click the PDA/AP button.
- Upload the TWRP recovery file you already extracted to the desktop.
- Click the Start button.
- Wait until your S6 reboots automatically.
- Unplug and enjoy the new custom recovery. You can now flash some custom ROMs on your device and take NANDroid backups.
