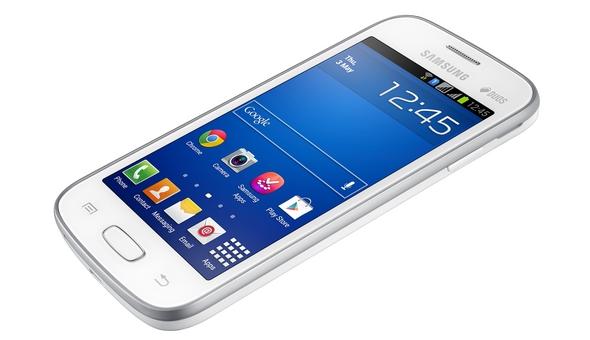
If you want to install a touch-based recovery on the Samsung Galaxy Star Plus device, you can use this guide to install the TWRP recovery. Unlike ClockworkMod recovery where you use the Volume keys and the Power keys to navigate, the TWRP recovery gives you the buttons on the devices display just like you would expect from a modern smartphone.

The Files You Need
- Download the TWRP recovery package from here.
- Download the Odin 3.09 or 3.07 version you need from here.
- Download the Samsung USB Drivers for mobile phones. You can get them directly from the link provided and install them on your computer. Now your device will have no worries connecting to the computer.
- You must have a Windows PC to follow this guide. Any Windows operating system will work fine apart from some version of Windows RT which comes with some Microsoft Surface Pro tablets.
- Installing a custom recovery on the Samsung galaxy Star Plus does void the manufacturer’s warranty. You can return the device back to the stock recovery and get that warranty working again. The stock recovery is often bundled in with the stock firmware you might download and flash with Odin.
Installing TWRP recovery on the Samsung Galaxy Star Plus
- Download both files from the files section above and move them over to the desktop.
- Right-click over the files and select the extract it here option from the menu.
- Double-click and run the Odin executable file that’s on the desktop.
- Make sure the USB Debugging Mode is enabled on your Galaxy Star Plus smartphone. You find that by heading to the menu > Settings > Developer Options > USB Debugging.
- Long-press the Power button on your smartphone until it turns off. Just make sure the Galaxy Star device is off and not sleeping.
- Reboot it now in download mode by pressing the Volume Down + Home + Power buttons.
- Connect it to the computer with the USB cable.
- The ID: COM port in the Odin flashing tool should change colors now if the drivers are working. If not, you’ll need to download the Samsung USB Drivers and try again. Those with the drivers already downloaded must reboot the computer and see if that helps.
- Now click the AP or PDA button and browse the desktop for the TWRP recovery file.
- Click the Start button and Odin now flashes your device with that custom recovery.
- Wait until the Odin app gives you a pass message on the computers display.
- The Galaxy Star should also reboot by itself when it’s done. If your Odin app on the computer doesn’t have the Auto reboot box checked then you’ll need to reboot the device manually before attempting to use that custom recovery.
- Now you can learn how to boot the Samsung Galaxy Star into the custom recovery mode and start flashing files and taking NANDroid backups.