Last Updated on August 18, 2018 by Mathew Diekhake
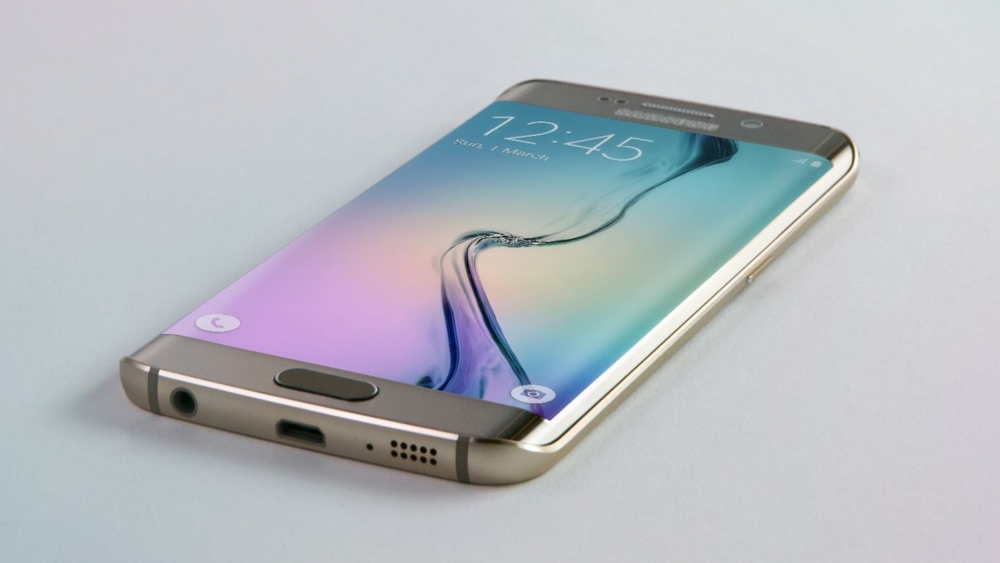
We suggest installing TWRP Recovery if you are wanting to install a custom recovery on the Samsung Galaxy S6 Edge Plus device. Team Win’s TWRP is the most popular custom recovery in the world and that doesn’t look like changing any time soon. The only real competition TWRP has at the moment if from the new CyanogenMod Recovery, but many are complaining of that being unstable.
CyanoegnMod Recovery’s main purpose is to act as a separate custom recovery for devices that are usually shipped with CyanogenMod running. There are many advantages to using TWRP over the Cyanogen Recovery, including way more features.

These are the guidelines to install TWRP Recovery on the Samsung Galaxy S6 Edge Plus device:
Files You Need
- Download the TWRP file for the S6 Edge Plus from here.
- Download the Odin flashing tool for the S6 Edge from here.
- Installing a custom recovery on the Samsung Galaxy S6 Edge Plus device will void the warranty. You should find the TWRP custom recovery in this guide works for all versions of the Galaxy S6 Edge Plus device by Samsung. As long as it’s the first-generation handset, it shouldn’t matter the model number.
Installing TWRP Recovery on the Samsung Galaxy S6 Edge Plus
- Enable the USB Debugging Mode on the Samsung Galaxy S6 Edge Plus device so you can connect it to the computer using the USB cable and use the Odin flashing tool with your device.
- Extract the TWRP Recovery file to the desktop of the computer and then do the same thing with the Odin file.
- Double-click the mouse over the Odin flashing tool’s executable file and then wait for the app to open on your computer.
- Take off the Auto Reboot option from the default settings of the Odin user-interface. Leave all other default settings the same. Those of you who don’t remember the default settings should download and extract a new copy.
- Boot the Samsung Galaxy S6 Edge Plus device in download mode and then connect it to the computer with the USB cable.
- Wait for a few seconds for the drivers to start working; you know they are working when the ID: COM port turns green and it gives you the “added” message. You will need to install the Universal Windows ADB Driver if that doesn’t happen.
- Click the AP button and browse the desktop for the TWRP file you extracted earlier and wait until you can see the file extension upload in the Odin app.
- Click the Start button and Odin will now flash that custom recovery on your S6 Edge Plus.
- Wait until Odin gives you the pass message and then reboot your device to the recovery mode during the first time boot.
In conclusion, you should have the TWRP Recovery flashed on your Samsung Galaxy S6 Edge Plus smartphone and be ready to start taking NANDroid backups, among other things. Anyone not finding the guide working should install a different Odin version. For example, if the Odin version you are using is the Odin 3.10, try installing the Odin 3.09 or the Odin 3.07 and see if that fixes the problem. Sometimes a device doesn’t want to flash with a particular version of the Odin flashing tool and installing a different version is the way to go.
