Last Updated on November 18, 2019 by Mat Diekhake
The official Android 5.1 Lollipop is out now and doing the rounds for the list of Google-owned nexus devices before the rest get the opportunity to flash the same.
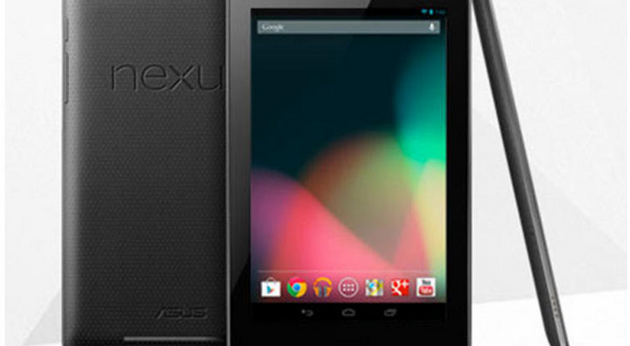
This time it’s the 2012 edition of the Google Nexus 7 WiFi tablet that has the factory image available for you to install by following the easy guide below. Make sure you check out the pre-requisites after the jump before getting started so you don’t miss what you need before installing the LMY47D firmware build.
REQUIREMENTS
- As you probably know, the Nexus 7 comes in different models for different years. You need to install the factory image below on the 2012 WiFi version only. Each different year will come with a unique file.
- Do not try installing the file below on any other device or you risk bricking. When that happens, you’ll need to find another un-brick guide to help, usually found over at XDA Developers.
BEFORE WE BEGIN
- Download the USB Drivers for your Nexus device from our page here.
- You will lose the root access on your tablet if you are rolling with the system internal unlocked before installing the image below. However, there’s a rooting method available for you already we’ll be posting soon using SuperSU. That means you can flash this stock image and gain root access again without any dramas.
- You do not void any warranty by flashing official stock factory images so if you have any issues you can seek free assistance.
- Any custom recovery you may have on the device is going to be wiped along with the root access being revoked.
- Users with a custom ROM installed looking to return to stock firmware will have to perform a factory reset during the guide. There’s no way out of that.
- Ensure you have enough battery power left on the tablet before starting the steps so it doesn’t shut down before the flashing finishes. There’s nearly a GB of goodies coming your way so charge accordingly.
- You need to have ADB and fastboot setup on your Windows computer before starting the guide. Do that with Android SDK here.
HOW TO FLASH THE OFFICIAL ANDROID 5.1 LOLLIPOP LMY47D FACTORY IMAGE IN THE 2012 NEXUS 7 WIFI TABLET
1. Download the 2012 WiFi Nexus 7 factory Image here.
2. Power down the tablet completely.
3. Boot it back up in Fastboot Mode (press Power and the Volume Up buttons at the same time to turn it on and enter fastboot/bootloader mode).
4. Extract the firmware file to the desktop of the computer.
5. Transfer the file over to the /platform-tools directory.
6. You’ll have three different factory image files in the directory to use depending on the operating system of your choice.
7. Windows users should run the “flash-all.bat”, while Mac users want the “flash-all.sh” using terminal and Linux the same “flash-all.sh” without terminal.
8. Choose the correct file for your OS and flash the same and you’re done!
You are now rocking the Nexus 7 WiFi from 2012 with the latest version of Android (5.1 Lollipop) available for any device. You’ll now find all the same features you’ve been reading about with regards to the Android 5.1 Lollipop software update available on your device. With a bit of luck, there’ll also be a root method available soon so you can start installing the root applications once again as well.