Last Updated on April 12, 2017 by Mathew Diekhake
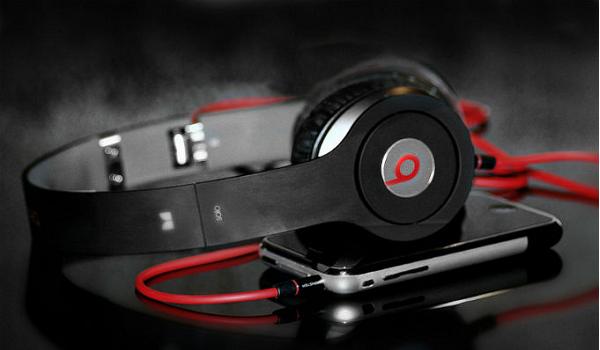
When it comes to music appliances, nothing has caused as much of a fashion statement in the last decade than Beats By Dre headphones. Before people started wearing the big earmuff styled headphones they wore the small ear-buds that slotted in the ear canal. Furthermore, since Apple’s acquisition of Beats, they are now the hottest commodity for tech enthusiasts too.
The name delves much deeper than just the simple headphone though. Beats Electronics make up the full name and the company made 1.5 billion dollars revenue in 2013 and employs over 700 people. Headquartered in Culver City, California and founded by Jimmy Iovine and Dr Dre, the company also makes money from beats Audio and its own online music store. It’s the latter that we are going to help you install on your Android-based smartphones.
You see, when you plug your headsets in the smartphone the Audio APK will help deliver better sound that is the same quality Dre wanted you to have when listening. Therefore, if you want to have the complete package and the perfect sound of this brand name, you should follow the guide below. The best part about it is that it is completely free.

- In order to successfully install the APK you must have root access thanks to an unchained operating system. If you don’;t have root already you want to use our search box and find a guide. Alternatively, type in your device model number and name into Google and search for the guide there. In some cases, they are specific to the software and firmware that is running on the mobile. In that case, you want to turn the handset on, navigate to Settings About Device and look at the build number. Type it in the search box along with the device details to further enhance your search.
- You will need a computer to complete the tutorial. Moreover, it must have a USB port so we can connect the handset via a USB cable to the laptop, notebook or computer. The process is quick and won’t take long.
- This tutorial is for advanced Android users only and should not be used without proper guidance if you have not stepped into the custom scene as of yet. That is especially true for the people who do not have root access yet. Rooting will void the manufacturers warranty and it cannot be gained back until the owner reverts back to stock software and locks the boot loader again.
- We recommend you take a full backup of the OS so that you don’t lose any sensitive data. Nobody expects data loss to happen when following the steps, however, if things go wrong and you require a factory reset then it will be wiped.
- Make sure you have USB Debugging enabled. In addition, download the latest USB drivers. Both of those will result in a successful connection between the computer and mobile product.
- There are many ways to take a backup of the OS. Most people with the unchained OS prefer to perform a full NANDroid backup. However, some prefer to use applications available from the Google Play Store such as helium or Titanium. With the apps, users can make copies of the market apps easily, contacts, photo galleries, SMS and MMS texts, video and music files. Also make a mental note to make a copy of the EFS folder.
- Comparatively, when taking a NANDroid backup, select ‘backup and restore’ for CWM or ‘backup’ for TWRP recovery. Next, set the file name and finish the process. The NANDroid sets a restore point.

How To Install The Beats Audio Installer APK For Android Smartphones
1. Download the Audio Installer file here.
– use the desktop of the computer.
2. Fetch the USB cable.
– look at the wire connecting the phone charger to the wall if you cannot find it.
3. Transfer the APK file to the Android smartphone of your choice.
4. Browse through the app drawer.
5. Use the instructions presented on the screen.
6. Wait for the installation to finish before continuing.
7. Reboot the phone.
That’s it! It is ready to listen to music with the new sound. Don’t forget to disconnect the phone from the computer properly by clicking the ‘safely remove hardware’ icon from the taskbar if using a Windows PC.
