Last Updated on May 12, 2019 by Mathew Diekhake
A recovery is a partition on your Android device that helps you restore your device when you are unable to access it. It contains options like backing up the device, restoring the backups, wiping the data, and so on.
The stock recovery that comes preloaded on all the Android devices doesn’t seem to have as many and as great options as a custom recovery does. Fortunately, there are a number of custom recoveries in the market that you can choose from and install on your device.

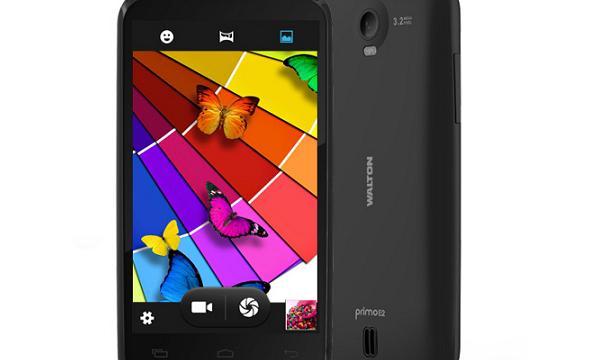
If you have got the Walton Primo E2 device, you can install a custom recovery on it using the following tutorial:
Files You Need
1. Make sure you have rooted your device before doing the following tutorial. If you haven’t done so yet, please follow our guide on how to root the Walton Primo E2 to root your device. Then, come back here and continue.
2. Download Recovery Image to your computer. It is the recovery file that will be installed on your device.
Installing a Custom Recovery on the Walton Primo E2
1. Connect your phone to your computer using a USB cable.
2. Copy Recovery Image from your computer over to the SD card storage on your phone.
3. Disconnect the device from your computer when the recovery image is copied.
4. Head over to the Google Play store and download and install Mobileuncle MTK Tools app on your device.
5. Launch the app from your app drawer.
6. Tap on Recovery update in the app. It lets you install a new recovery on your device.
7. Choose the recovery image that you copied to your device.
8. It should begin installing the selected recovery on your device.
9. When the recovery is installed, reboot your phone.
10. And you’re done.
You’ve successfully installed a custom recovery on your Walton Primo E2. You can reboot into the same using the Quick Boot app available on the Google Play store.
Happy flashing!
