Last Updated on May 31, 2019 by Mathew Diekhake
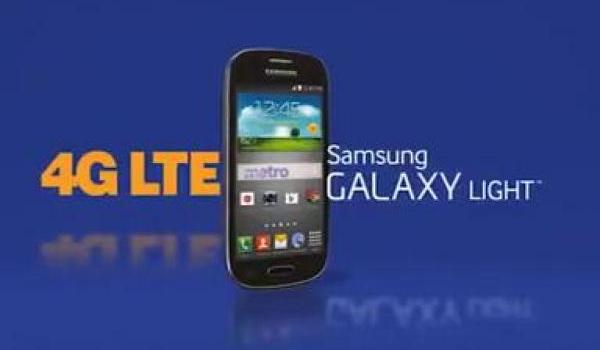
Having a custom recovery on your Samsung Galaxy Light from MetroPCS makes rooting the phone a breeze for you. What happens is that when you flash a recovery on your phone, you get the opportunity to flash the SuperSU package using the recovery to obtain root-access on your phone in just a few seconds.
So, this guide’s about flashing a recovery on your Samsung Galaxy Light so that you can then use this recovery to gain root on your phone. Here’s how:

Files You Need
- You must have a Windows running computer to do this tutorial.
- You need to have Samsung USB drivers installed on your computer.
- This should flash TWRP Recovery on your phone.
- Download TWRP Recovery to your computer. This is what you’re going to flash on your phone in the following tutorial.
- Download Odin to your computer. You’ll use it to flash the above recovery on your phone.
Installing a Custom Recovery on the Samsung Galaxy Light (MetroPCS)
- First of all, extract files from Odin to your computer. To do that, right-click on Odin and select Extract here.
- Double-click on Odin executable and it should launch.
- Click on PDA in the Odin and select TWRP Recovery available on your computer.
- Uncheck Repartition in the Odin if it’s already checked.
- You can checkmark both Auto Reboot and F. Reset Time options in the Odin.
- Turn off your phone.
- Turn your phone back on in download mode. To do so, hold down Volume DOWN, Home, and Power buttons together.
- Press Volume UP to confirm the prompt and enter download mode.
- Connect your phone to your computer using a USB cable.
- Click on Start in the Odin and wait for it to flash TWRP Recovery on your phone.
- When Odin’s done flashing TWRP, your phone should automatically reboot.
- You’re all set!
TWRP Recovery is now up and running perfectly on your Samsung Galaxy Light from MetroPCs.
Go ahead and follow our how to root the Samsung Galaxy Light (MetroPCS) tutorial to gain root-access on your phone using this newly installed custom recovery.
