Last Updated on September 7, 2024 by Mathew Diekhake
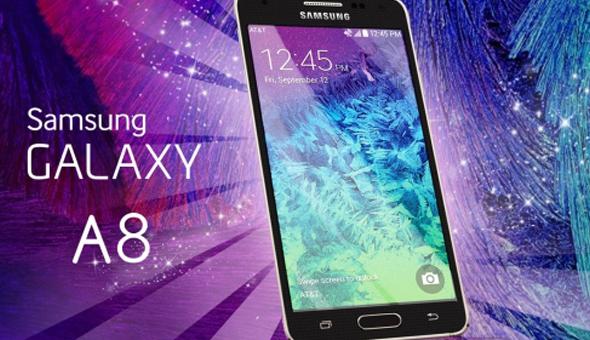
Installing a custom recovery on the Samsung Galaxy A8 device is now made possible thanks to the TWRP recovery coming from Team Win. Sometimes devices are blessed enough to witness multiple recoveries come out for that device, while other times only one recovery comes out. Many Samsung devices from the Galaxy range come with two custom recoveries. There’s no word yet about what the team from ClockworkMod are planning with regards to their potential custom recovery, so you better install the TWRP recovery and flash your ROMs with that version until you hear otherwise.

Files You Need
- Download the TWRP recovery for the Galaxy A8 from here.
- Download the universal ADB drivers for the A8 from here.
- Download the latest version of the Odin flash tool for the A8 from here.
- You are voiding the Samsung Galaxy A8 smartphone warranty by following this guide. You can flash the stock ROM back on the A8 from Sam Mobile and it will flash the stock recovery too. That stock recovery will wipe the custom recovery, since you can only have one recovery running at a time. When you are done with the custom recovery, the warranty will start working again.
- You must have a Windows PC to complete this guide. You cannot run the Odin flash tool on your computer unless it’s a Windows PC. Now version of Ubuntu or Mac works.
Installing a custom recovery on the Samsung Galaxy A8
- Make sure you have the USB Debugging Mode enabled on your A8 device by pointing to the Menu > Settings > Developer Options > USB Debugging Mode. Those of you who got stuck because of no Developer Options menu can unlock it by pointing to the Menu > Settings > About Device and tap on the build number seven times.
- Download the Odin, ADB drivers and the TWRP recovery to the computer.
- Install the drivers first and then shift the recovery and the Odin file to the desktop of the computer.
- Right-click over the files and select the “extract here” option from the menu.
- Double-click over the executable Odin file and the Odin flash tool user-interface will open on the computer.
- Turn off your Samsung Galaxy A8 and reboot it in the download mode by pressing the Home + Power + Volume Down buttons and waiting until it tells you to complete the process by pressing the Volume Up button.
- Connect the Galaxy A8 to the computer using the USB cable.
- Wait for the ID: COM port from the Odin flash tool user-interface to light up a color — that means the ADB drivers are working.
- Click the AP button from your Odin app on the PC and upload the executable TWRP recovery file you extracted to the desktop earlier.
- Click the Start button and Odin will now flash that TWRP on your Galaxy A8 handset.
- Wait until the Odin user-interface lights up with a green box saying pass and the Galaxy A8 reboots by itself.
- Those of you who never see the Samsung Galaxy A8 smartphone reboot will need to reboot it manually.
Now that your A8 is rebooted, you can anytime boot your Samsung Galaxy A8 device up in the custom recovery mode to start flashing your custom ROM files. Since the Samsung Galaxy A8 smartphone is still up to date with the software, you likely won’t find any need to flash a custom ROM just yet. However, you can still take advantage of the custom recovery and its complete backing up capabilities.
