By default, all Android devices come with Google’s own stock recovery environment. The stock recovery is only useful for a few choice tasks like applying updates from ADB, wiping the cache partition and applying a factory reset. In short, a stock recovery gives you all the options you need for recovery a device the way Android intends you to use it. However, if you are installing a custom ROM, you need a custom recovery to work with that ROM. The reason why you need a new recovery is the stock recovery doesn’t let you install ROM zip files from the SD card. The do this on purpose so you cannot apply new ROMs. The third-party developers who create the custom recoveries do give you this feature.
Furthermore, a custom recovery gives us a better backup solution using the NANDroid backup feature. You cannot take a complete backup of your Android system unless you use ADB commands which in itself is not an easy or quick solution. Since you must wipe your device every time between applying new ROMs, they give you the new NANDroid backup. Taking NANDroids lets you take a full backup of your system, including several full partitions. All you have to do is click a button and it’s done.

The Files You Need
- Download the ClockworkMod recovery file from here.
- Download the MobileUncle MTK Tools from here.
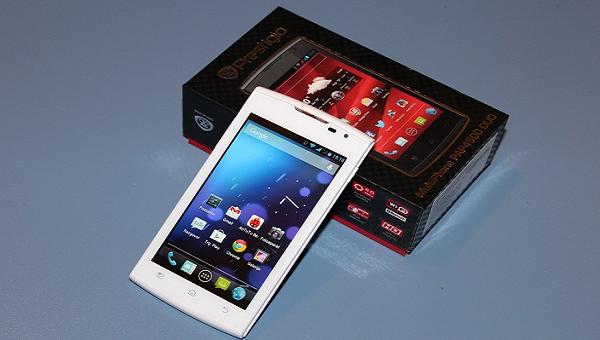
- You must root the Prestigio PAP4500 before you can install a custom recovery on the device.
- Installing a custom recovery on your device does void the warranty. You can usually install a stock recovery on your device and get it working again.
Installing a Custom Recovery on the Prestigio PAP4500
- Download the recovery file on your computer.
- Those of you using a Windows PC should find it automatically downloads over to the Downloads folder.
- Shift it from that Downloads folder over to the desktop of the computer.
- Right-click over the file and change the name to recovery.img and do not unzip or extract the file.
- Connect the Prestigio phone to the computer with its USB cable.
- Copy the Recovery.img file over to the internal storage SD card.
- Unplug the device from the computer once you are happy it’s definitely on the SD card.
- Open the Google Play Store on your device and download the MobileUncle app which looks the same as the link available in the files section above.
- Open the app from your device once it’s finished downloading and tap over the Recovery option.
- Browse your devices SD card and upload the Recovery.img file.
- The MobileUncle app will now help install that custom recovery on your device.
- Once it’s done you can begin installing custom ROMs. First you must learn how to boot Android devices into the custom recovery mode so you can open your new recovery anytime you need it open.