Last Updated on February 25, 2024 by Mat Diekhake
The following tutorial demonstrates how to enable or disable Shared Experiences when using a version of the Windows 11 operating system.
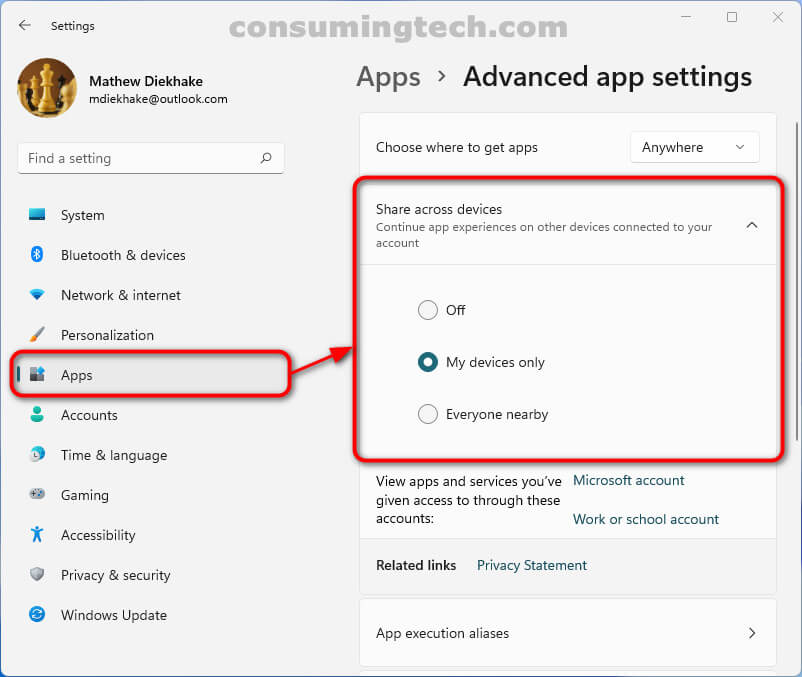
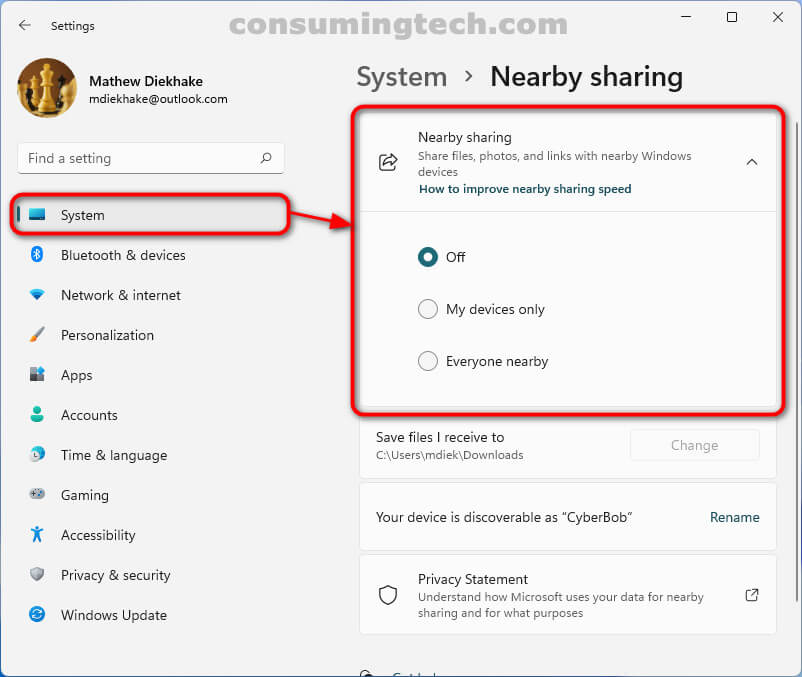
Shared Experiences allows you to share app information as well as other traditional files and photos with nearby devices.
Microsoft allows you to turn off these Shared Experiences settings directly from the Settings app, but it doesn’t allow you to disable them entirely. Should you wish to do that, you need to do it from the Local Group Policy Editor using the tutorial below.
Read more: Microsoft Brings Share Experiences to Windows 10 with New Icon and More
Examples of the Shared Experiences options from the Settings app in Windows 11:
How to Enable/Disable Shared Experiences in Local Group Policy Editor in Windows 11
You can enable and disable Microsoft’s Shared Experiences feature via the Continue experiences on this device policy setting in the Local Group Policy Editor. Here is how to find that:
1. Open the Local Group Policy Editor. See this tutorial for all the different ways in which you can open the Local Group Policy Editor in Windows 10/11: How to Open Local Group Policy Editor in Windows 10/11 [Tutorial].
2. Using the Local Group Policy Editor’s left pane, navigate through to the following policy location:
Computer Configuration\Administrative Templates\System\Group Policy
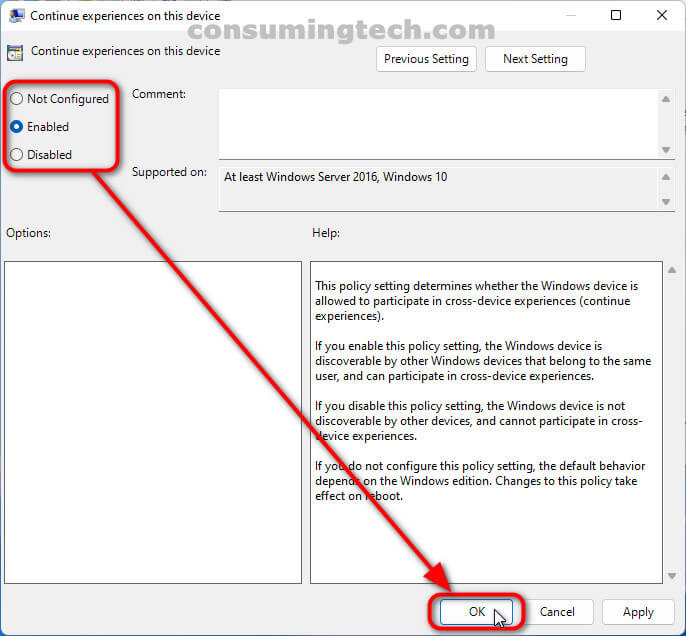
3. With Group Policy selected, click on the Continue experiences on this device policy setting in the right side of the same window.

4. From the Continue experiences on this device policy, click on either Not Configured, Enabled, or Disabled, and then click on the OK button at the bottom of the policy window.
In conclusion, that’s how to enable and disable the Shared Experiences feature in Windows 11.
Related Tutorials
- How to Change Maximum Number of Items in Jump Lists in Windows 11 [Tutorial]
- How to Enable/Disable Find My Device in Windows 11 [Tutorial]
- How to Add/Remove Common Program Groups from Start Menu in Windows 11 [Tutorial]
- How to Open Power User Menu in Windows 11 [Tutorial]
- How to Enable/Disable Pin and Unpin Items on Jump Lists in Windows 11 [Tutorial]
- How to Enable/Disable Cloud-Delivered Protection for Microsoft Defender in Windows 11 [Tutorial]
- How to Open Elevated Windows Terminal as Administrator in Windows 11 [Tutorial]
- How to Add/Remove Quick Access in Navigation Pane of File Explorer in Windows 11 [Tutorial]