Last Updated on November 15, 2019 by Mat Diekhake
Microsoft’s Windows is known as the operating system that is most user-friendly. There are many reasons for people saying that. The drivers are one of the reasons which many people say Windows is a bit of a pain (because no other traditional operating system even uses them). But you could also easily argue that Windows does a great job with the drivers because they try to install the automatically for you.
Whenever we connect a new piece of hardware to the computer, they usually connect all by themselves not because Windows doesn’t rely on drivers anymore but because it tries to understand what devices just connected and then it searched for and installed the drivers for that device. When this doesn’t go smoothly—as is, unfortunately, some of the time with Windows computers—the Windows OS gives a message from the Device manager stating that there is an unknown Device connected. For as long as it remains an unknown device there is no functionality for that device.
The Windows operating systems usually come with an option to enable or disable the drivers being automatically looked after by the computer for you. If you think that they might be turned off, you can check that by navigating to the Control Panel area and clicking on the View devices and printers under the Hardware and Sound area. Now just right-click the device that represents your computer and then finishes by selecting Device installation settings. You can tell if the settings are turned on by seeing one of the following: “Yes, do this automatically (recommended)” or the “Always install the best driver software from Windows Update” message. If neither of those is selected, then select one of them.
Anyone with a Samsung smartphone or tablet has life pretty easy, and all they have to do is install the USB drivers file manually using the guide below and it is the key to having the Samsung USB Drivers installed so that everything works. By everything I mean you can use the Odin flashing tool to do things like install a custom recovery or flash a rooting file. You can transfer the music files and picture from the computer to the phone and the other way around. Moreover, developers can do anything they usually need to do that isn’t related directly to Odin when the Samsung Galaxy Note 7 smartphone is connected to the computer with the USB cable also.
Downloading and installing the Samsung Galaxy Note 7 USB Drivers on a Windows computer
- Download the Samsung USB Drivers for the Samsung Galaxy Note 7 smartphone on the Windows computer.
- Click on the USB drivers file to download with the .exe on the button.
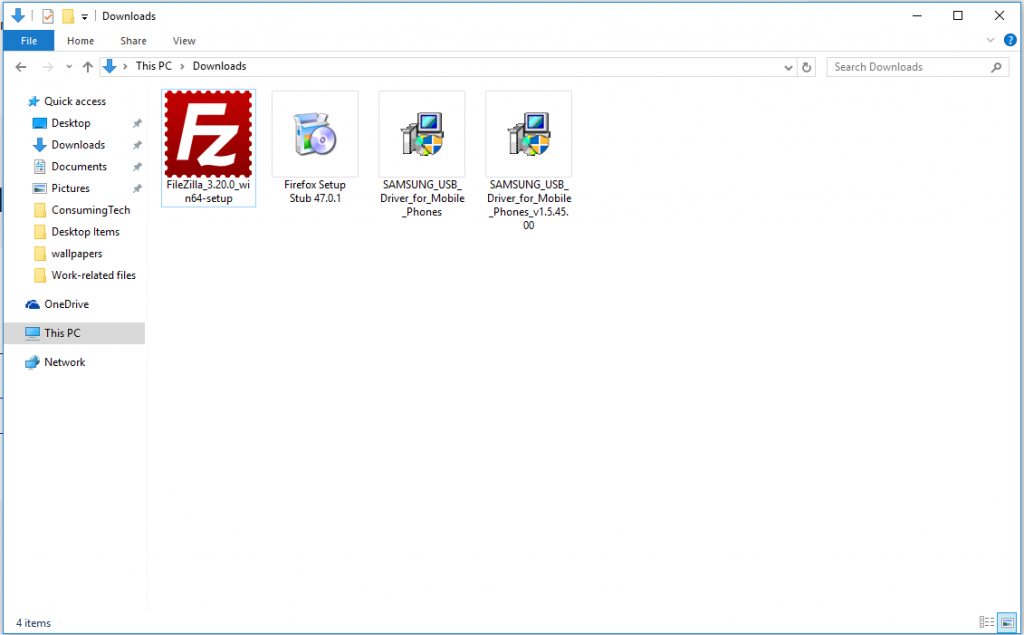
- Open the File Explorer and locate the Downloads Folder.
- Double-click on the Downloads folder and locate the USB drivers file.
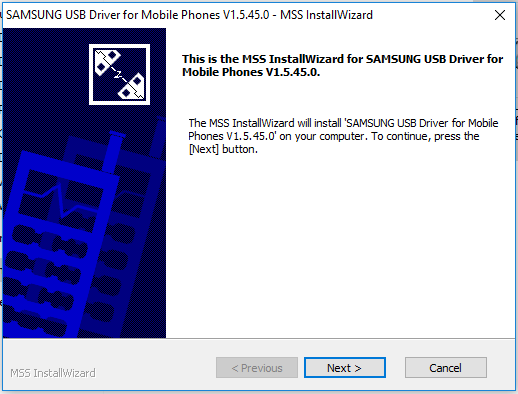
- Without extracting anything, just click on the USB drivers file and the program will run.
- Click on the Next button from the following screen to continue.
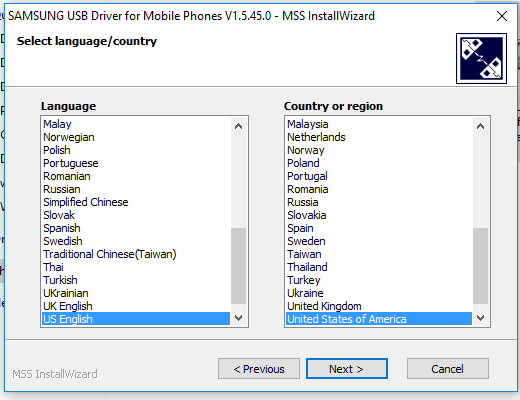
- Choose your language and country of region from the following screen and then click on the Next button.
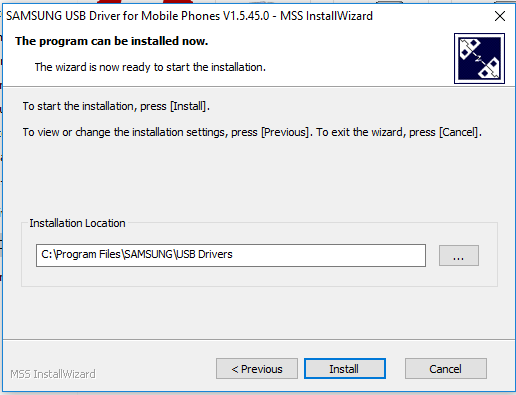
- Click on the Install button from the following screen once you have chosen the download location of your choice. Leave it as the default if you don’t know where you want it to end up.
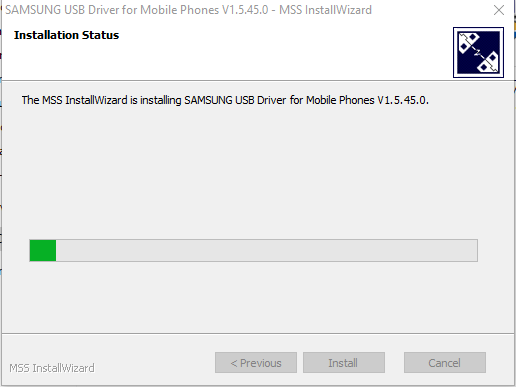
- The installation of the Samsung USB Drivers is now officially underway and can take a few minutes to complete.
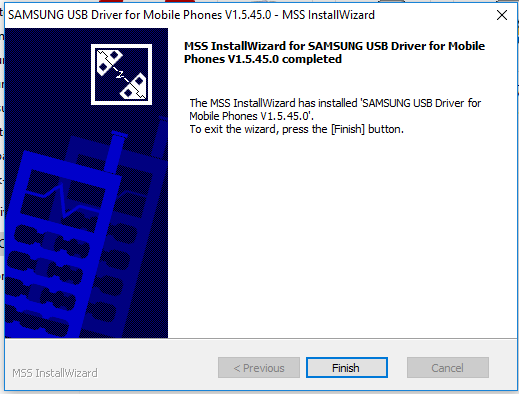
- Click on the Finish button when the green progress bar reaches 100% and the Finish button appears on the display.
In conclusion, that is how to install the Samsung Galaxy Note 7 USB Drivers on a Windows computer. The guide should work for all versions of Windows because Samsung makes the drivers compatible with every version up until the latest Windows 10 at the time of writing this post. That will be automatically updated by Samsung when a newer version of Windows arrives so it will always be compatible with your version.