Last Updated on March 27, 2017 by Mathew Diekhake
While our previous guide should help you resize a single photo on your Mac using the built-in apps, this guide of ours covers how you can resize multiple photos at once using your Mac.
There are times when you want to resize some images as you may be uploading them somewhere where all the photos should have the same size, or maybe you just want them to be the same size for your reasons. Batch resizing photos on a Mac is possible, and there are various ways to do that.
You can use a command in Terminal to accomplish the task, and you also have an Automator script that helps get the job done. Both of these methods don’t require a third-party app, and it’s relatively easy to do both of these methods.
Here’s how:
Batch Resizing Photos Using Terminal on a Mac
In this method, the only tool you need is the Terminal app that comes pre-installed on all of the Macs. Then, you will issue a command using that app, and it will resize all of the photos for you on your Mac.
1. Launch Terminal on your Mac by clicking on Launchpad in the Dock and searching for and clicking on Terminal. The app will launch.
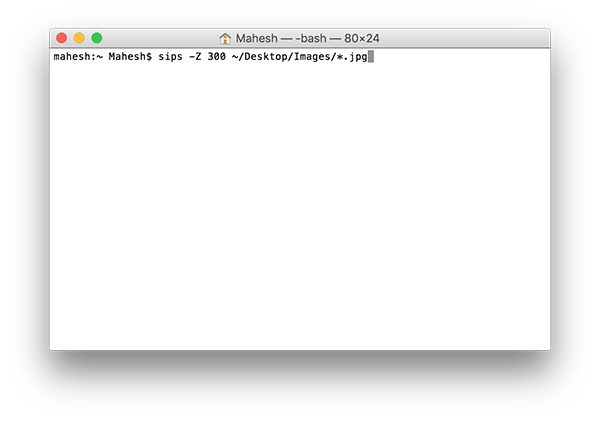
2. When Terminal launches, create a command using the following instructions in Terminal and press Enter to execute it.
sips -Z 300 ~/Desktop/Images/*.jpg
sips – it is the command that helps you resize photos using Terminal
Z – it tells the command to maintain aspect ratio
300 – it’s the maximum height for the photos. You can specify your own value here.
~/Desktop/Images/*.jpg – it’s path to the folder where all the photos to be resized are located.
So, when I run the above command, all the JPG photos located in the Images folder on my Mac’s desktop will be resized having 300 pixels as the maximum height.
3. You can now open the photos folder and see the resized photos. You will notice that all those photos have been resized as per the value you defined in the above command.
So, that was how you could use a command in Terminal to resize multiple photos on your Mac.
If you don’t like playing around with commands and Terminal and would prefer to go with another way, then here it is for you:
Batch Resizing Photos Using an Automator App on a Mac
In this method, what you’ll do is you’ll create an application using Automator that will then help you resize multiple photos on your Mac.
1. Launch the Automator app on your Mac by clicking on Launchpad in the Dock and searching for and clicking on Automator. The app will start.
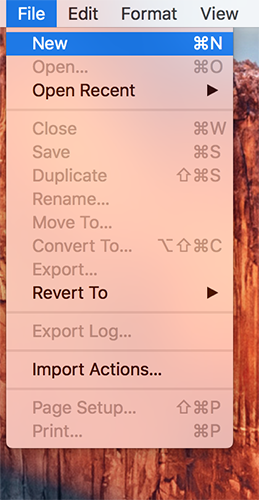
2. When the app launches, click on the File menu at the top and select the option that says New to create a new document in the app.
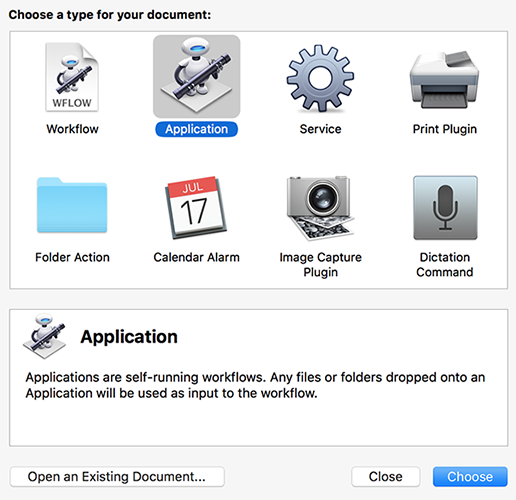
3. On the following screen, select Application as the document type and click on Choose to create a new application using Automator.
4. Your workflow is now ready on the right-hand side of the Automator interface. What you need to do now is drag the action named Ask for Finder Items from the actions panel on the left over to the workflow on the right.

5. The action should now be available for modification in the workflow. Select Desktop from the Start at drop-down menu and checkmark the box for Allow Multiple Selection to allow for multiple files to be selected when you run the application on your Mac.

6. Once again, drag the action named Copy Finder Items from the actions panel on the left over to the workflow on the right.

7. Select Other from the To drop-down menu for Copy Finder Items action and create a new folder and name it Resized-Photos.

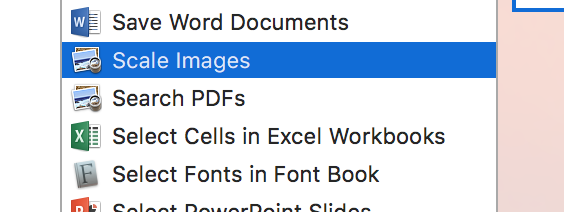
8. Drag the action named Scale Images from the actions panel and drop it onto the workflow on the right.
9. Enter the maximum width of the photos in the Scale Images section in your workflow.
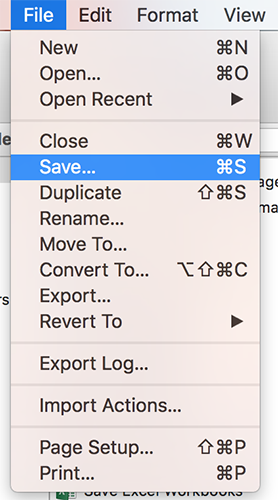
10. Click on the File menu at the top and select Save to save the application.
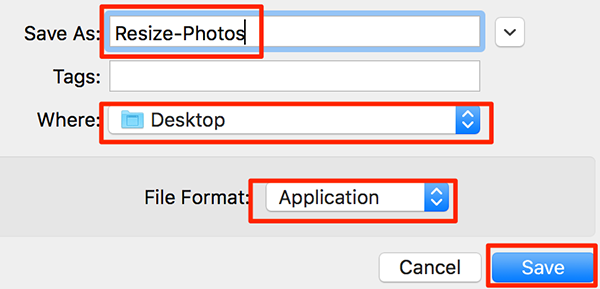
11. Enter a name for the application on the following screen, and choose Application as the File Format. Click on Save to save it.
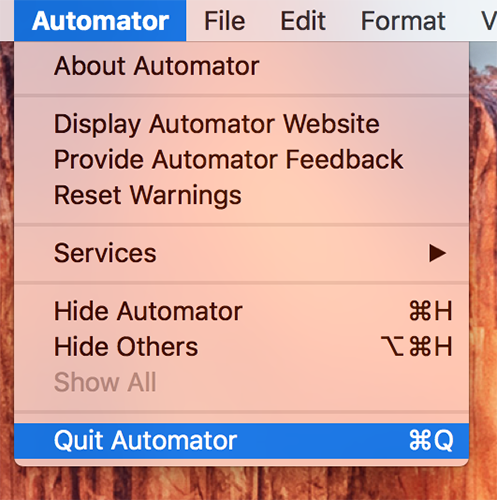
12. Exit out of the Automator app as it’s job is now done.
13. Drag and drop the application you’ve saved on your Desktop to the Dock on your Mac.
14. Click on the app in the Dock to launch it. It will ask you to locate your photos that you want to resize. Select the photos and it will resize them for you and you can then find the resized photos in the Resized-Photos folder on your desktop.
You’re all done.
So, that was how you could use an Automator application to resize multiple photos at once on your Mac.
Let us know if this helped you save time that you would otherwise spend resizing each photo in a photo editor app.
Featured Image Credit: Miquel C. @ Flickr

