Last Updated on November 12, 2024 by Mathew Diekhake
The Dock on your Mac is the place where you can find your favorite apps and launch them with a single-click. It is always recommended that you add all of your most-used apps in the Dock for easier access as Dock is the fastest way to open an app than any other methods of launching apps on a Mac.
Over the time the Dock gets filled, and it has limited space so make sure you only add the most used apps there and not just any app you have installed on your Mac. While the Dock accommodates any app you add there, it is a good idea to separate the apps depending on the category that they fall in. For instance, you can have all of your browser apps a block away from the other apps in the dock, and so on.
To separate apps in the Dock, you need to add the dividers that place a blank icon to make your apps look like they are separated from each other. The task can be accomplished using a command in Terminal on a Mac and the following guide is all about how you can do that:
Adding Dividers to Separate Apps in the Dock on a Mac
As I said earlier, you do not need a third-party app to insert the dividers. You can get the job done right from Terminal.
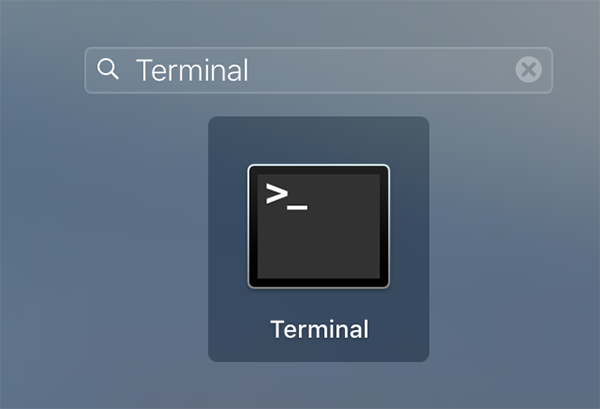
Launch Terminal on your Mac by clicking on Launchpad in your dock and searching for and clicking on “Terminal.” The app should launch.

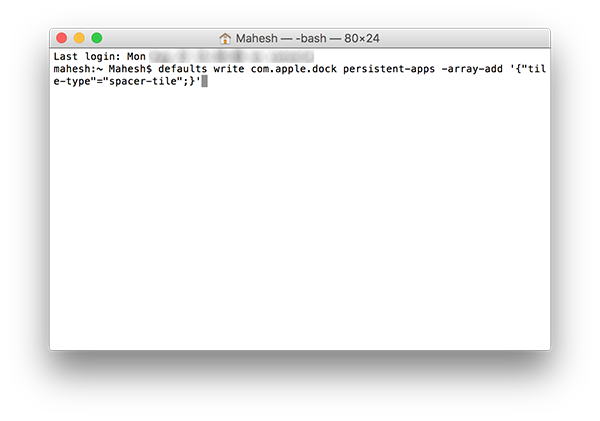
When Terminal launches, type in the following command into it and press “Enter.” The command adds a single divider in the Dock on your Mac.
defaults write com.apple.dock persistent-apps -array-add '{"tile-type"="spacer-tile";}'

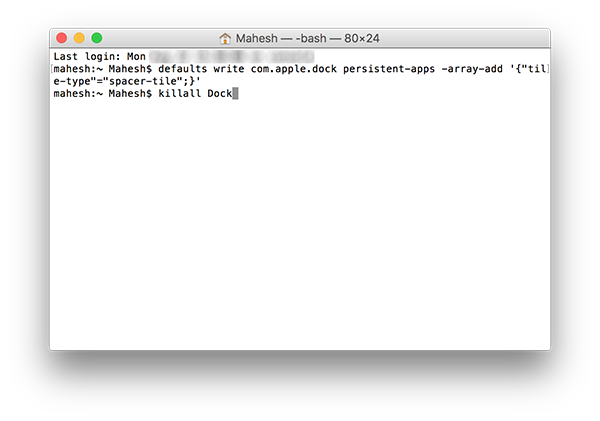
The divider is added now, but you need to re-launch the Dock so that the changes can take effect. To do that, run the following command in Terminal and it re-launches the Dock for you.
killall Dock

The Dock should re-launch, and you should be able to see a divider that separates the apps.

You can use the above command to add as many dividers as you want to the Dock on your Mac.
Removing Dividers That Separate Apps in the Dock on a Mac
Deleting a divider is as easy as deleting an app from the Dock on a Mac. Here’s how:
Find the divider that you wish to remove in the Dock.
Once you have selected a divider, drag and drop it onto the desktop just like any other app and it deletes from the Dock.

So, that is how you can remove a divider that you have added to the Dock using the above method on your Mac.
Adding a divider is a superb idea to separate the apps in the dock. That way, if you are looking for an office app such as the Microsoft Word, you can just get to the office apps group in the Dock and click on your desired app and launch it.
Let us know if you use the dividers for separating apps in the Dock on your Mac!
Featured Image Credit: Flickr
You might also be interested in:
- How To Add A Book To The iBooks Using An Email And Not iTunes
- How To Make PDF Files Easier On Eyes In The Adobe Reader
- View Files Of Major Formats Without Leaving The Chrome Browser
- How To Play A Single Song Without Bothering iTunes On Your Mac
- How To Change The Homepage In Various Web Browsers On A Mac
Have something to say? You can contribute to this tech article by leaving a comment below.
