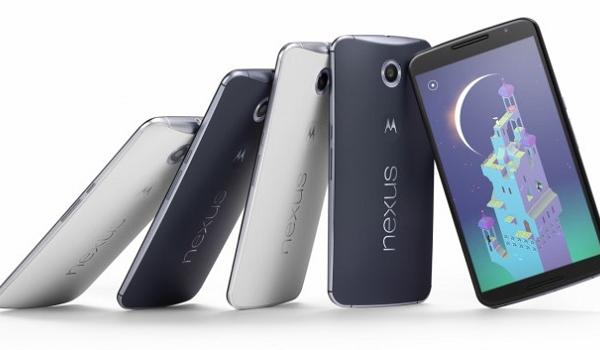
We all know how popular performing tasks such as rooting, installing custom ROMs and custom firmware is so that doesn’t need any explaining. What you might not know, however, is that you must install a custom recovery to work specially for the custom side of things. The stock handset software comes with its own stock recovery. That’s a different operation compared with something from team Win’s TWRP or ClockworkMod recovery. Today, it’s the former that we are teaching you how to install so you have it running on your Nexus 6.
There’s no set rule which recovery is best. Most people have their own preference. We know both are working for the Nexus range. In fact, many rookies prefer to use the TWRP because it’s less daunting compared to the main competitors. Dare I say it’s slightly quicker during some guides too! You should understand that this is a touch-based file manager that doesn’t start working as easily as CWM since it requires some ADB fastboot commands.

There are two main reasons for sad faces when operating smartphones. The first is a soft-brick or hard-brick that causes damage. Thankfully, there are loads of developers out there today who are talented enough to create ways out of such a mess. Anyhow, the other reason is requiring a factory reset. The resets result in data loss much of the time and that’s never fun for the user unless they performed a full backup of the data. That’s not our concern now though. Factory rests are relevant since that’s one of the main reasons for accessing a recovery. If something goes wrong when you are operating from the phone with root access you must do the factory reset from the custom recovery and not the stock version.
Now that you know a great deal more than before about why we love “Team Win’s” work let’s explain some of the essentials before starting with the steps.
You can’t run any TWRP file you find across the internet. There are different versions and the one we are using here today is specially made for the Google Nexus 6 smartphone only. That’s the flagship under the Mountain View name for 2014. Likewise, the current software on the phone is Android 5.0 Lollipop, therefore, that’s what the steps are compatible with. Android Lollipop is easily recognizable for its material Design UI, Battery saving mode, multiple users menu, Priority Mode, final Android Runtime, device sharing, lock screen notifications, screen pinning and a bevy of other features so it’s impossible to get it mixed up with the older version of KitKat. KitKat is running on nearly every device other than a couple of Motorola smartphones and the Google nexus range of smartphones and tablets.
Transferring files from computer to the smartphone is the safest way to do many operations. That’s why you must have a computer again today. From there we are using Android SDK. You must have Android SDK pre-installed before you can start thinking about installing the custom recovery. SDK is available for both Windows and Mac. However, each requires a separate and unique guide.
Just like when installing new official and custom firmware, you must backup the sensitive data before starting. No data is going miss as long as everything goes to plan. However, we know often times it doesn’t work out that way. It’s not wort taking the risk. So, if you install a number of applications from the Google Play Store such as Helium for Android, Titanium for those with root access already, SMS Backup + to store those texts messages you don’t want to lose and Google Drive offer a limited amount of space for free. You can store data in the Google cloud instead of using up the space on your phones internal memory system.
How to install Team Win’s TWRP recovery on the Google Nexus 6
- Setup Android SDK so it’s working.
- Download TWRP from this page.
- Extract the contents of the folder to the desktop.
- Look for one of the files with the .img.
- Transfer the .img file to the same folder as the Android SDK.
- Boot the nexus 6 in bootloader mode.
- Open SDK on the computer and right-click the mouse on the blank space.
- Find the USB cable that charges your phone.
- Connect the phone to the computer using the same.
- Type “fastboot flash recovery recovery.img” from the command prompt window. Replace the recovery.img at the end with the file extension from the real file.
- Confirm the command on the keyboard by pressing enter.
- Wait for the flashing and disconnect the phone by stopping the USB Mass Storage Device.