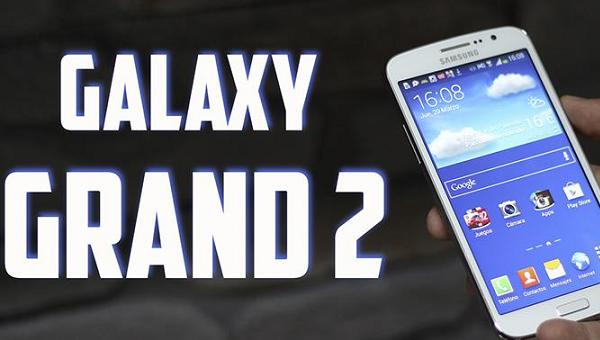
Last Updated on April 4, 2017 by Mathew Diekhake
As I’m sure most of you know, there are two separate recoveries we talk about in smartphones and the Samsung Galaxy range is no different. All of you have the default and stock recovery you can enter anytime. However, if you want to tinker with the operating system and open it up with root access for installing custom ROMs, the stock recovery is useless. Instead of using the stock recovery, you’ll need to install a custom recovery instead. There are three main custom recoveries to choose: Philz Touch recovery, ClockworkMod recovery and TWRP recovery from Team Win. Philz touch offers CWM, but with a touch-based UI similar to TWRP. However, Philz Touch is not always available; therefore, you need to install CWM instead.
Many people using the Google Nexus range of smartphones prefer using TWRP recovery because they think it’s better. However, Samsung owners are still usually fans of using the CWM recovery instead. There’s no right or wrong answer, but if you want what Team Win offers, you’ll need to follow a different guide.

- The following guide only works properly if you are using a Windows PC to download the files. You cannot do it without a computer and you cannot do it with a different OS that isn’t Windows.
- You need to unlock the Developer Options menu by heading to Settings > About Device > tap the firmware build number seven times. Now come back to the Settings and you’ll see the Developer Options menu that wasn’t there before.
- Now that you have the Developer Options menu, you can easily click inside and adjust the Settings for USB Debugging Mode. You need USB Debugging on for connecting the Grand 2 to the Windows PC. Now you are ready to start the guide.
- You may need to download the Samsung USB Drivers for mobile phones if you are having issues with the connection between the computer and the Galaxy smartphone. Likewise, if you are not having success using the Odin tool, you’ll need to download the drivers too. You can find those from the official Samsung website under the downloads section.
- These are the steps to install CWM recovery on the Galaxy Grand 2 SM-G7102. Installing a custom recovery will void your warranty.
How to install ClockworkMod Recovery on the Samsung Galaxy Grand 2 SM-G7102
- Download the CWM Recovery file from Mega here to the Windows PC desktop.
- Download Odin 3.09 here to the desktop of the same Windows PC as the file above.
- You’ll see both files download directly above the taskbar.
- You should be able to click the small arrow on the right side of that file instead of clicking over the file. Now choose to view the contents inside of the new menu.
- Now drag the files one-by-one over to the desktop.
- Once you have the zip files on the desktop, you can right-click and select extract here if you have Win RAR.
- Once the extraction is complete, run the Odin tool on your computer and leave it open.
- You can extract the CWM file too. You should see the executable file inside.
- Completely shut down the Galaxy Grand 2 smartphone by holding the Power key for 10 seconds before letting go of the same.
- Boot the Grand 2 up now in Download Mode. To do that, hold in the Power + Home + Volume Down keys at the same time until the display changes.
- You might need to press Volume Up now to enter the Download Mode.
- Connect the Grand 2 to the computer with the same USB cable you use for charging the device.
- Now Odin will detect your handset. Click the AP button with Odin and browse the desktop of the executable ClockworkMod Recovery file.
- Leave the other Odin settings the way they are by default.
- Click the Start button inside Odin and wait for your custom recovery (CWM) image to flash.
- It will reboot when Odin is done with your handset. Now you are ready to think about installing custom ROMs for your device.
Moreover, you can now find out how to boot the Samsung Galaxy Grand 2 smartphone into the custom recovery mode by following our guide for that.
