Last Updated on February 25, 2024 by Mathew Diekhake
The following tutorial demonstrates how to enable and disable memory compression when using a version of the Windows 10 or Windows 11 operating system.
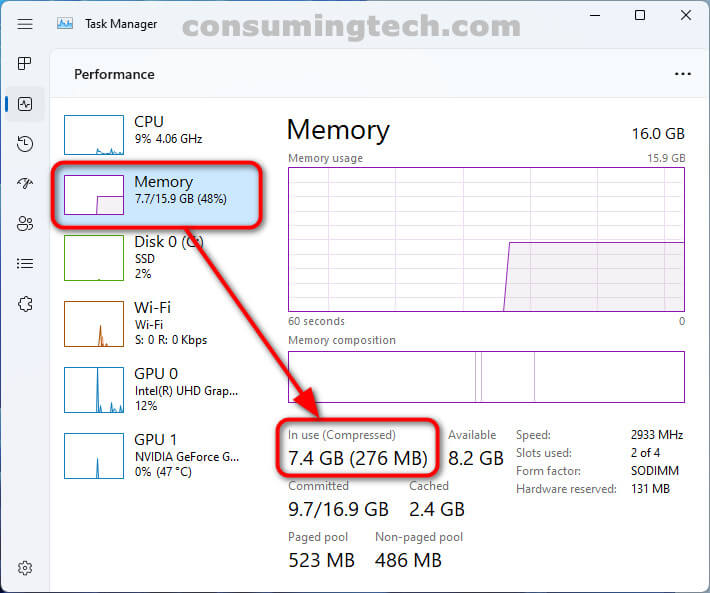
An example of where you can find the memory compression stats in the Task Manager in Windows 10 and Windows 11:
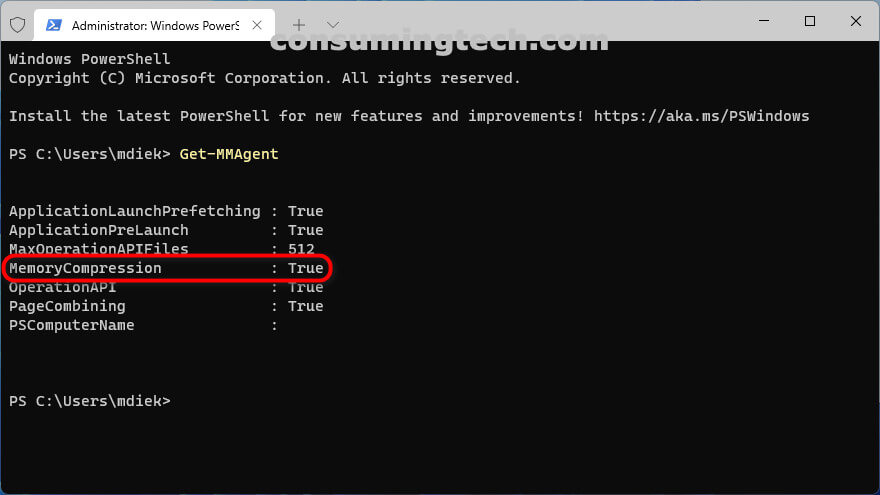
Part One: How to See if Memory Compression is Currently Enabled/Disabled
1. Open the Windows Terminal app. See this tutorial for all the different ways in which you can open the elevated Windows Terminal app when using a version of the Windows 11 operating system: How to Open Elevated Windows Terminal as Administrator in Windows 11 [Tutorial].
2. From the Windows Terminal menu, select to open a new Windows PowerShell window if it isn’t set as the default already.
3. Type the following command into the elevated Windows PowerShell window and then press the Enter key to execute it:
Get-MMAgent
Part Two: How to Enable/Disable Memory Compression in Windows 11
1. Open the Windows Terminal app. See this tutorial for all the different ways in which you can open the elevated Windows Terminal app when using a version of the Windows 11 operating system: How to Open Elevated Windows Terminal as Administrator in Windows 11 [Tutorial].
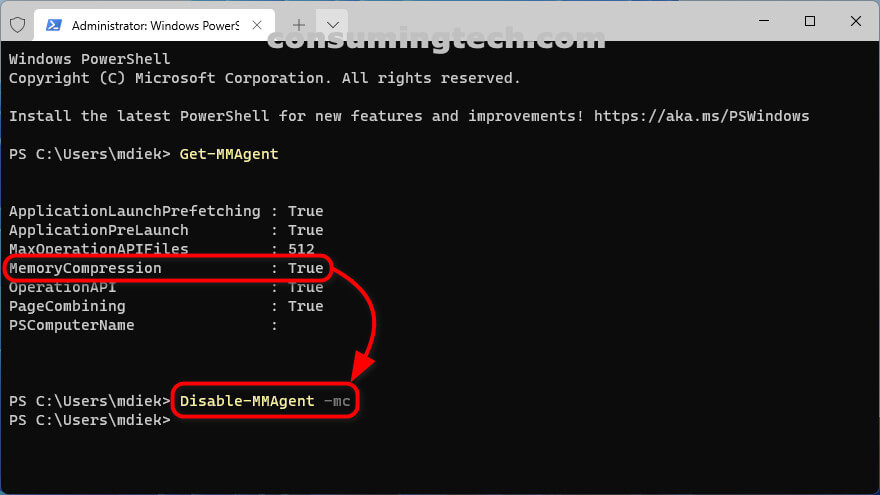
2. Type one of the following commands into the elevated Windows PowerShell window and then press the Enter key on your keyboard to execute it:
a. To enable: Enable-MMAgent -mc
b. To disable: Disable-MMAgent -mc
3. Click on the Start button > Power > Restart to apply the changes.
In conclusion, that’s how to enable and disable Memory Compression when using a version of the Windows 10 and Windows 11 operating systems.


