Last Updated on February 25, 2024 by Mathew Diekhake
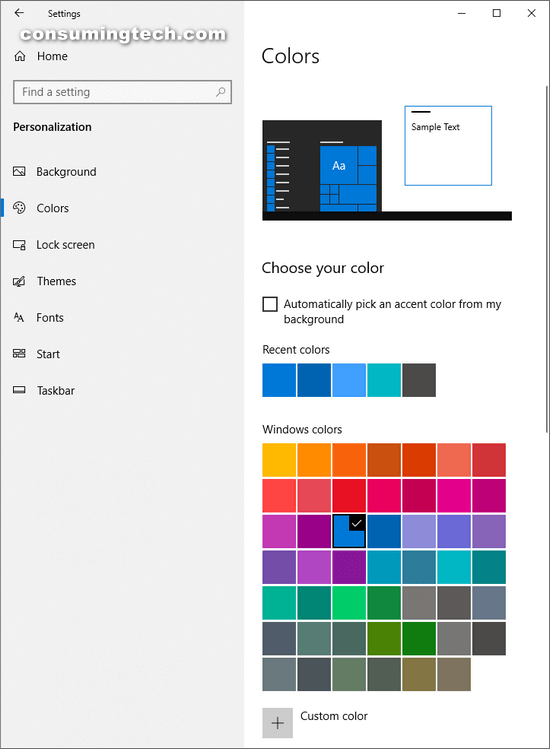
An example of Colors in the Settings app:
The following tutorial demonstrates how to create a Color and Appearance shortcut so you can get access to the Colors section of the Settings app directly from the desktop when you’re using a version of the Windows 10 operating system.
How to Create Shortcut for Color and Appearance in Windows 10
Here is how you can create the Color and Appearance shortcut on the desktop in Windows 10. There used to be an option to get access to the same Personalization area of the Settings app from the Control Panel, but it is no longer available in newer versions of Windows 10. If you’re running an up to date version of Windows 10, you’ll want to create the shortcut using the Settings app as the location, which is what we run through in the guide below.
1. Right-click the mouse on the desktop and click New > Shortcut.
2. Copy and paste the following location into the available field from the Create Shortcut window:
explorer ms-settings:colors
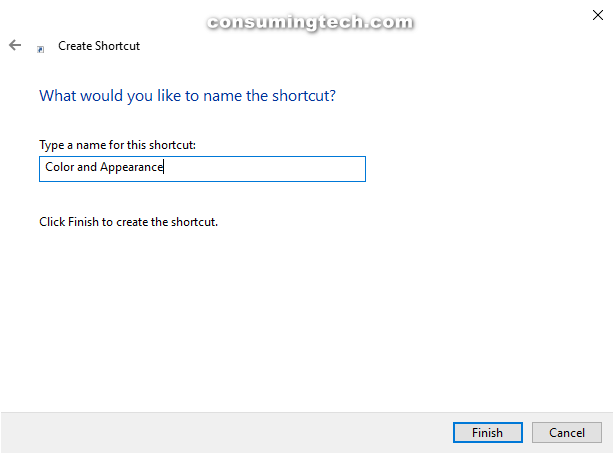
3. Where it says for you to type the name, type “Color and Appearance” and then click on the Finish button.
4. From the desktop, right-click on the Color and Appearance shortcut that you created and click Properties.
5. Click on the Shortcut tab, and then click on the Change icon button.
6. Copy and paste the following path in the available field, under where it says “Look for icons in this file:.”
%SystemRoot%\System32\imageres.dll
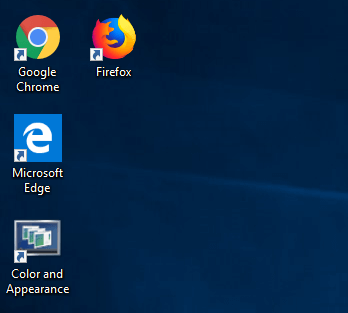
7. Select the computer monitor icon (pictured) and then click on the OK button to save the changes.
8. Click on the OK button to close the Color and Appearance Properties dialog.
How your new Color and Appearance icon should look on the desktop:
That’s all.
How to Create Color and Appearance shortcut in Windows 10https://t.co/VQGQdiXNYr
— ConsumingTech (@ConsumingTech) May 10, 2019


