Last Updated on February 17, 2018 by Mat Diekhake
Some people love the design of the Sony Xperia L. others are upset with the untimely updates. Thankfully, the custom scene and third-party developers are still finding time for the same handset and delivering some sweet custom recoveries. Now owners of the Xperia L can grab the officially unofficial TWRP recovery thanks to Team Win.
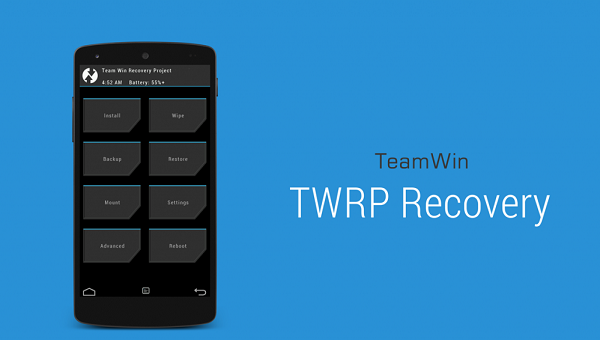
There are two main custom variants of the recovery mode, which let users do much more than it’s stock counterpart, One of the main features is creating a Nandroid backup which is so important when flashing custom ROMs. Since the L isn’t seeing Android Lollipop, or getting updated anywhere near enough to be satisfying, it’s a great idea to start installing additional ROMs from third-party developers if you aren’t already.
Of course, gaining rooting privileges isn’t much good without the help of a recovery system to go with it. So, lets show you guys how to install the TWRP recovery on the device so you can begin playing around with what’s available. Don’t forget to check XDA Developers after finishing hear if you are looking for things to do.
Just like most of our other guides, there’s a list of thing to take care of before we start the steps. They include:
- Make sure you have the latest USB drivers fully installed on your computer. If you find any error along the way this is the first step to try. It might mean you need new drivers.
- You will need a computer to apply the steps. Choose from any version of Windows from the Redmond company ranging from XP and above.
- Allow permission for the USB Debugging Mode via the Developer Options menu.
- A custom version of recovery mode is only available for smartphones, which are unlocked and have root permissions. That means you’ve successfully followed a different guide to unlock the system internals away from the default factory restrictions.
- The warranty is not working following the guide. It’s gone anyway, since you must apply root before coming here.
- Backup the device data as you usually do with any other tutorial. You can use the built-in backup feature or a third-party application from the Google Play Store.
How to flash TWRP recovery on the Sony Xperia L Mobile
- Download the official TWRP v2.4.8.0 direct link here.
- Download the Android Tools pack here.
- Find the USB cable you use for charging.
- Connect the handset to the computer.
- navigate your way to the Android Tools folder.
- Open the folder and right-click the mouse on a blank white area while holding down the Shift key.
- Choose to open up the Command Line so we can start entering some commands.
- Type “adb shell” and hit the enter key.
- Type “su” and hit enter.
- Some people see a new message pop-up here. Follow the prompts and accept any messages.
- Copy and paste the following:
dd if=/sdcard/openrecovery-twrp-2.8.4.0-taoshan.img of=/dev/block/platform/msm_sdcc.1/by-name/FOTAKernel- Wait until it finishes.
- Now type “fastboot reboot” and hit enter.
- Lastly, it’s time to enter the custom recovery mode.
- Type “adb reboot recovery.”
That’s it! You are running in the latest TWRP recovery mode. Don’t forget to take a Nandroid backup before flashing a custom ROM or else you will lose any data that’s not saved.