Last Updated on December 24, 2022 by Mat Diekhake
You can change the number of icons available to you in the Microsoft Edge toolbar. This means you can have quicker access to all the icons available or you can hide some icons and keep them available from the Settings and more menu only.
The more icons you hide from the address bar, the more space you have to see web addresses in the address bar. However, if you know you will use a particular icon often, you still may want to have it available directly on the toolbar for easy use.
The following tutorial demonstrates how to add and remove icons from the Microsoft Edge toolbar when you are using a version of the Windows 10 operating system.
How to Add/Remove Icons in Microsoft Edge Toolbar in Windows 10
You can choose what icons you want to show in the Edge address bar from the Show in toolbar section. Here is where you can find it:
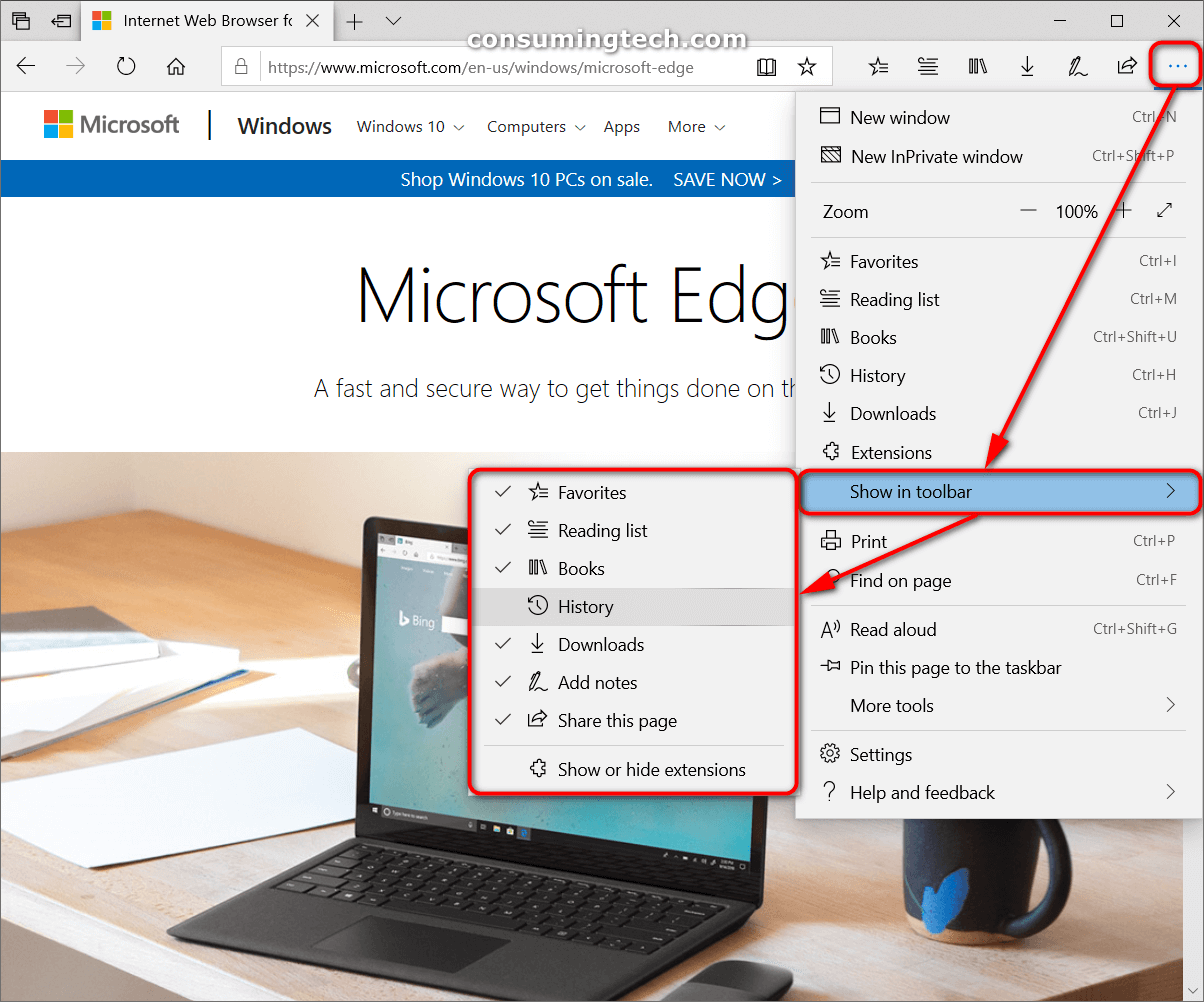
1. Open the Microsoft Edge web browser and then click on the Settings and more menu.
2. Hover the mouse over the Show in toolbar link and then click on the icons you want to add and remove.
Note: To add an icon, you want to click on it until you see a tick. Likewise, to remove an icon you want to click on it so the tick is removed.
You can close the settings and continue using your Edge browser if you like.
That’s all.