Last Updated on January 28, 2020 by Mathew Diekhake
Apple pays attention to every little detail, and that is the reason we see a lot of small yet cool things in its devices. From the Apple Maps icon showing a particular location to the Pages app having the full speech of Jobs, there are many things Apple has added to its devices that make it a distinct company in the world.
One of the things that the company has added to its iPhones is power chime. Whenever you connect a charging cable to your iPhone, you hear your iPhone making a chime indicating it is successfully charging.
Something like that does not exist for the Mac users, though. If you really love the charging chime on your iPhone and you would like to have something similar on your Mac, then, fortunately, you can have by issuing a command from the Terminal app.
The command enables the charging chime on your Mac, and the chime will play whenever you connect your Mac to the charging.
Here’s how:
Adding a Charging Chime to Your Mac
To do the task, you are going to use the built-in Terminal app on your Mac. With Terminal, you will issue a command, and that will enable a chime for when you start charging your Mac.
Also, make sure you are running OS X Yosemite or latest on your Mac before you do this procedure as this procedure does not on older versions of OS X.
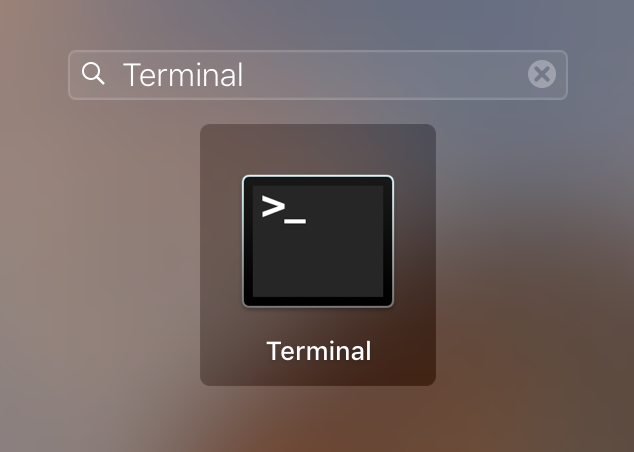
Launch the Terminal app on your Mac. There are multiple ways you can do that. The way that I prefer is by clicking on Launchpad in the Dock and then searching for and clicking on “Terminal.” That launches the Terminal app for me. You can also use Spotlight search to open the app. The app is located in the Utilities folder so if you want to open it manually you can go to the “Applications” folder and then open the “Utilities” folder and double-click on “Terminal” to launch the app.
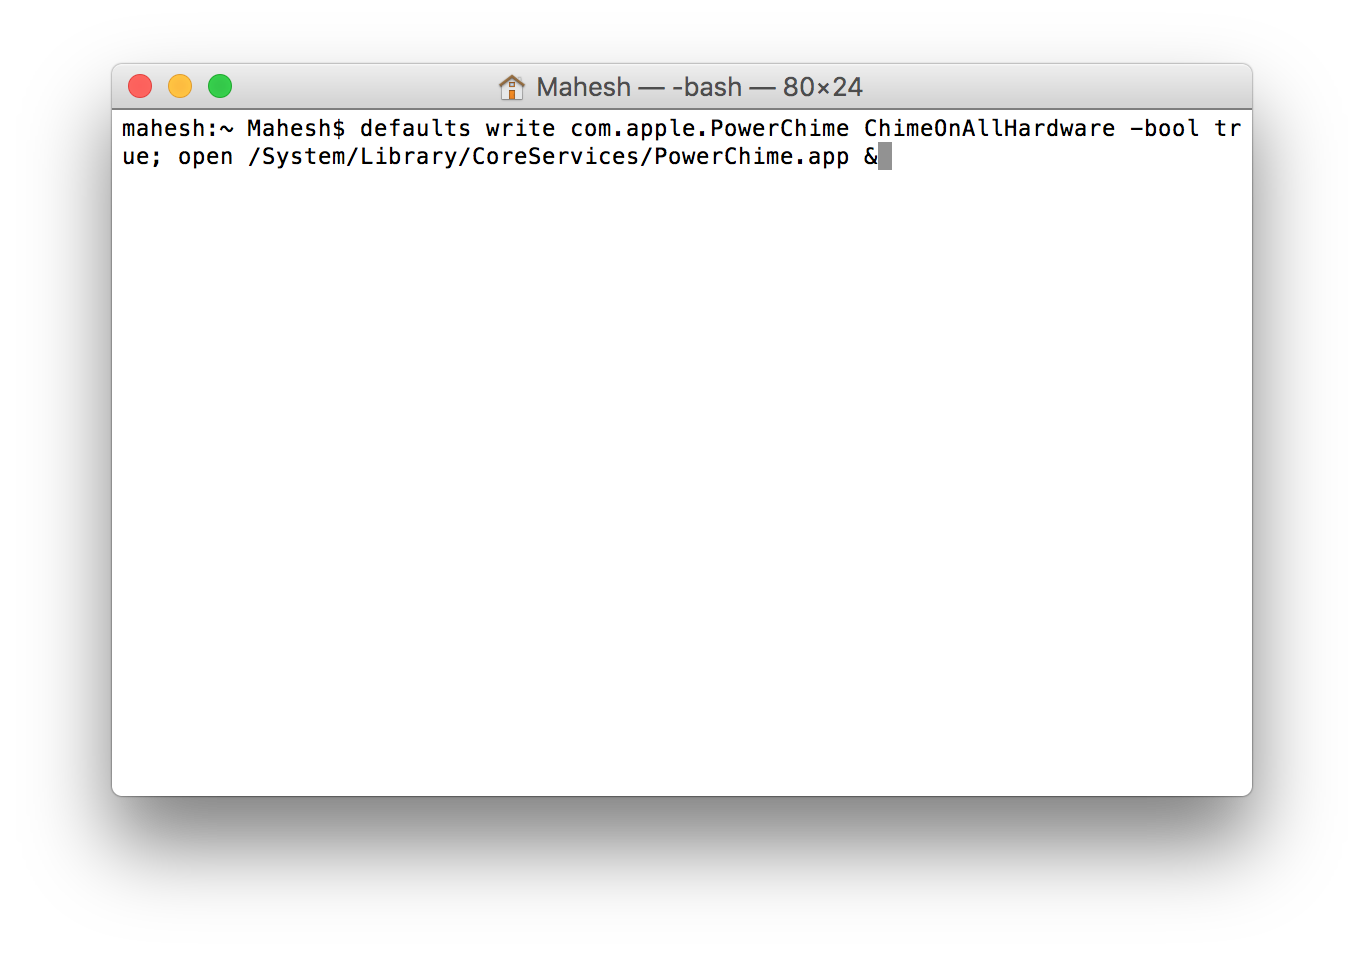
When the Terminal app launches, type in the following command and hit Enter. If you think you will make a mistake while typing the command, then you can just copy the command from here and paste it into your Terminal window, and that should do the job for you.
defaults write com.apple.PowerChime ChimeOnAllHardware -bool true; open /System/Library/CoreServices/PowerChime.app &
The command should now have finished executing on your Mac. The changes are instant, and you do not need to reboot your Mac for the changes to take effect. Now, what you need to do is disconnect your Mac from charging if it is being charged now and then re-connect the charging cable.
When you do that, you will hear the power chime. That is the chime you have just added to your Mac using the above guide. From now on, whenever you plug in your Mac to charging, you will hear this power chime on your Mac.
Going forward, if you do not like for your Mac to play a sound when it gets connected to charging, then you can disable the power chime using the following steps.
Open the Terminal app on your Mac by clicking on Launchpad in the Dock and searching for and clicking on “Terminal.”
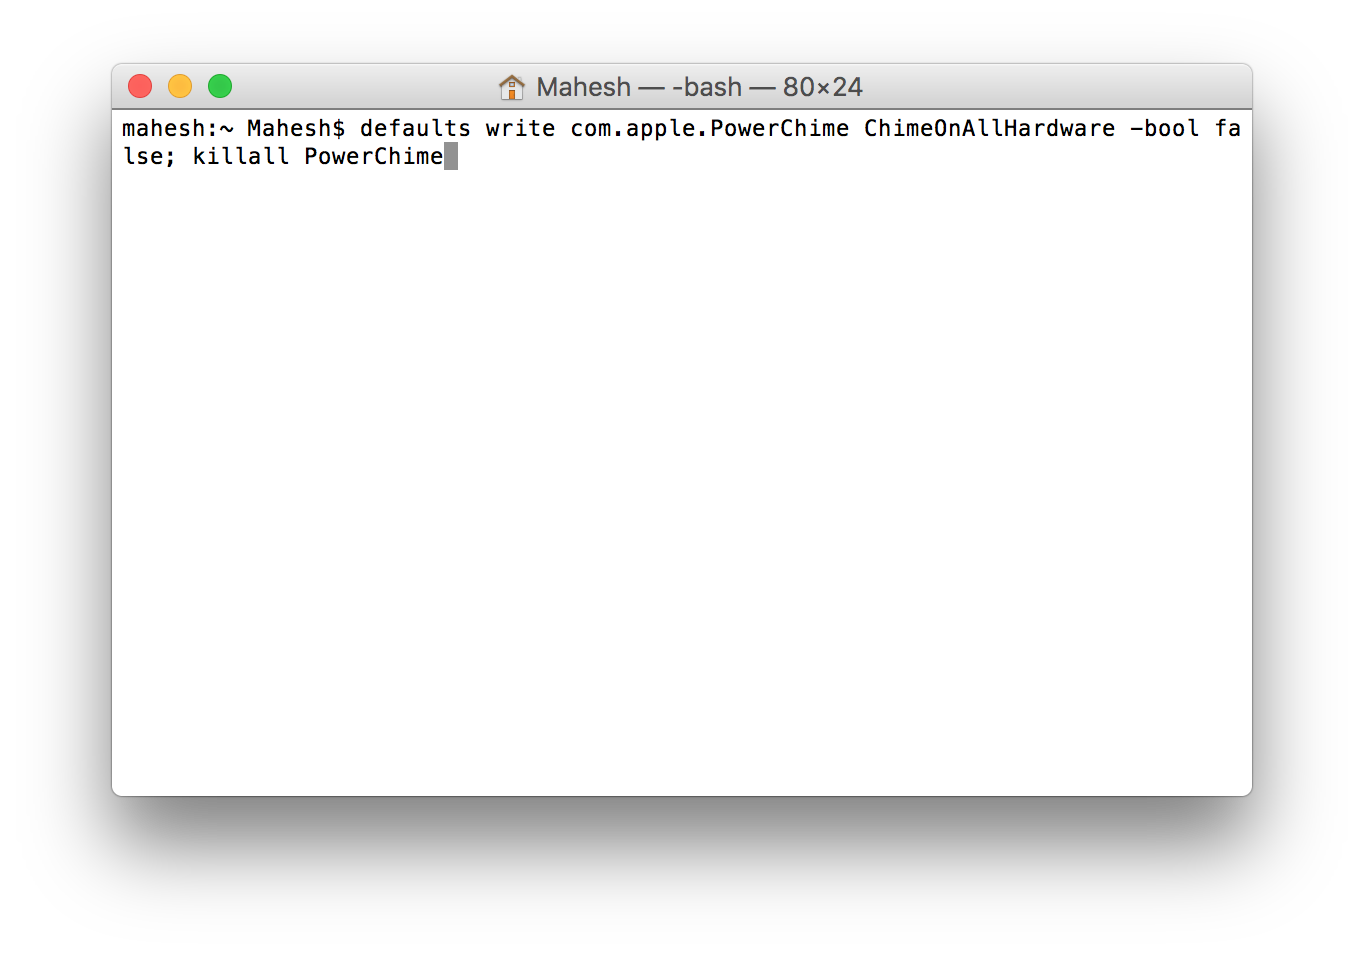
When Terminal launches, type in the following command and press Enter.
defaults write com.apple.PowerChime ChimeOnAllHardware -bool false; killall PowerChime
Once the above command gets executed, the power chime will be disabled on your Mac. From now on, you will not hear any chime when you plug in your Mac to charging.
So, that was how you could add a charging chime to your Mac.


