Last Updated on March 28, 2017 by Mat Diekhake
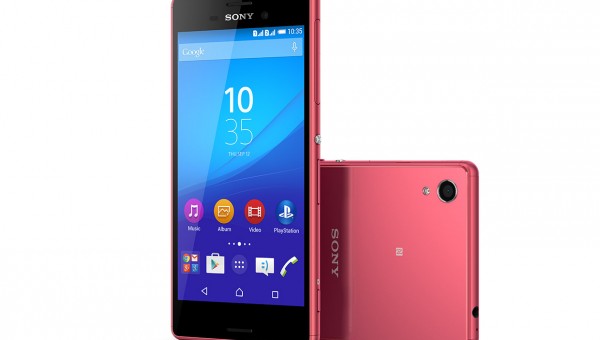
Flashing a custom ROM on the Sony Xperia M4 Aqua smartphone presents the ultimate risk-reward scenario. ROMs are often what people keep away from due to their ability to brick your device should you do it wrong. Though cases of complete bricks are rare, they are possible. On the other hand, flashing a custom ROM is one of the most fun times you could have and offers you the greatest change on your device that you can do to get away from what the Android developers, phone manufacturers and phone carriers want to give you.
Anyone into the device modification scene would be well aware what the word ‘debloat’ means so this custom ROM hardly needs explaining. For everyone else, you should know that a debloated ROM means that it comes to you without any of the system apps slowing it down and taking away from the battery life. These system apps are usually installed by your phone carrier networks or even the device manufacturer, which is, in this case, Sony.
Files You Need
- Download the debloated ROM for the M4 Aqua from here.
- You will need a custom recovery installed on the Sony Xperia M4 Aqua smartphone before you can install this debloated custom ROM on the device. Furthermore, you must have rooted the M4 Aqua before you can follow this guide.
- The steps you will find in this guide will be related to those with Team Win’s TWRP Recovery. The wording on the buttons during the steps will change if you are using a different recovery such as ClockworkMod Recovery.
Installing the Debloated custom ROM on the Sony Xperia M4 Aqua
- Download the debloated ROM from the files above and copy it over to the desktop of the computer.
- Connect the Xperia M4 Aqua smartphone to the computer with the USB cable.
- Copy the debloated ROM zip file to the internal storage SD card on your Aqua device. (You want it to be the root of the SD card storage space, which is like saying to keep it at the topmost folder. Do not copy it to one of the subfolders within the main folder or else you won’t find it from your recovery later.)
- Unplug your Aqua smartphone from the computer and the USB cable.
- Turn off your Aqua smartphone by pressing the Power button on the side and then reboot to recovery mode by using the hardware keys. (Look at the exact key combination for your recovery mode if you cannot seem to get your device booting to recovery mode. You can also choose to install the Quick Boot complication from the Google Play Store if you don’t like using the hardware button combination.)
- Tap on the Backup button and take the complete backup of your Aqua’s data with the NANDroidd feature.
- Choose the Wipe button from the main recovery menu after you backed up the data first and it will wipe your device and apply a factory reset.
- Select the Install option from the recovery menu and browse the SD card for the debloated ROM file.
In conclusion, that’s how to install the debloated custom ROM on the Sony Xperia M4 Aqua smartphone. You should find the Xperia M4 Aqua device is now tons faster once you reboot the handset back in normal mode and start using the new debloated ROM on your device.