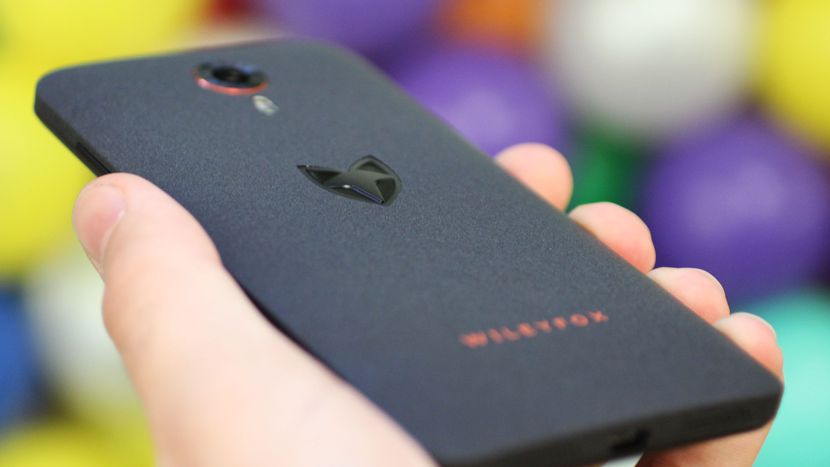
These are the guidelines to install the Cyanogen Recovery on the Wileyfox Swift smartphone using adb commands from a computer.
You must install the custom recovery on your device first if you are to get root access on the smartphone. You can follow our guide at the end for learning how to root the Wileyfox Swift device using Chainfire’s SuperSU.
You are voiding the warranty when you choose to install the Cyanogen Recovery on your Wileyfox Storm device. You can return the stock recovery on the Storm handset and the warranty will start working again.
The experts among you might prefer installing an unofficial TWRP Recovery buoild for this device. There are reports out there from people who are preferring the unofficial TWRP Recovery over the current build of Cyanogen recovery due to Google Gapps concerns.
Files You Need
- You must unlock the Wileyfox Swift bootloader before starting this guide for the new recovery.
- Download the Cyanogen Recovery that works on the Wileyfox Swift from this page.
- Download the ADB you need on you computer if you don’t have it running already. The ADB comes with Fastboot and everything you need inside. Here is the ADB for Windows, ADB for Linux and ADB for Mac.
- Download and install the universal ADB Driver on your computer if you are running Windows so the Wileyfox can talk to your computer and its programs.
- Note that the commands found in this guide are only working for a Windows computer. You will need to know your adb commands for Lac and Linux if you are installing those ADB files.
Installing a Custom Recovery on the Wileyfox Swift
- Enable the Developer Options on your device by tapping on the Menu > Settings > About Device > Tap the build number at least 7 times and it will tell you that you are now using your Wileyfox as a developer.
- Enable the OEM Unlock by tapping on the Menu > Settings > Developer Options > OEM Unlock.
- Install the ADB on your computer.
- Download the Cyanogen recovery and transfer the file over to the same folder as your ADB.
- Connect the Wileyfox Swift to the computer with the USB cable.
- From within your DB folder, hold down Shift and right-click the mouse where there is an empty space in the folder.
- Choose to open a new command window here from the menu.
- Type the first command:
adb reboot bootloader - Type the next command:
fastboot flash recovery <name_of_recovery>.img
Now you are ready to learn how to root the Wileyfox Swift smartphone so you can start installing custom ROMs and root-requiring applications from the Google Play Store and other third-part app stores.
