Last Updated on May 30, 2021 by Mat Diekhake
Most Android phones come with the screenshot capturing feature that allows you to capture the screenshot of your device by just using a few keystrokes. On most phones, you just have to press two buttons, and a screenshot gets captured and saved on the phone.
One of the things that I would like to be added to the screenshot taking feature is that it should allow you to take scrolling screenshots. Many times, you come across long conversations or long webpages whose screenshots you want to take but you can’t as the default feature only takes the screenshot of the current screen. If you want to take the screenshot of a long conversation, you will have to manually take separate screenshots for it which is both frustrating and time-consuming.
Until the feature becomes available in the stock Android OS, there is an app that you can use to capture scrolling screenshots on your Android device. The app allows you to take screenshots of scrolling screen and it then saves that as a single screenshot on your device. You can then share it with whomever, as it is a long one screenshot of multiple screens.
Here’s how to download and use the app on your device.
Capturing Scrolling Screenshots on Android Devices
To do the task, you are going to use an app called Stitch & Share which is available for free to download and use on the official Google Play Store.
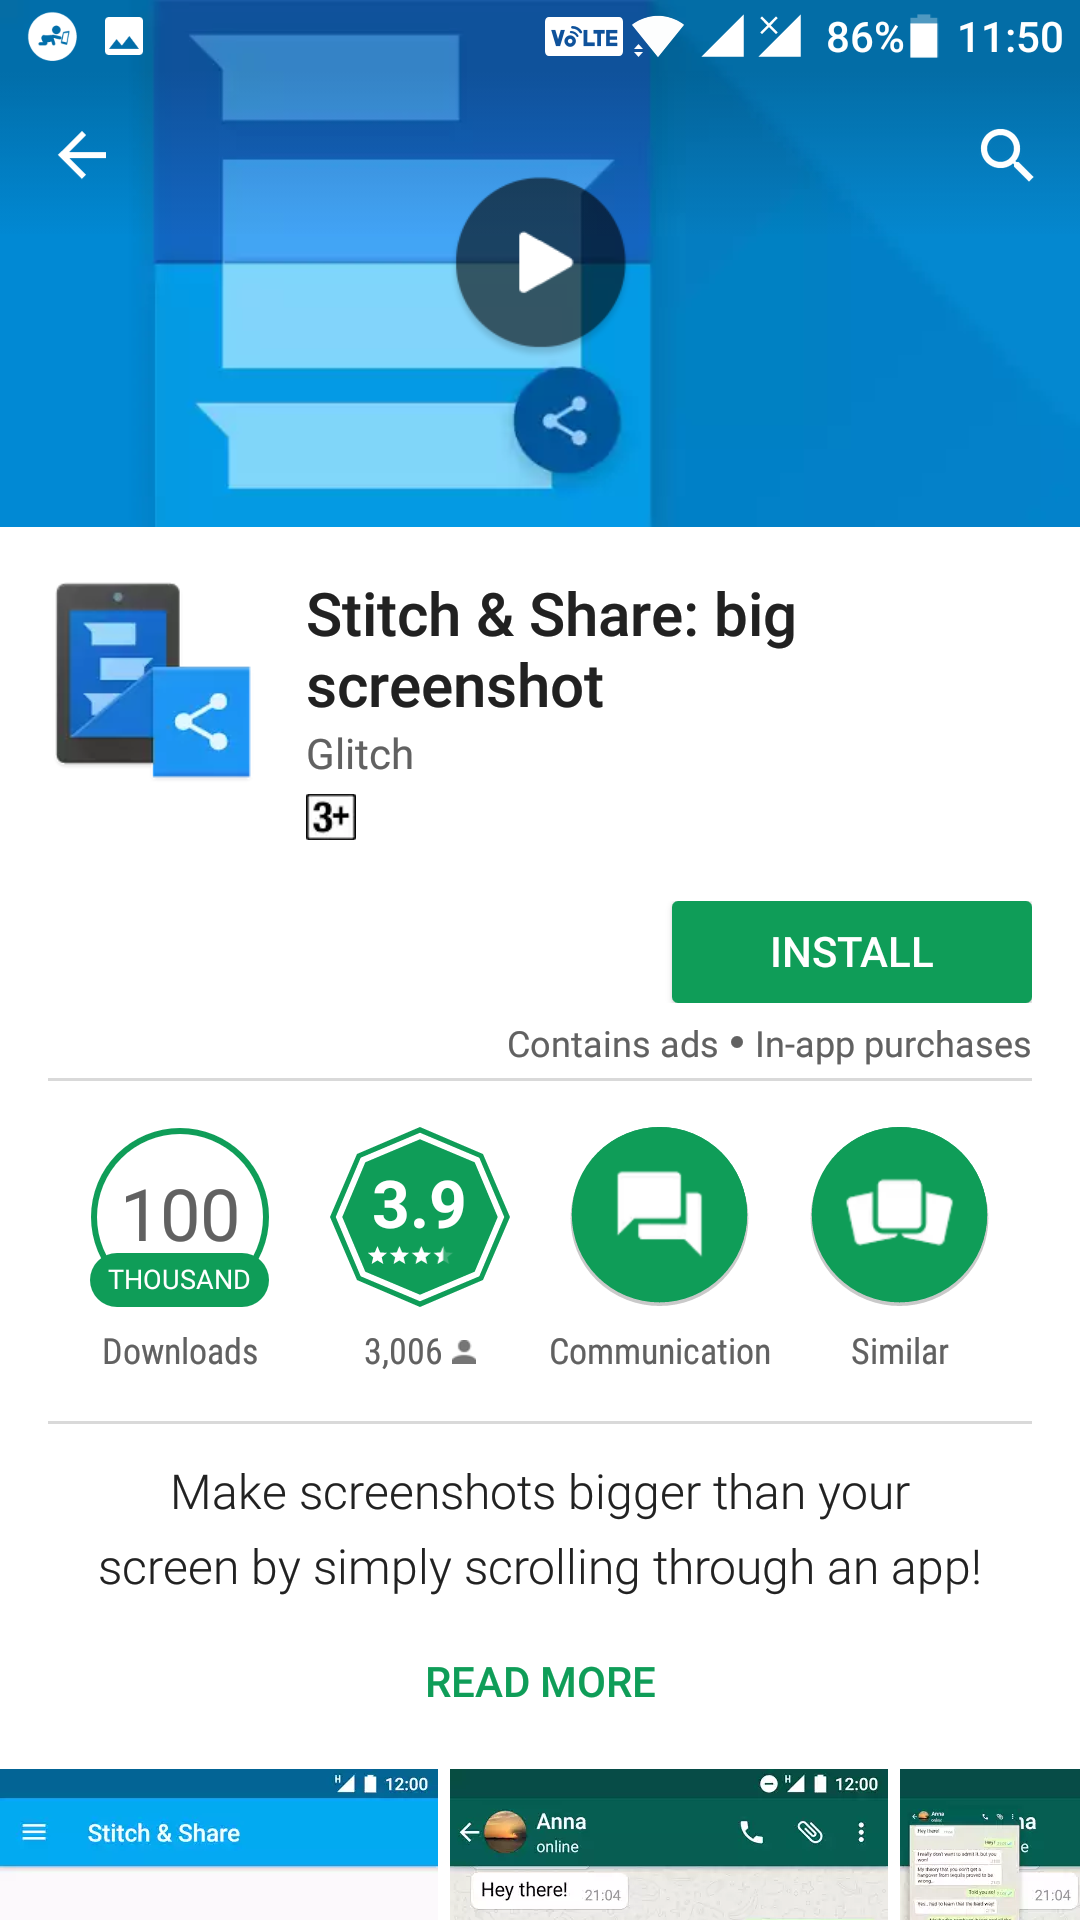
First of all, open the App Drawer on your Android device and tap on “Play Store, ” and it launches the Google Play Store on your device. When the store launches, tap on search and search for and tap on “Stitch & Share.” It opens the app page. When that happens, tap on the button that says “Install” to download and install the app on your device.
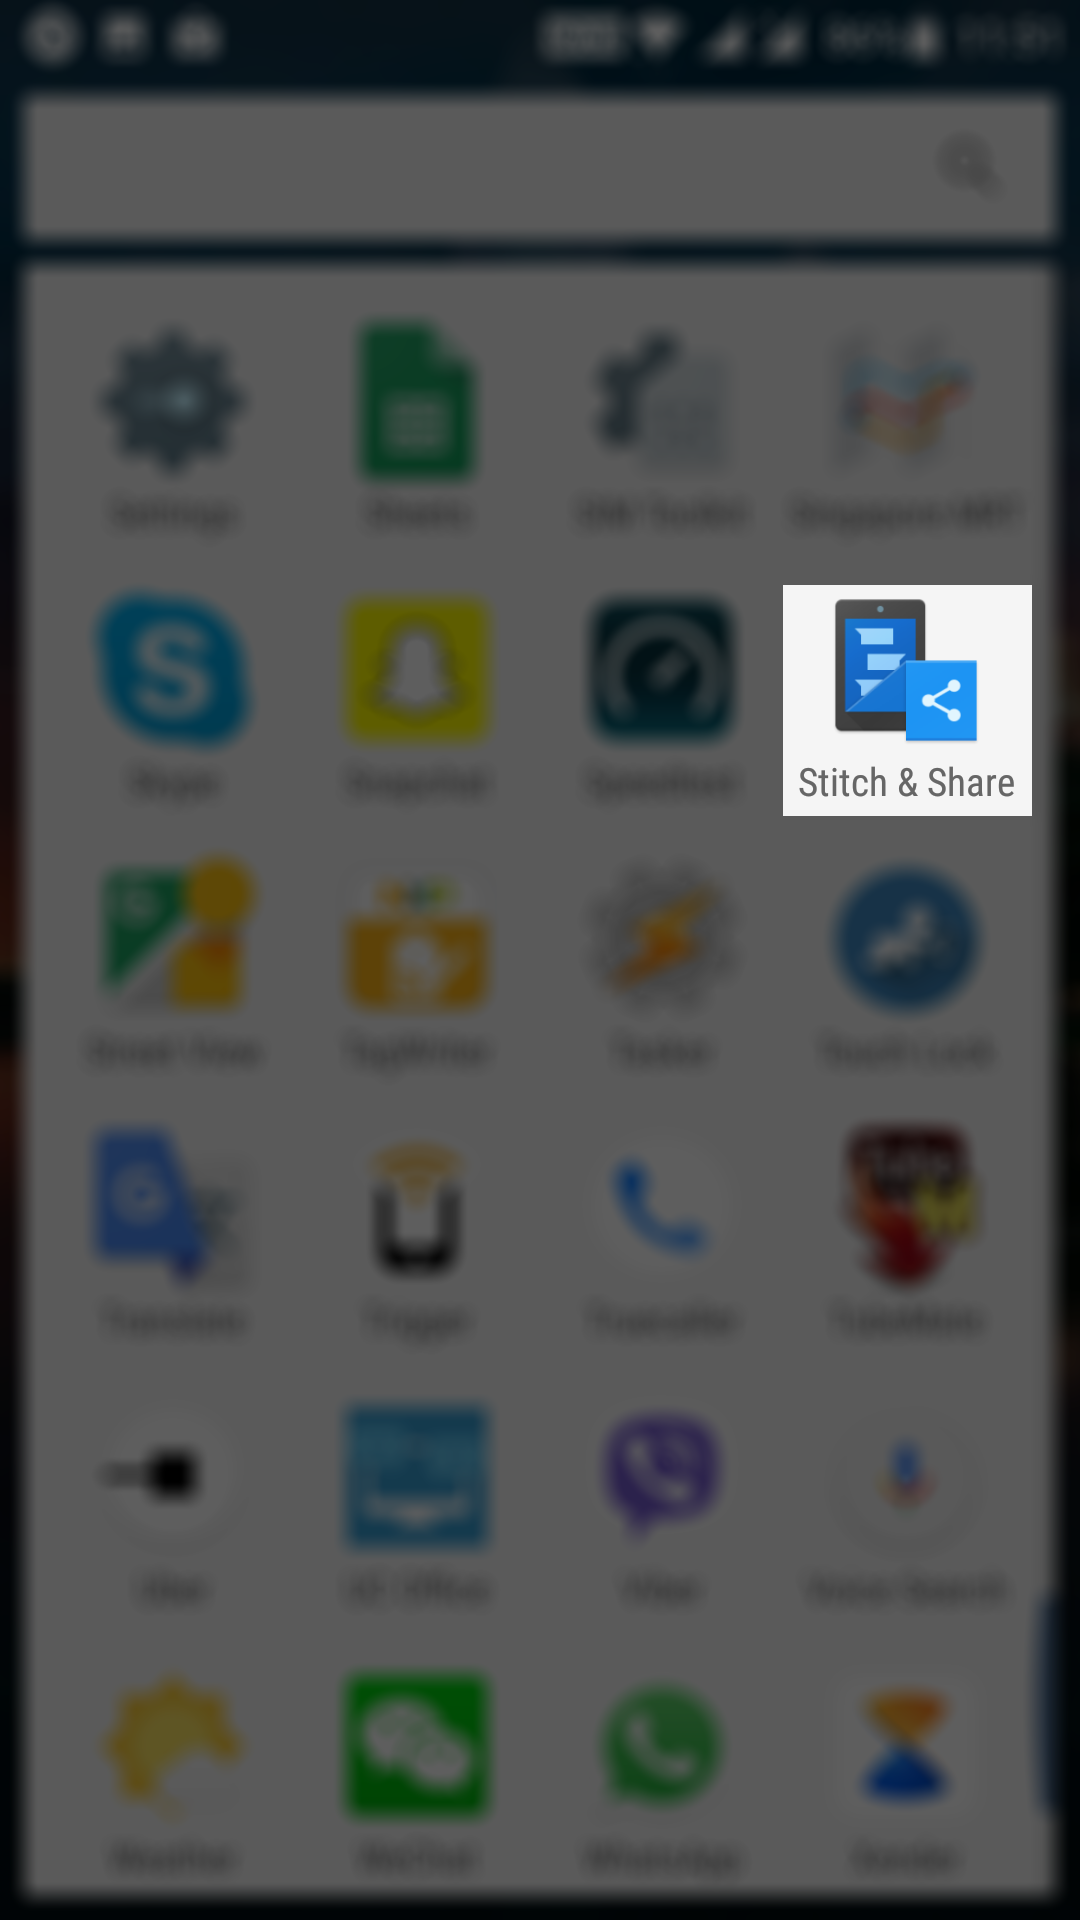
The app should now be installed on your device. The next step is to launch the app on your device. To do that, open the App Drawer on your device and tap on “Stitch & Share, ” and it launches the app for you.
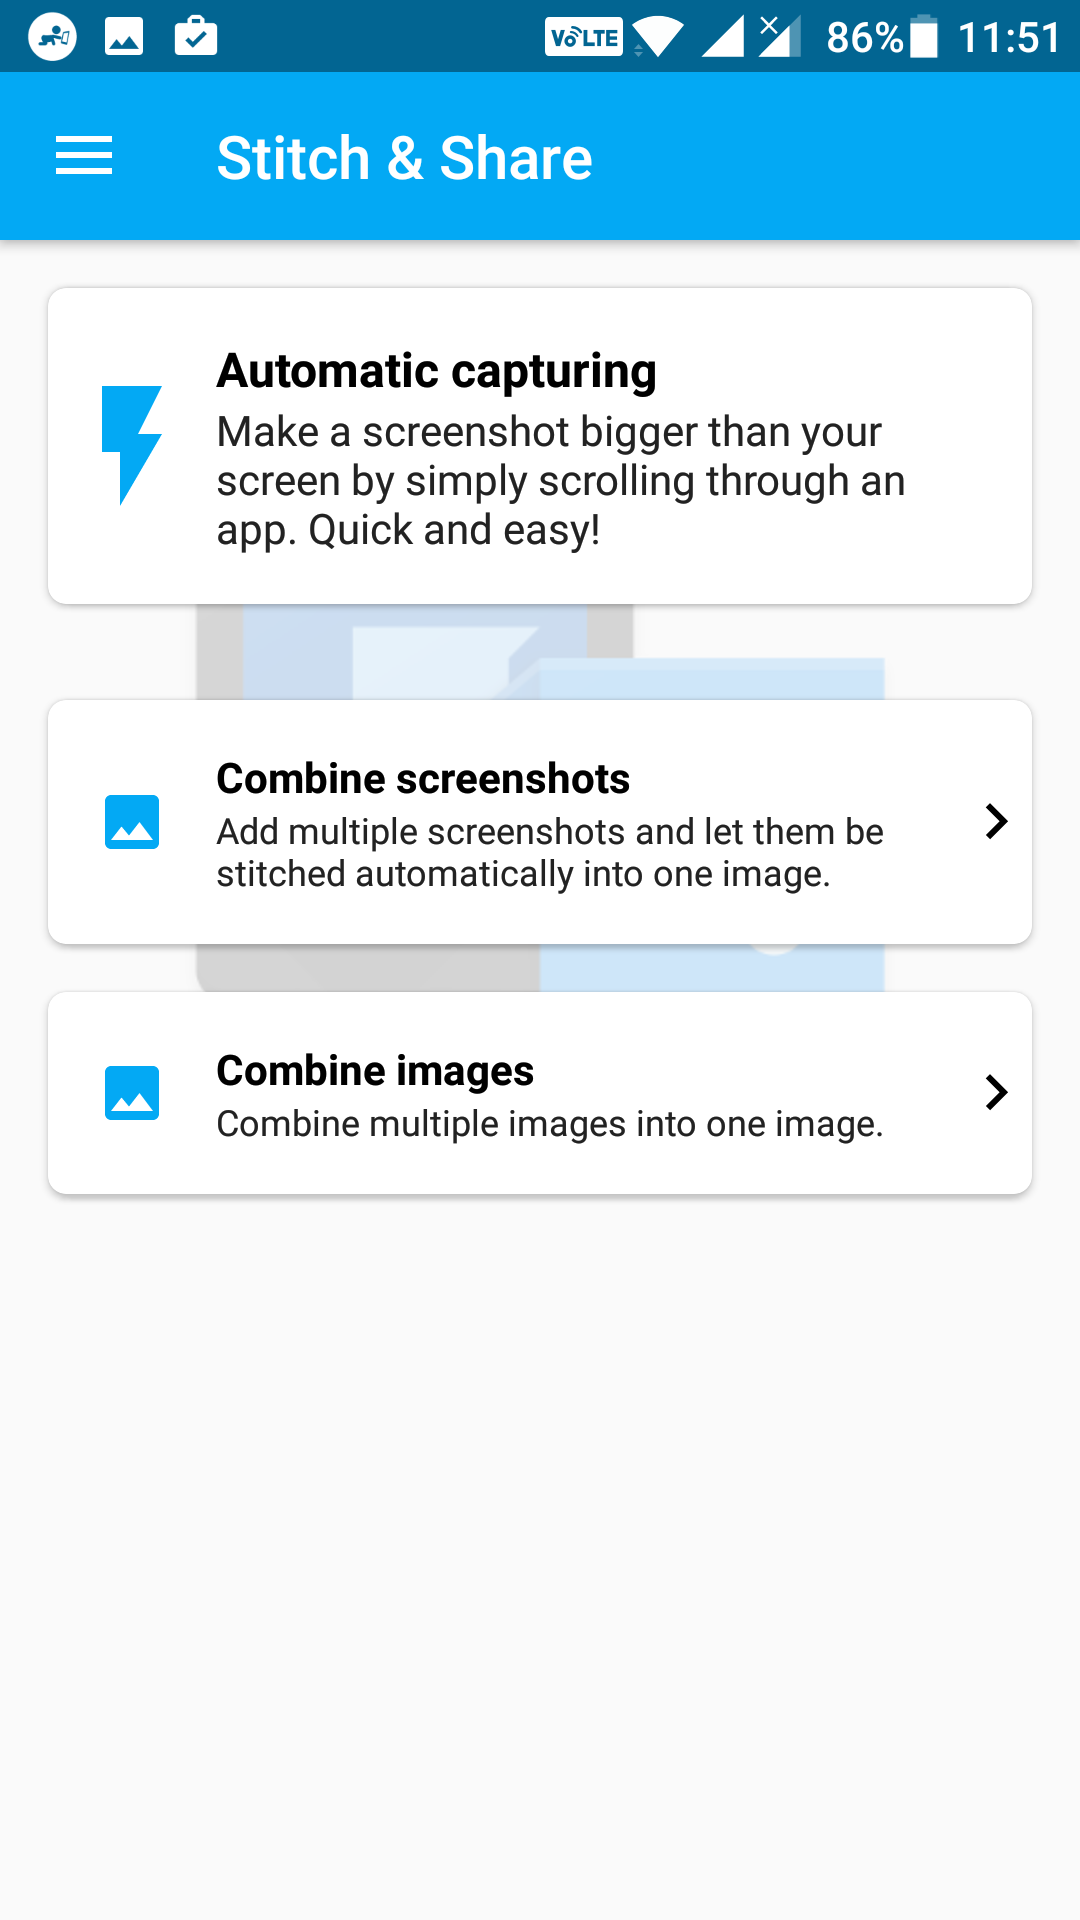
The app should now be open on your screen. On the first page of the app, you will see what the app can do for you. As you can see in the following screenshot, you have three options to choose from. Here’s what each option does:
Automatic capturing: if you select this option, you can take scrolling screenshots using the app and that a long screenshot is automatically captured.
Combine screenshots: if you choose this option, you need to take separate screenshots of the scrolling screen, and the app stitches those for you to make it a single long screenshot.
Combine images: this option allows you to combine multiple images, or screenshots for that matter, into a single image.
I would suggest you to go for the first option that says “Automatic capturing” as that is what does the best job.
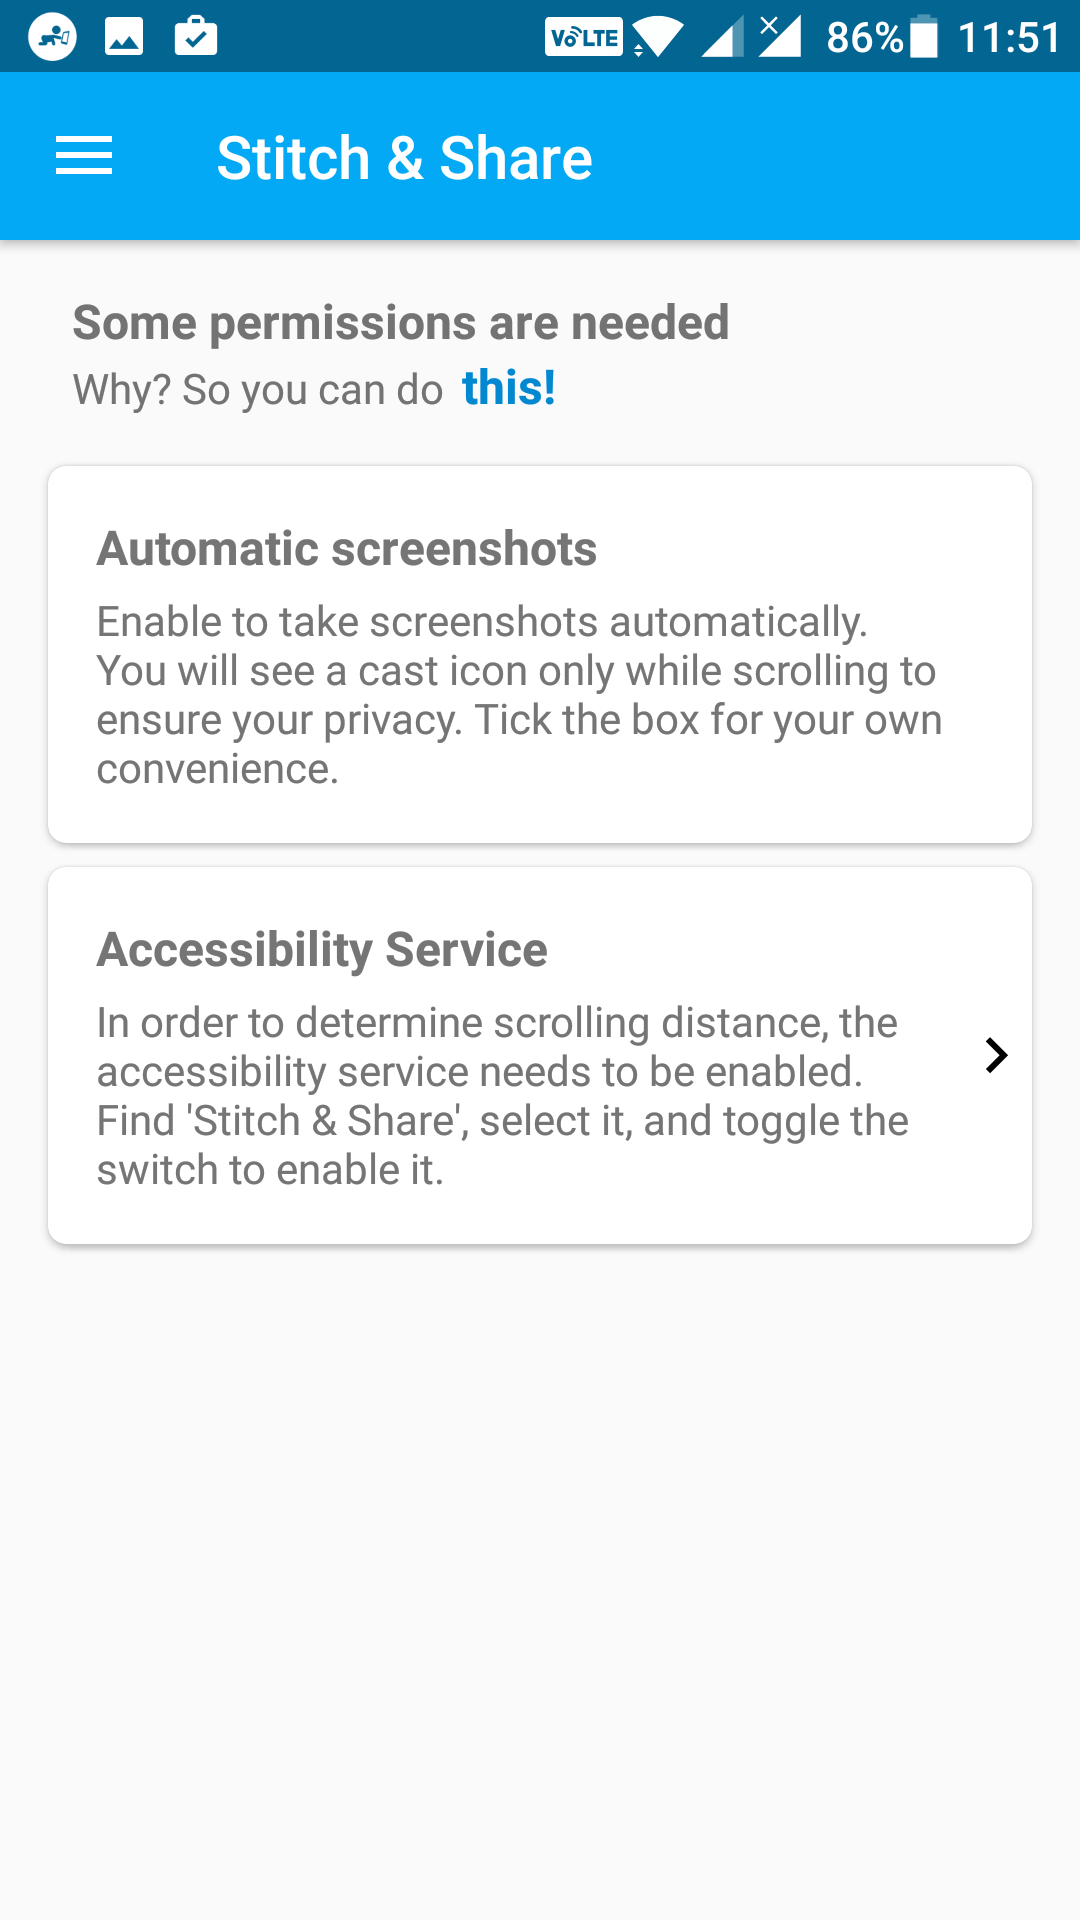
If you have chosen the first choice, you need to grant some specific permissions to the app before it can work. On the following screen, you need to tap on the option that says “Automatic screenshots” to grant it the permission it needs to work.
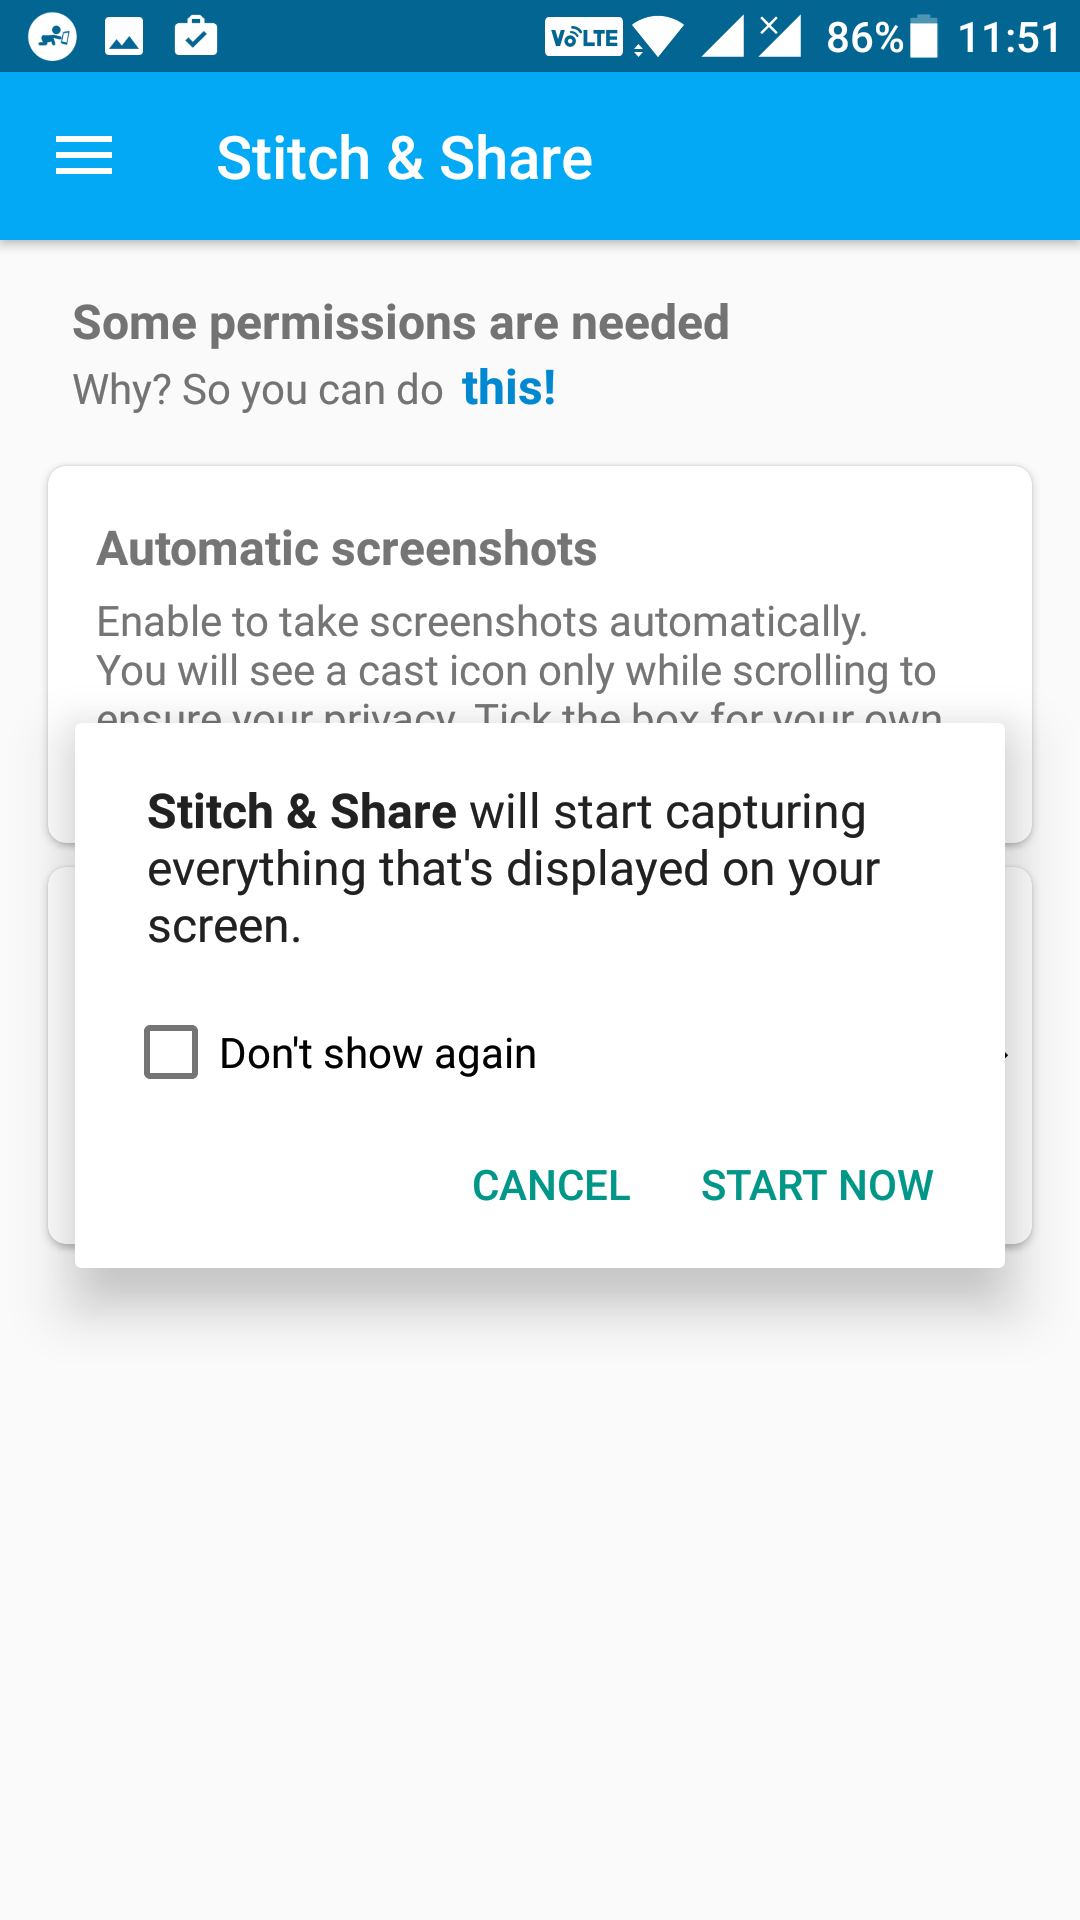
You get a prompt on your screen that looks like the following image. In this prompt, you need to tap on the option that says “Start Now, ” and it allows the app to capture screenshots on your device.
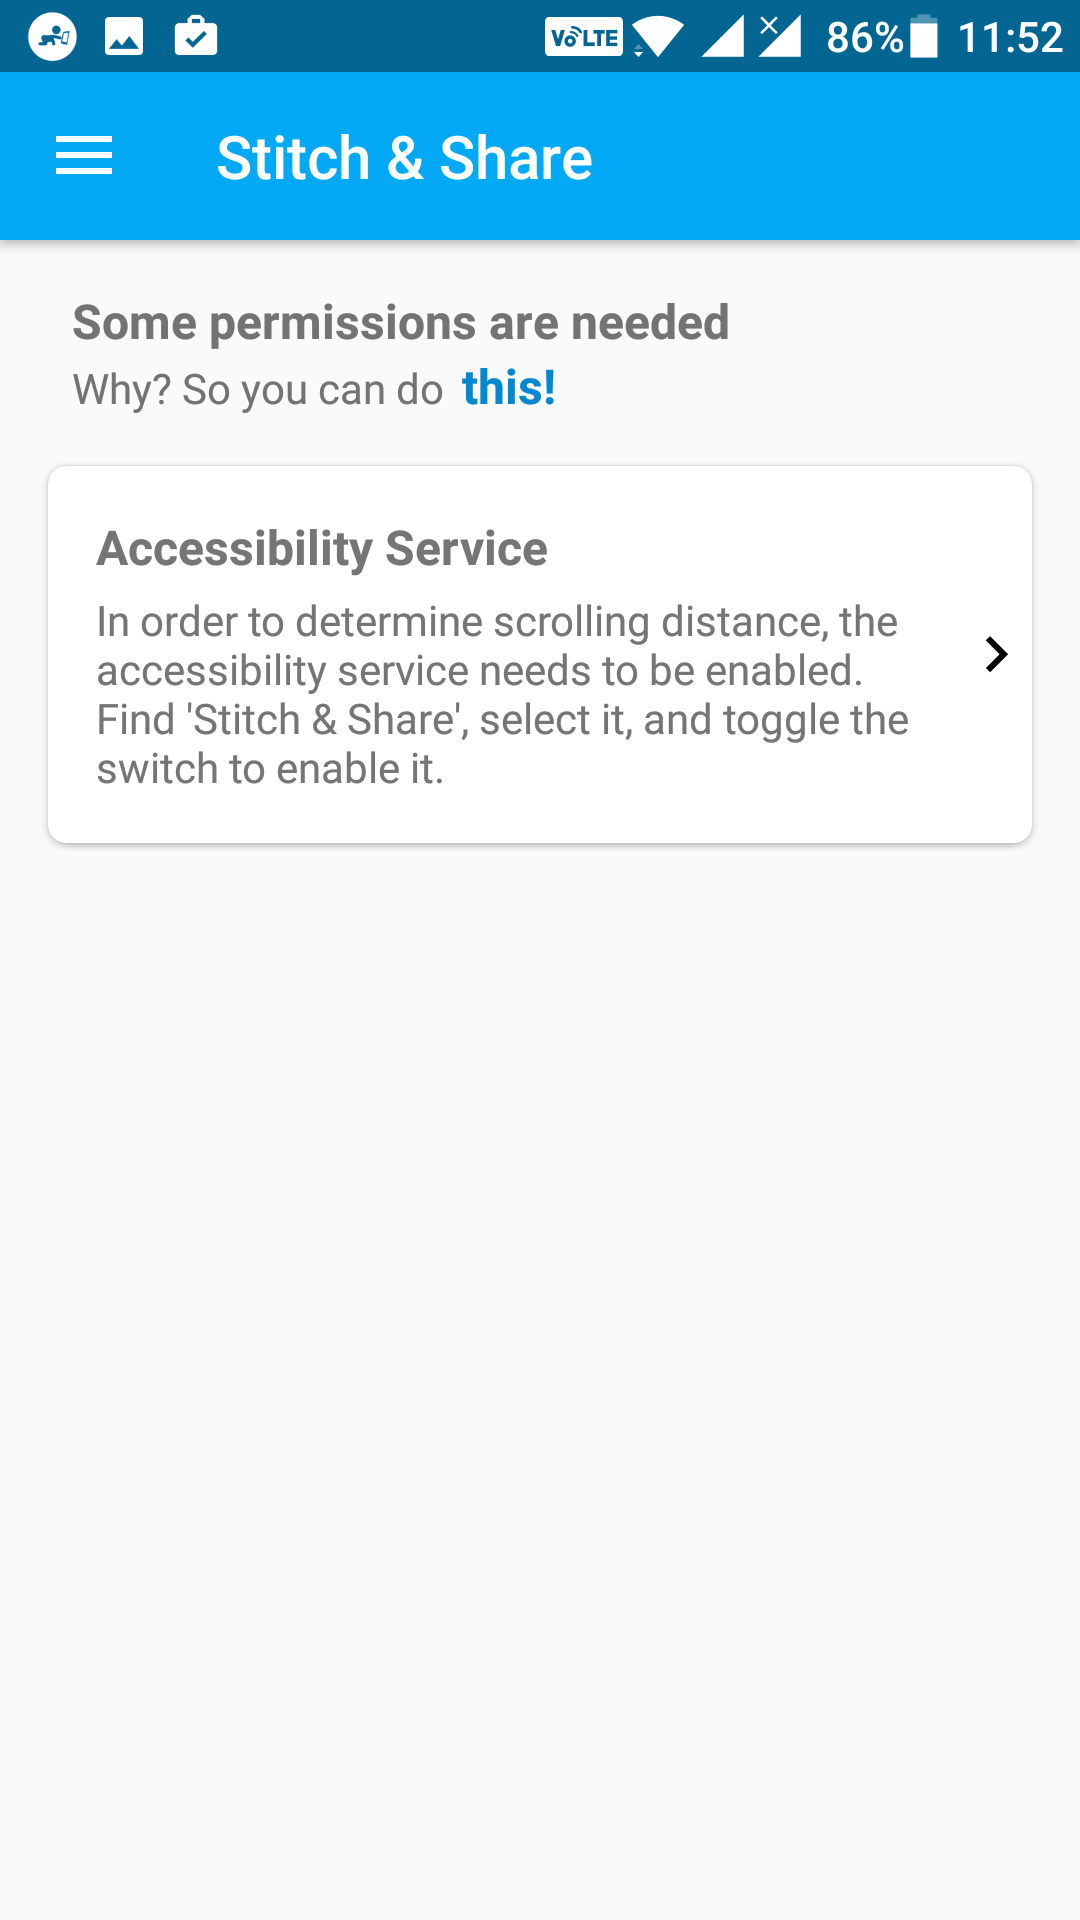
One of the two permissions has been granted to the app. Now, tap on the remaining permission that says “Accessibility Service” to grant it as well.
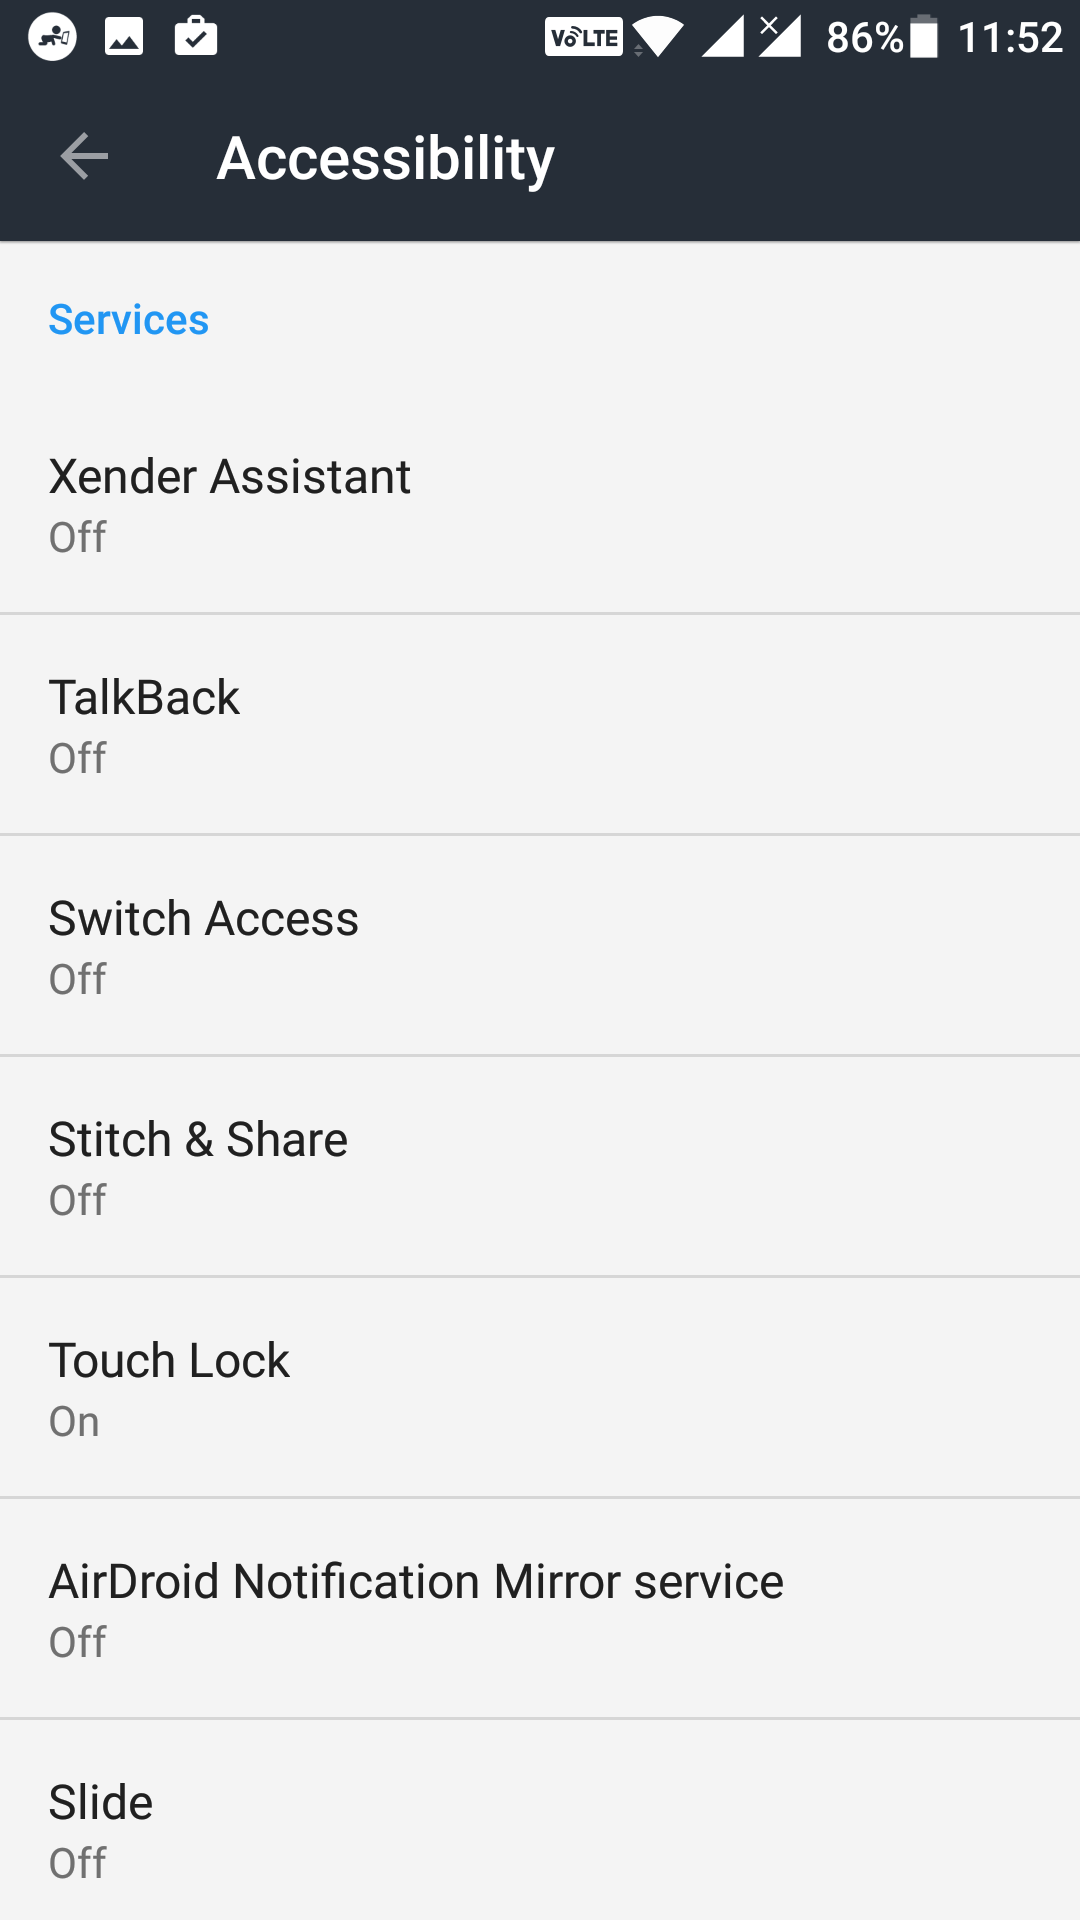
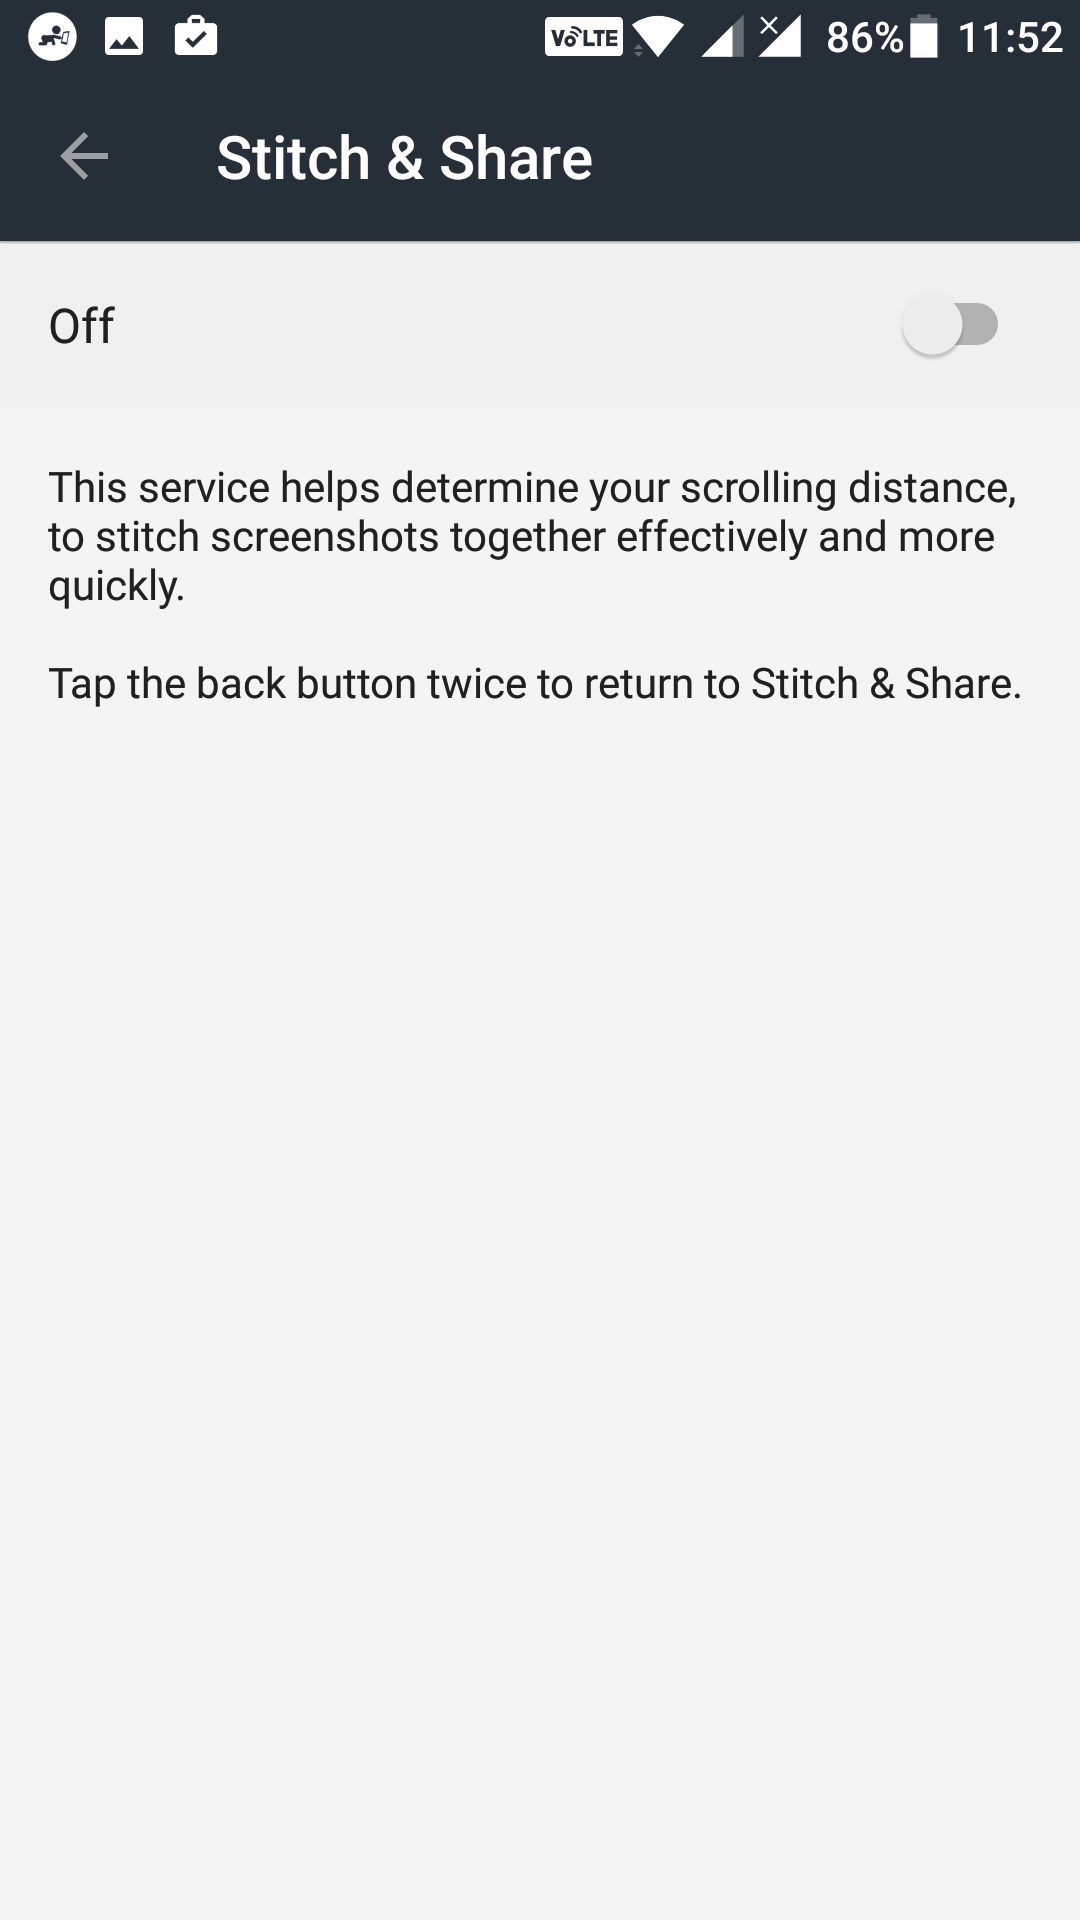
As soon as you tap on the option in the above step, you are taken to the accessibility panel for your device. On this screen, find and tap on the option that says “Stitch & Share.”
After tapping on the app name, you will see a toggle as shown in the following image. What you need to do is turn the toggle to the On position to enable accessibility service for the app.
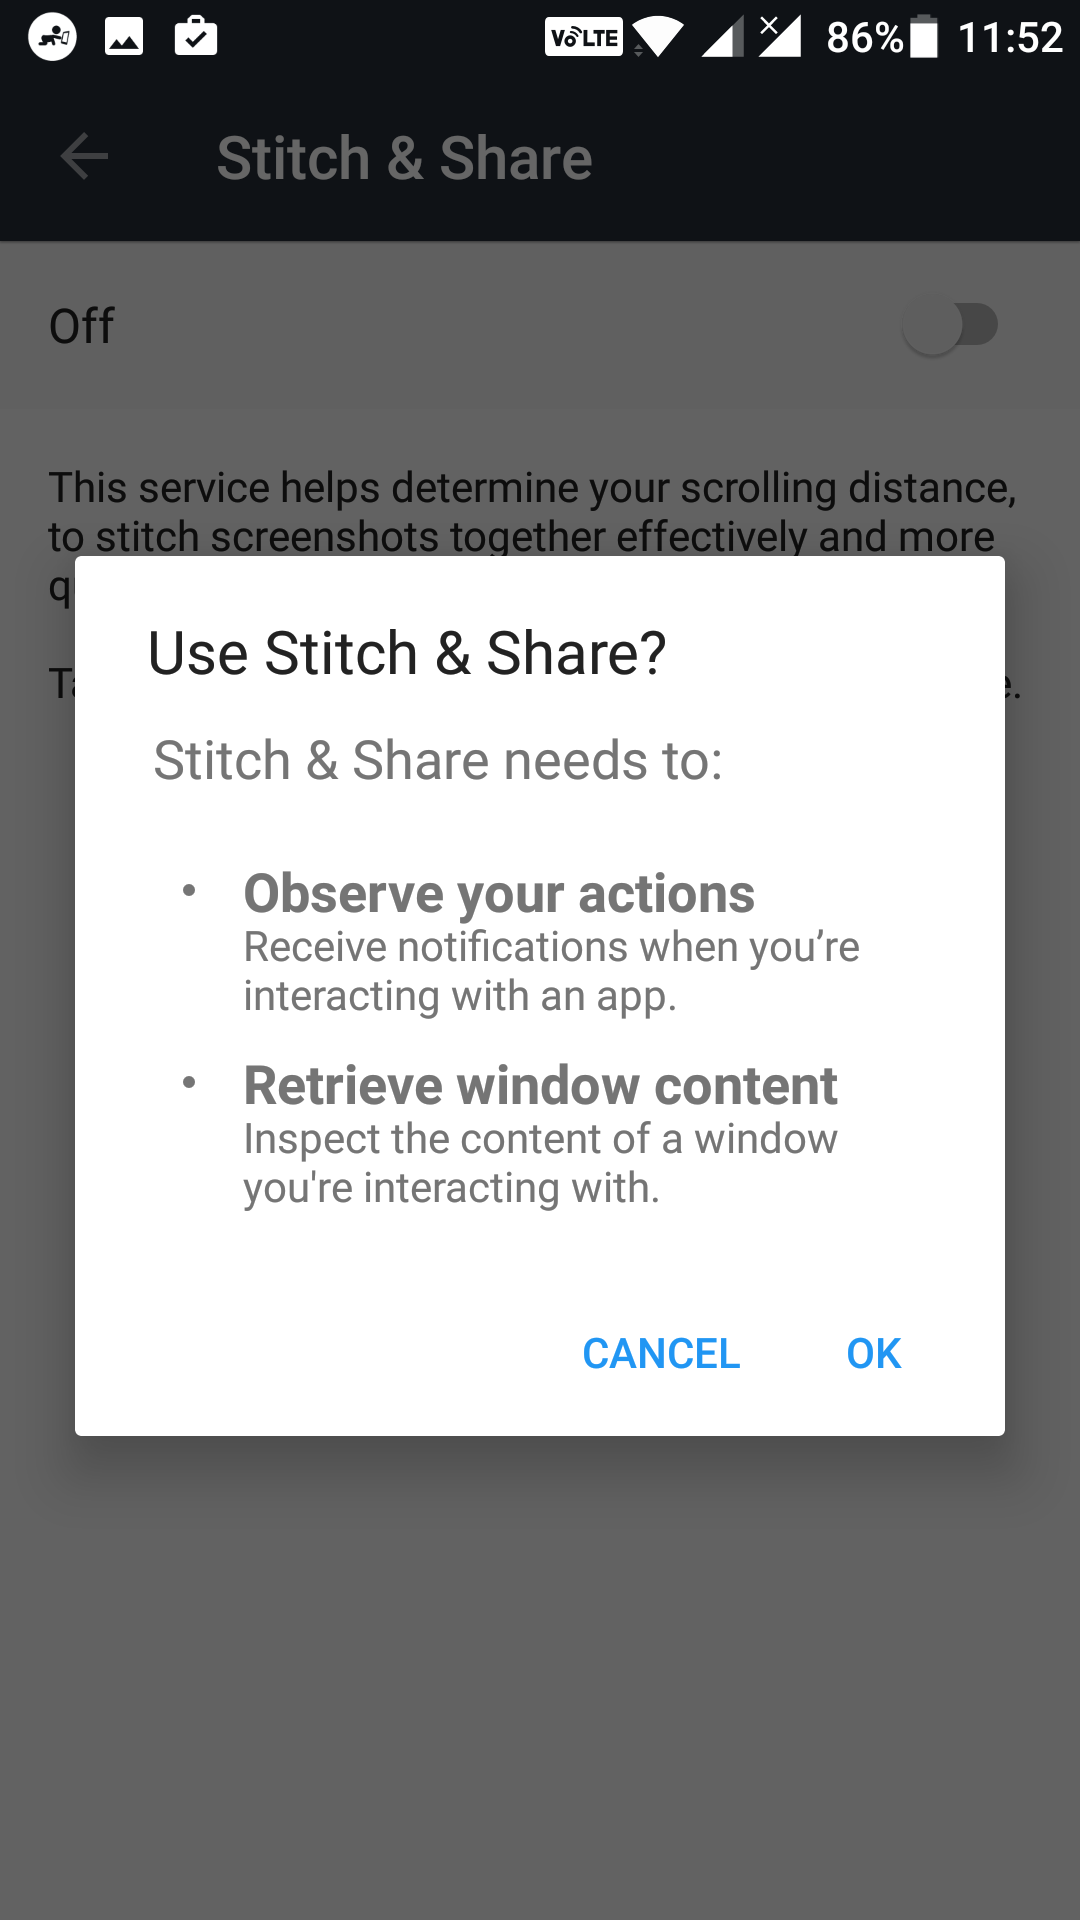
You get a prompt on your screen that asks if you would really like to enable the option. Tap on the option that says “OK, ” and the permission are granted to the app.
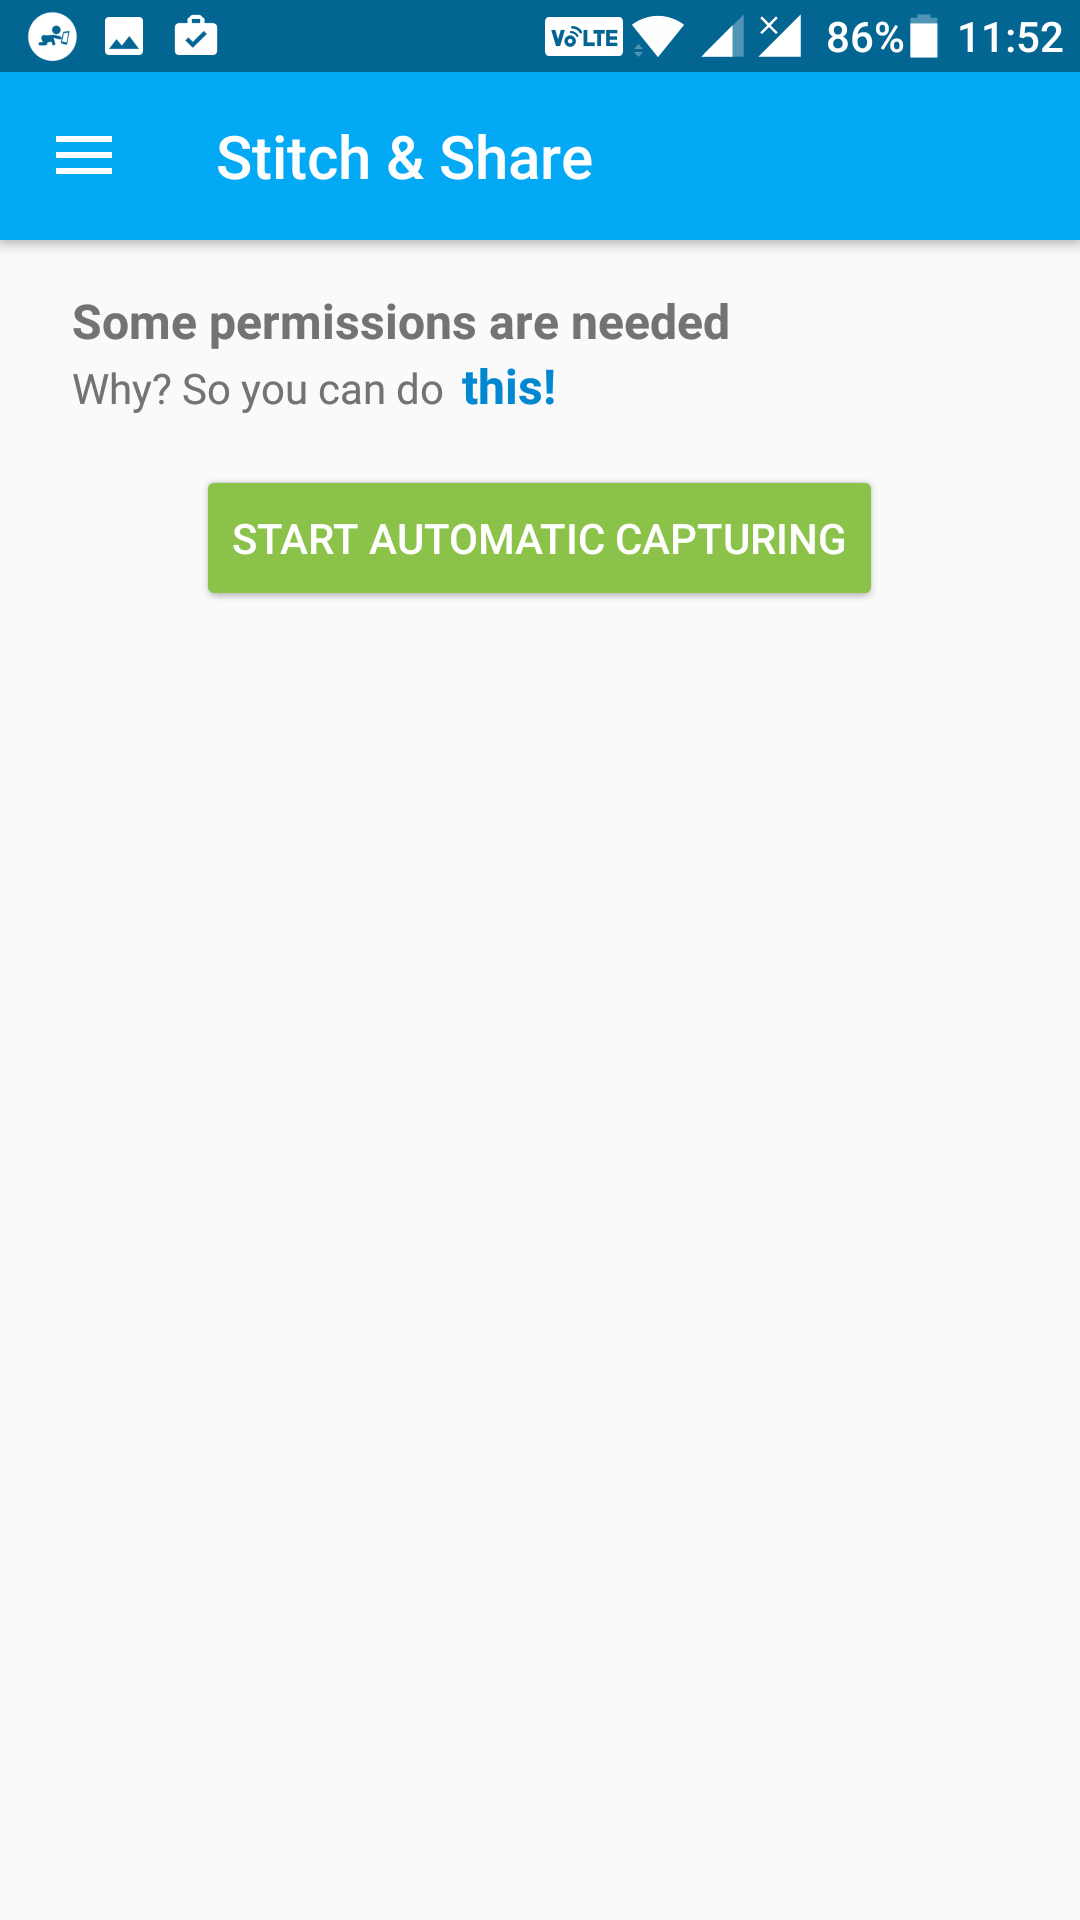
Hit the back button a few times on your device to be taken back to the app. The permissions screen should now have changed to a screen with a green button on it. Tap on that button which says “Start Automatic Capturing” to start capturing scrolling screenshots on your Android device.
An icon appears on the left side of your screen. When you are in the app where you want to take a scrolling screenshot, just tap on the icon, and it will do the job for you.
So, that was how you could take scrolling screenshots on Android devices.
You might also be interested in:
- How to Format Text in WhatsApp for Android
- How to Keep Display Always on Without Battery Drain on Android
- How to Prevent Page Jumps in Chrome for Android
You can subscribe to our RSS, follow us on Twitter or like our Facebook page to keep on consuming more tech.

