Last Updated on April 6, 2017 by Mathew Diekhake
As you might already know, there are two different types of custom recovery partitions which are most popular in the world and nothing else really comes close. That means you want to always choose between ClockworkMod (CWM for short).
Since this is an unofficial operation, you should backup the Neo before going any further. Those of you with root access already can take a backup just like those of you without root access yet or you can use separate application. The best app for those with stock devices is Helium for Android. The best app we know of for those of you with root access already is Titanium back up. You cannot take a Nandroid backup yet because you must apply that from inside the custom recovery image. That means it’s available after you leave here but not before. You must make copies of the data before starting the guide, thus use a different method.

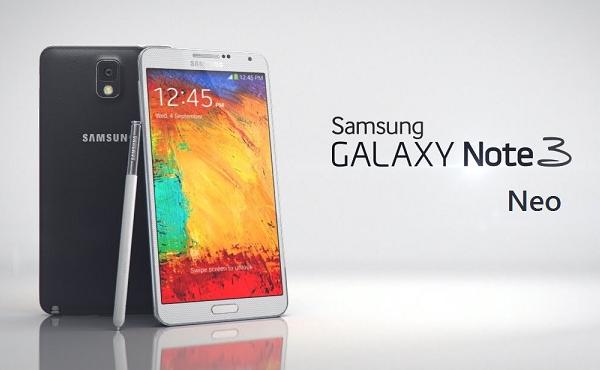
There are two main custom recovery images which people install to go along with their custom ROMs and other unofficial operating system tweaks to get away from stock Android. The Note 3 variant of the Neo device comes with a big display, high-resolution display, fast 4G mobile data support, lots of RAM and a decent 8 MP camera, but that all can assuredly get better by installing a custom recovery image. From there you can flash unofficial custom ROMs, unofficial firmware builds which are like software updates from the future, take a Nandroid backup and more.
You see, the custom recovery partition is vastly different from a stock recovery. Everyone comes with a stock version with their Android devices. It works for flashing official firmware and taking a hard reset of the device. Usually we have two reset options from stock recovery. The first is a soft reset which you can do if you are suffering from freezes and other symptoms alike. The second is a hard reset which is like returning the device back to its original state out of the box. When doing the latter, we are wiping the ROM clean, which means all the data is gone.
From inside ClockworkMod recovery (CMW), we are able to do the same factory reset and wipe the data. It’s a standard process between flashing custom ROMs if you are looking at changing the current ROM on the device. However, we also can take the Nandroid backup which is like taking a mirror image copy of the current ROM and data. It stores the phone contacts, pictures, music, video files, settings, passwords (including WiFi password) and more. It can even store your game data and remember the level you are using!
You should be able to use Sammy’s built-in backup feature for collecting most of the data including the phone contacts and applications. You also have Samsung Kies which is available for syncing the device. Since you are downloading Kies anyway for the drivers during the guide, that’s not a bad option.
Even though this is not an official firmware file, we are still loading the file through the Samsung Odin application. That means you need a Windows PC as you normally would for other guides. Likewise, choose from a desktop PC, notebook or laptop as long as it has a USB port mounted in the side. Without that port we obviously cannot connect the phone.
Stop by the Developer Options on the phone and enable the USB Debugging mode. Furthermore, you can install the drivers from third-party links if you don’t wish to grab them from the official Samsung website, or the Sammy Kies utility. That’s about all you need so let’s get started on the steps.
How to install ClockworkMod Recovery (CWM) on the Samsung Galaxy Note 3 Neo
- Download Samsung Kies for the USB drivers on the computer here.
– the link is for those in the US. You can download different regions of Kies for where you are in the world. other common options include changing the “US” for “UK” or “AU”. There is also several other international options. - Download a suitable version of Odin for the Note 3 here.
- Download the unofficial ClockworkMod recovery file here.
- That’s all the download links you need, now it’s time to start the steps for installing the same.
- Extract the Odin zip file contents on the desktop.
- Run the program with administrator permissions by right-clicking the mouse over the Odin executable file.
- Put the Note in download mode.
- Once in the new mode, connect the Neo to the computer with the USB cable.
- Watch as the ID: COM port changes color and you get the messages letting you know it’s added to the system.
– now we are free to start using the tool. - Click the AP button and upload the executable CWM file that’s on the desktop.
- There’s no need to change any of the default settings inside the application.
- Leave on the Auto Reboot option.
- Leave on the F Reset Time option.
- Leave off the re-partition option unless using a pit file.
- Click the start button and wait for the flashing.
It takes some minutes for the flashing to complete. Do not touch any button on the Windows PC or the phone until it’s done.
Odin will tell you it’s passed or greet you with a ‘fail’ message if you need to retry with new USB drivers.
