Last Updated on July 19, 2022 by Mathew Diekhake
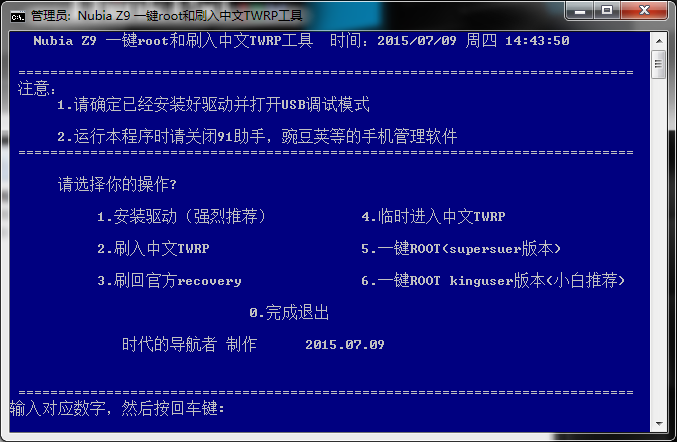
You can now rooting the ZTE Nubia Z9 smartphone and install a custom recovery by using this neat program that works similar to a toolkit. Once you install the program on your computer, you can see the options for a custom recovery or granting those rooting permissions you want for your root-requiring apps.

Files You Need
- Download the rooting and custom recovery package from this page.
- Download the universal ADB Drivers to the computer.
- You can view the official XDA Developers thread for more information on the top, as well as installing custom ROMs.
- Yo uare voiding the ZTE warranty by following this guide. You can unroot the device and the ZTE warranty will start working again.
Rooting the ZTE Nubia Z9 Classic
- Download the rooting and recovery program directly to the computer and transfer it over to the desktop.
- Those of you using a Windows OS will find it end up in the Downloads folder by default.
- Open the Downloads folder and transfer the file over to the desktop.
- Right-click over the file and choose the option to “extract here”.
- Double-click the root and recovery package and the executable file should run on your desktop.
- Connect the ZTE Nubia Z9 device to the computer with the USB cable.
- Look on the main page of the program to choose whether you want to root or install a custom recovery. You can choose them in any order, and you can choose both if you want to have both working.

That’s all.
Now that you have root access on the ZTE Nubia Z9 device, you can start installing new apps like the NANDroid Manager application from the Google Play Store. Since you probably will install a custom recovery as well, the NANDroid manager is the perfect complement to taking your NANDroid Backups with that custom recovery.
