Last Updated on July 20, 2022 by Mathew Diekhake
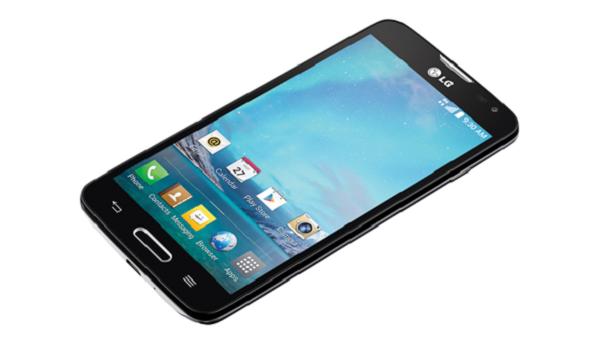
The LG Optimus 90 is a great budget device for anyone looking to buy a smartphone without a crazy premium. It sports a 4.7 inch screen, an 8 MP camera, a quad-core CPU, and NFC capability. It’s definitely not on the high-end, but it does your basic smartphone activities fairly well. Rooting your LG Optimus L90 will allow you to customize your phone to an unbelievable level. Rooting also allows for installation of a huge variety of custom ROMs, the Xposed Framework, get rid of carrier/manufacturer bloat, and improved backup apps. This guide will take you through rooting your phone and attaining this customization in a guided and detailed manner.
You’ll need to make sure you have a few things ready first. Make sure you have a Windows PC and a USB cable, along with a fully charged LG Optimus L90 that has an SD card. Secure each one of these items and get ready to root!

Details of Note
- You should backup the Life’s Good smartphone before starting the guide if you want to apply a hard reset later on when you’re done. There’s a few reasons why that might happen such as getting stuck in a bootloop or the rooting tool doesn’t work properly for you and you’re left with a shaky ROM.
- You must have a USB cable for connecting the L90 to the computer and allow permissions for the USB Debugging Mode. Do that by navigating to Settings > Developer Options > Check the box for USB Debugging Mode.
- Some devices in the LG range have the Developer Options Mode hidden. You can fix that by unlocking it at the About Device menu where you must tap on the build number seven times.
Rooting the LG Optimus L90
1. You’ll want to download the free version of Partition Wizard and format your phone’s external SD card, specifically, to ext2.
3. Download Ext2Fsd (the .exe file) and this file.
4. Download the LG Optimus L90 PC drivers, if you haven’t already.
5. Download and extract ADB.rar
6. Find the ext2 partition on your SD card in Ext2Fsd and do the following: Right click on your ext2 partition, choose “Ext2 Management”, uncheck the first checkbox (mount read-only) and check the second (automatically mount…).
7. Move the file, update.zip, to your ext2 SD card.
8. Turn on USB debugging on your LG Optimus L90
9. Use your USB cable to connect your phone to your Windows PC, if it isn’t already connected.
10. Open ADB and type in the following “adb devices”.
a. The following text should appear ” List of devices attached LGD410a123456 device”
11. Type “adb shell“, then type “reboot recovery on the next line”
a. Your phone will reboot to stock 3e recovery.
12. Disconnect your phone
13. Choose apply update from sd card and select update.zip
14. Select reboot system now.
Now, go to your application manager and you should see an app called Super SU. If you have that, you have rooted your phone! Now you have a whole world of possibilities opened up to you as a result. Explore XDA for excellent ROMs to install and cool, useful customization you can now implement.
You may download the root checker app we love from the Google Play store link in the post. There are other versions of the same and many work just as well as each other for most different Android smartphones and tablets.
